This page provides Software details and Software Setup instructions for the 4.x (legacy) release of FastRTK software. Information may be inaccurate for other versions of FastRTK. See the release notes and FAQs pages for more information on different versions.
For assistance with different software versions or software updates, please contact Discovery Management Group.
¶ Software details
¶ Connecting to the Base
Connect via wifi (for local connection)
Default FastRTK Wifi:
- SSID: FastRTK
- Password: fastrtk!
Once connected to the base wifi, use an internet browser to access the admin UI by navigating to: http://192.168.25.1/admin
Older versions of FastRTK may use
Connect via IP address (for remote connection)
Navigate to base IP in your browser. The IP address may be provided by the cellular SIM card provider, your company network administrator, or your FastRTK vendor.
In FastRTK versions 4.1.1 and forward, navigate to http://"base IP"/admin to access the FastRTK admin software. Other versions of FastRTK may use http://"base IP" or http://"base IP":10000/admin.
¶ Pages
Screenshots and instructions below are provided for the 4.x (legacy) version of FastRTK software. To get assistance for other software versions or to upgrade your software to the latest version, contact Discovery Management.
¶ Navigation
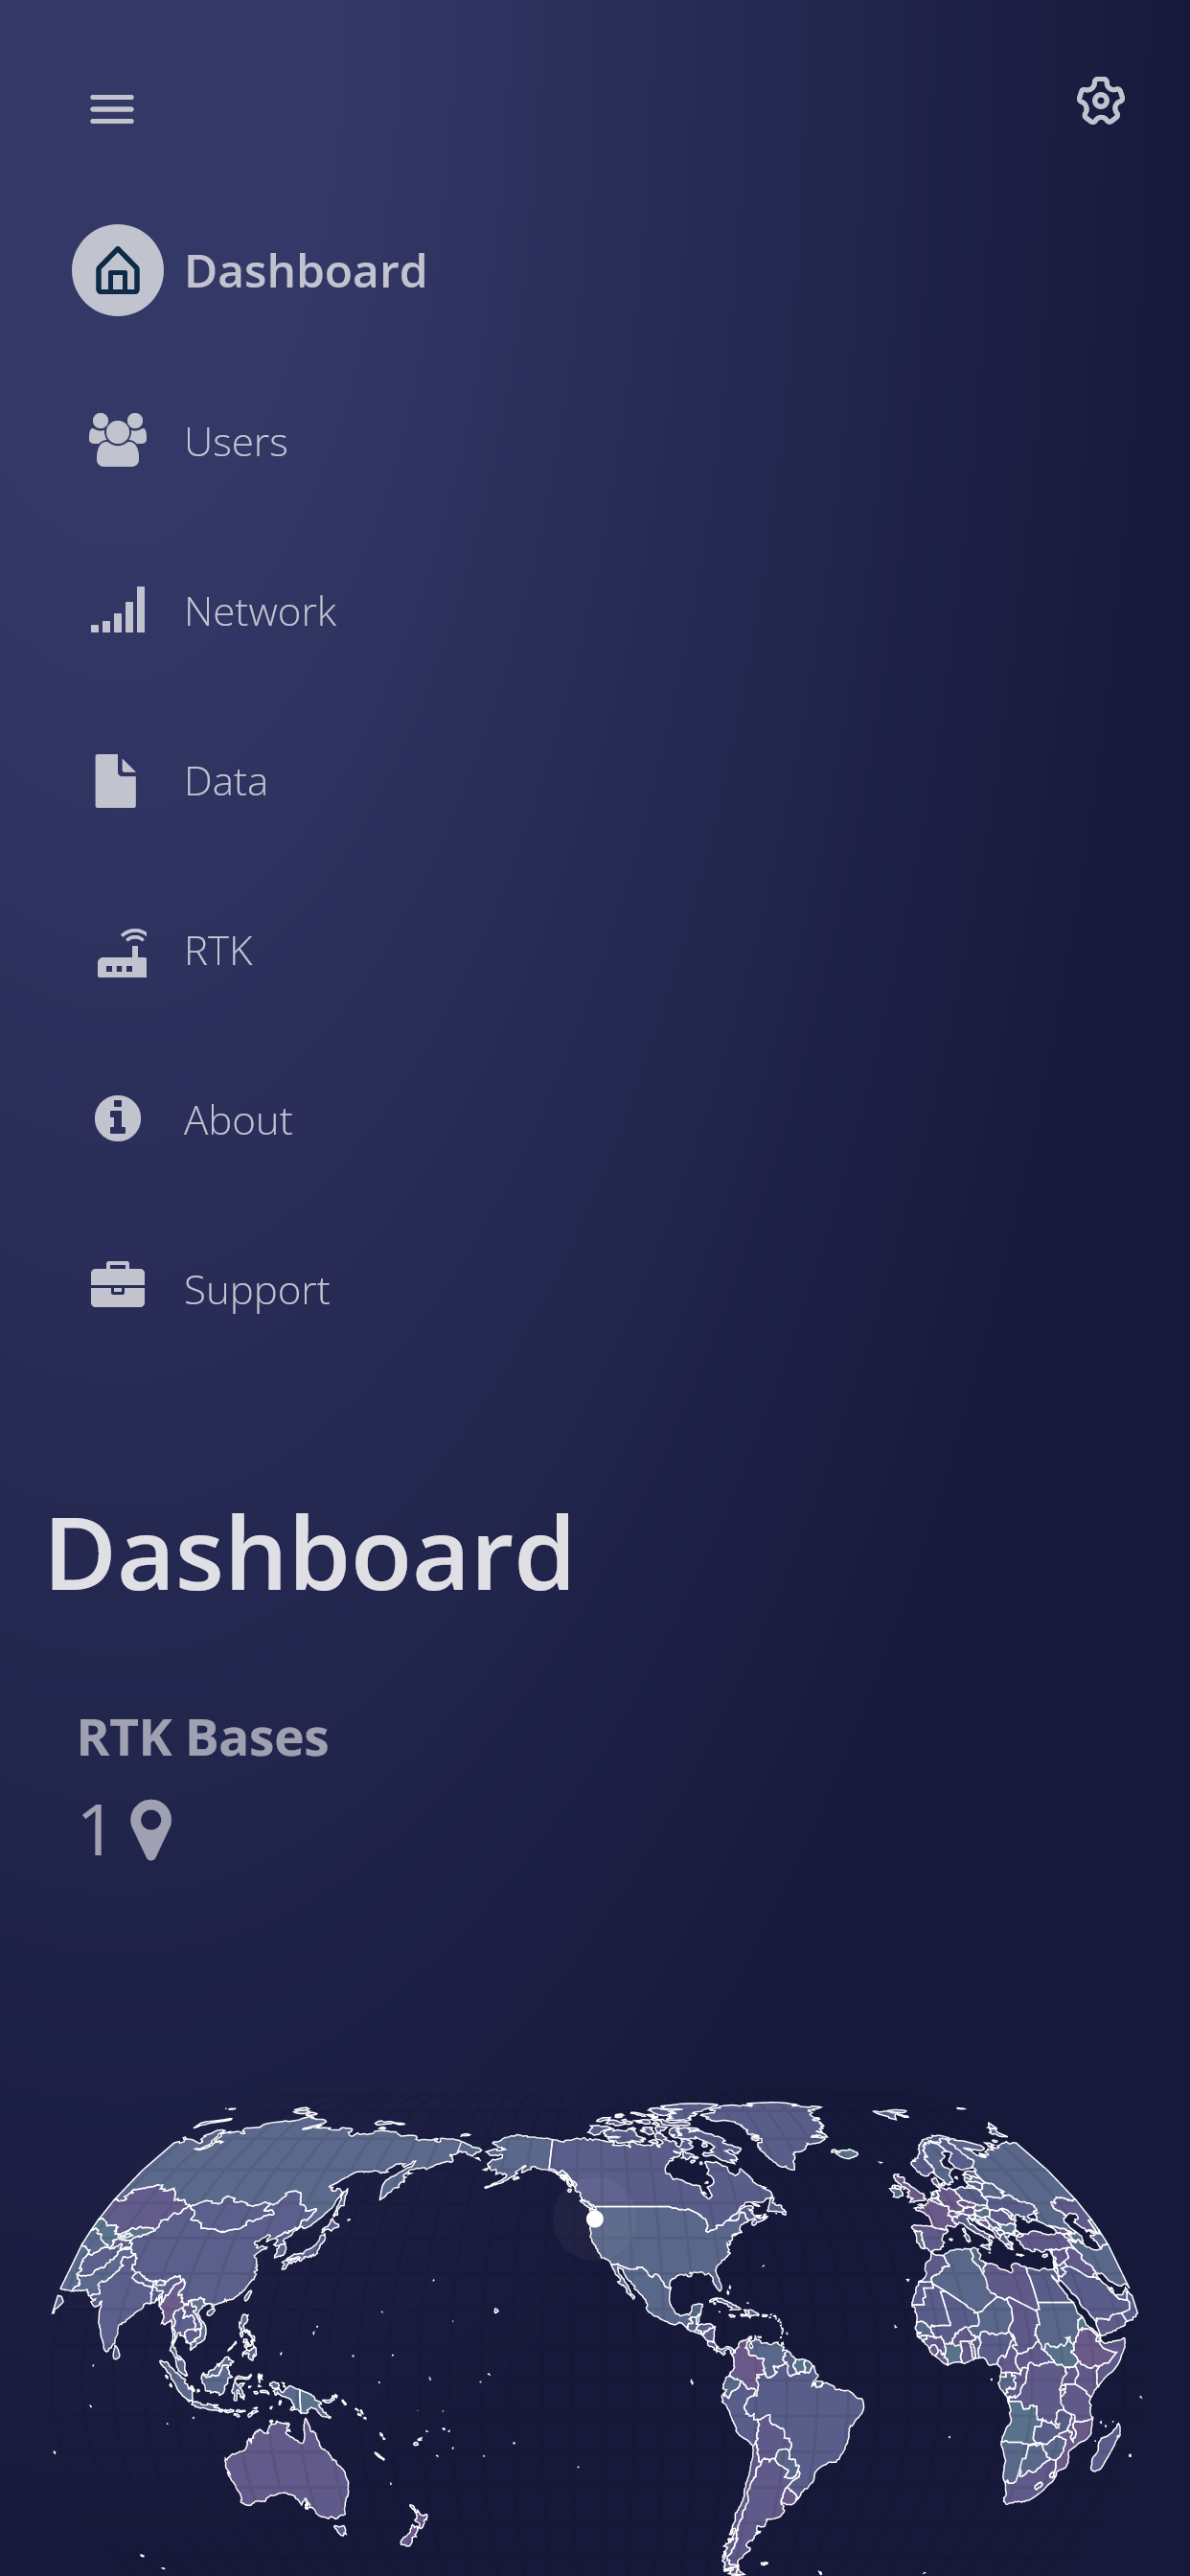
Navigate the FastRTK software using the menu button
Screenshots FastRTK version 4.1.1 (click to expand)
¶ Login
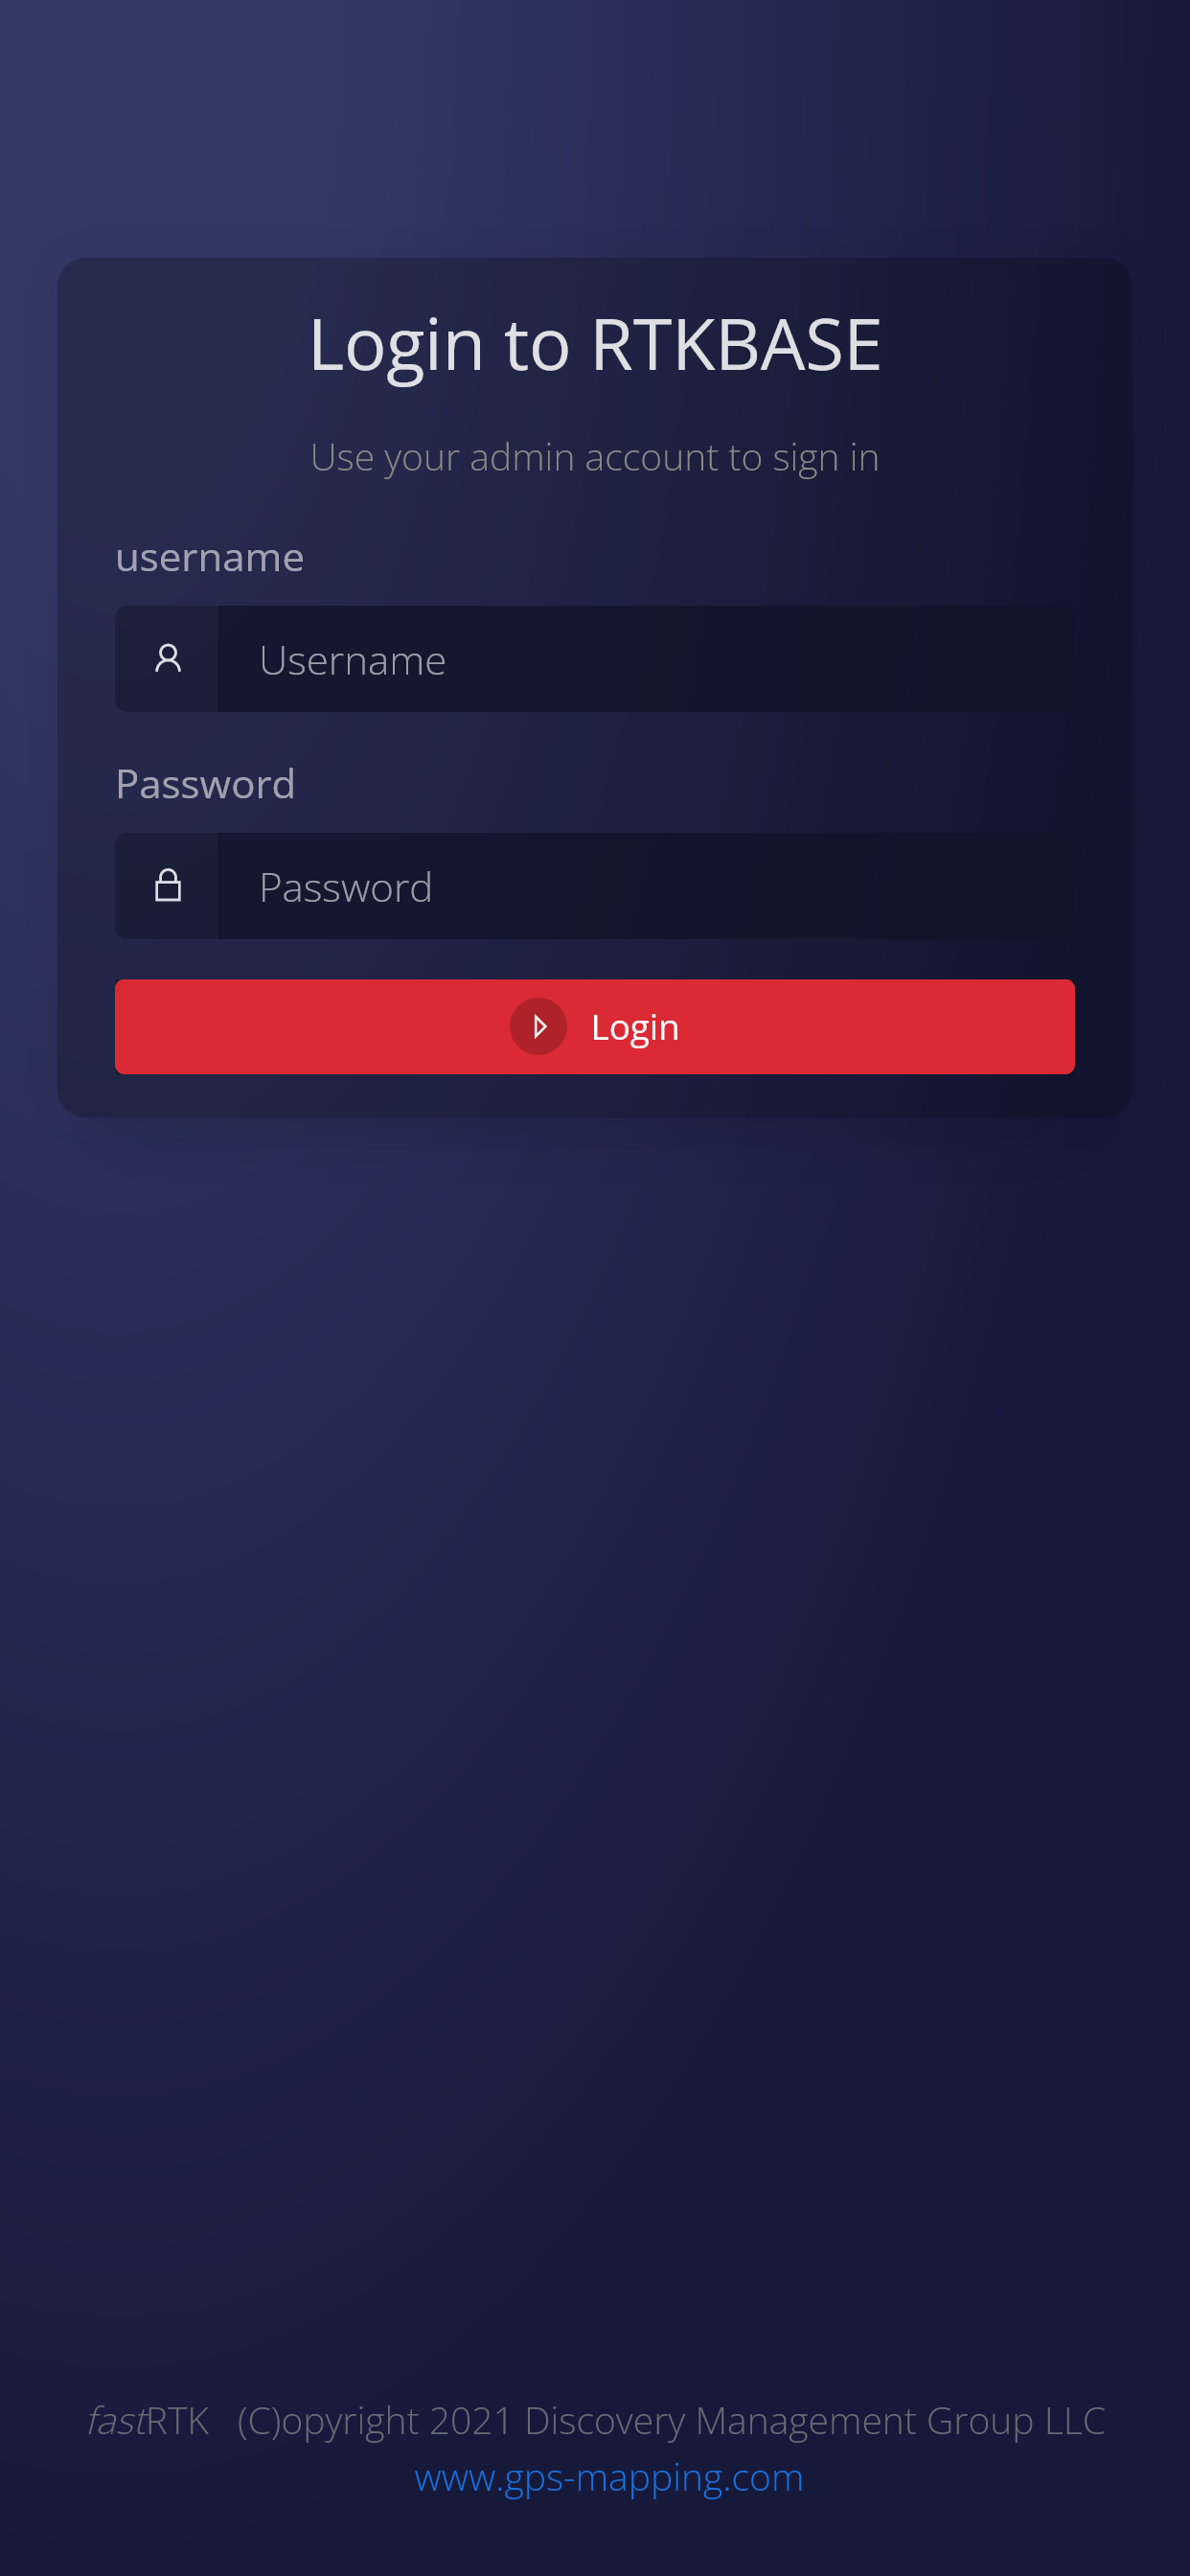
Login with your admin account.
Screenshots FastRTK version 4.1.1 (click to expand)
Desktop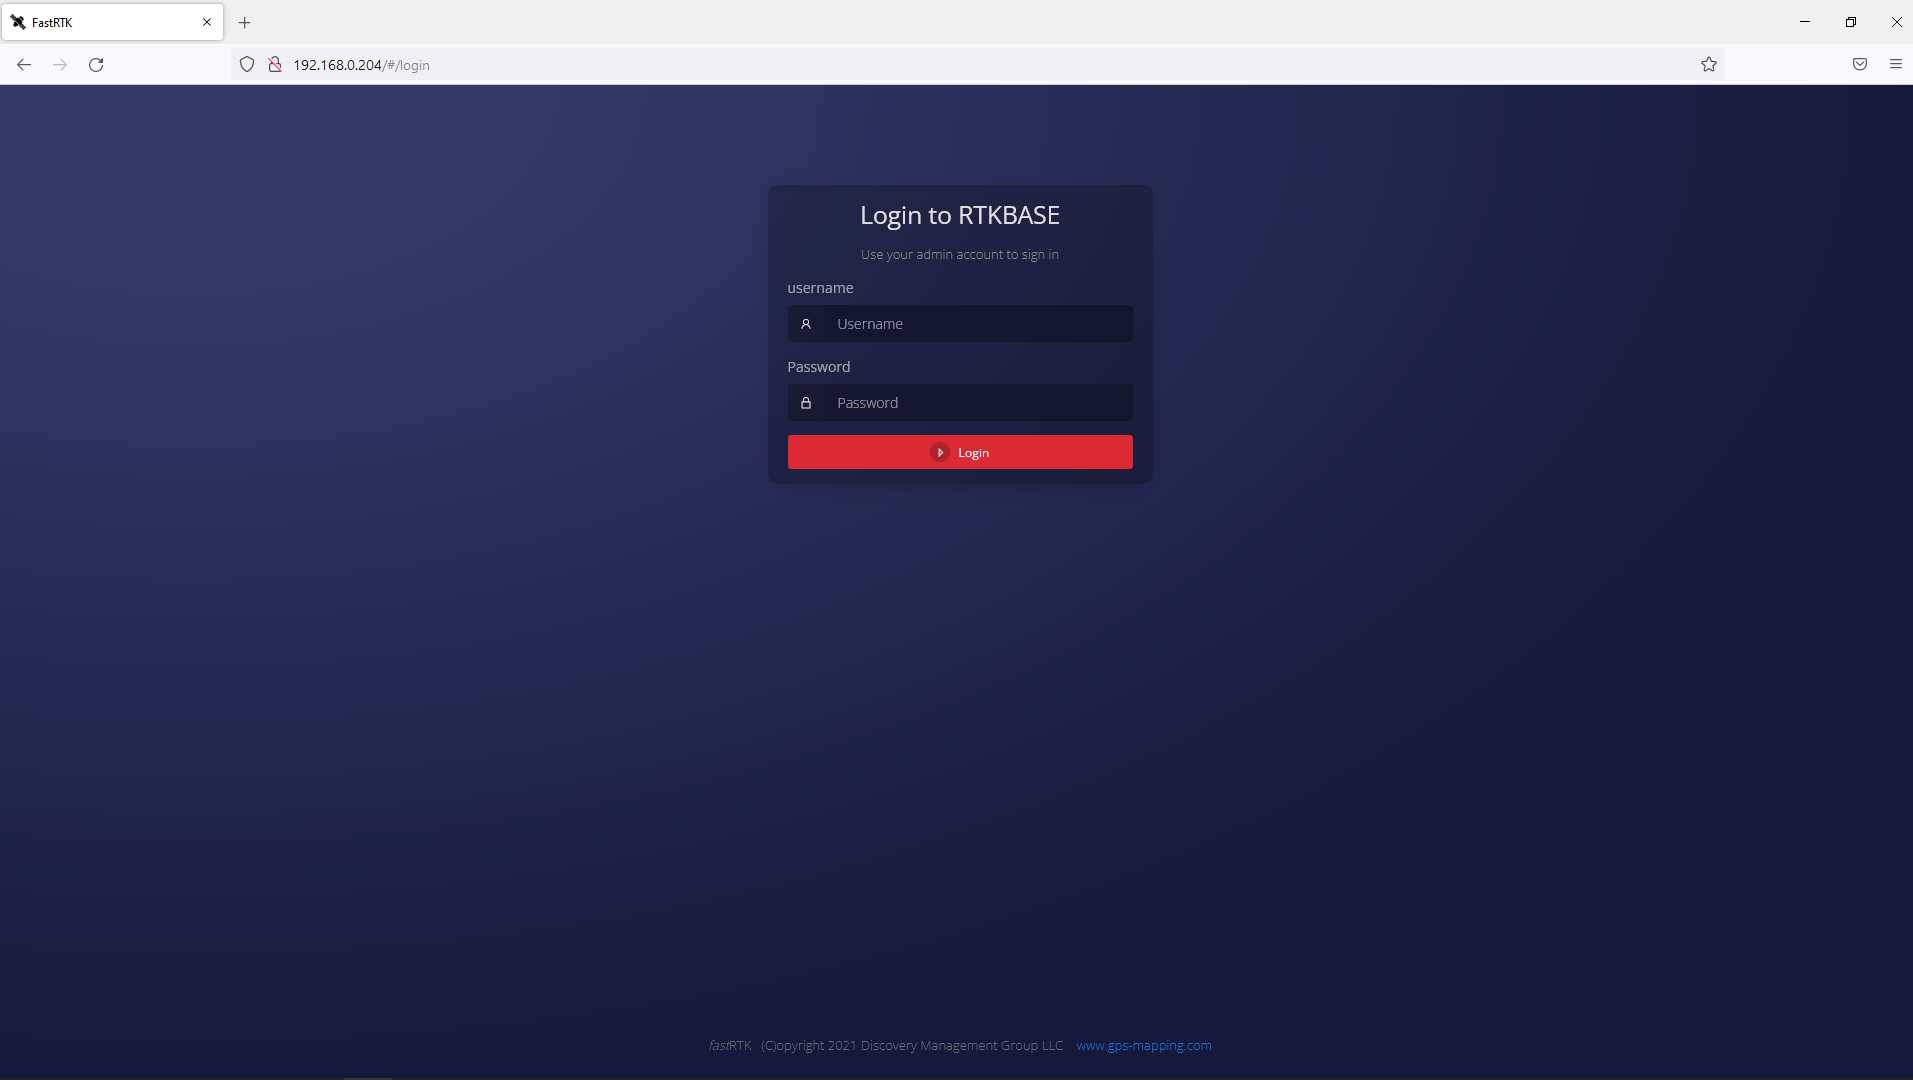
Mobile
¶ Dashboard
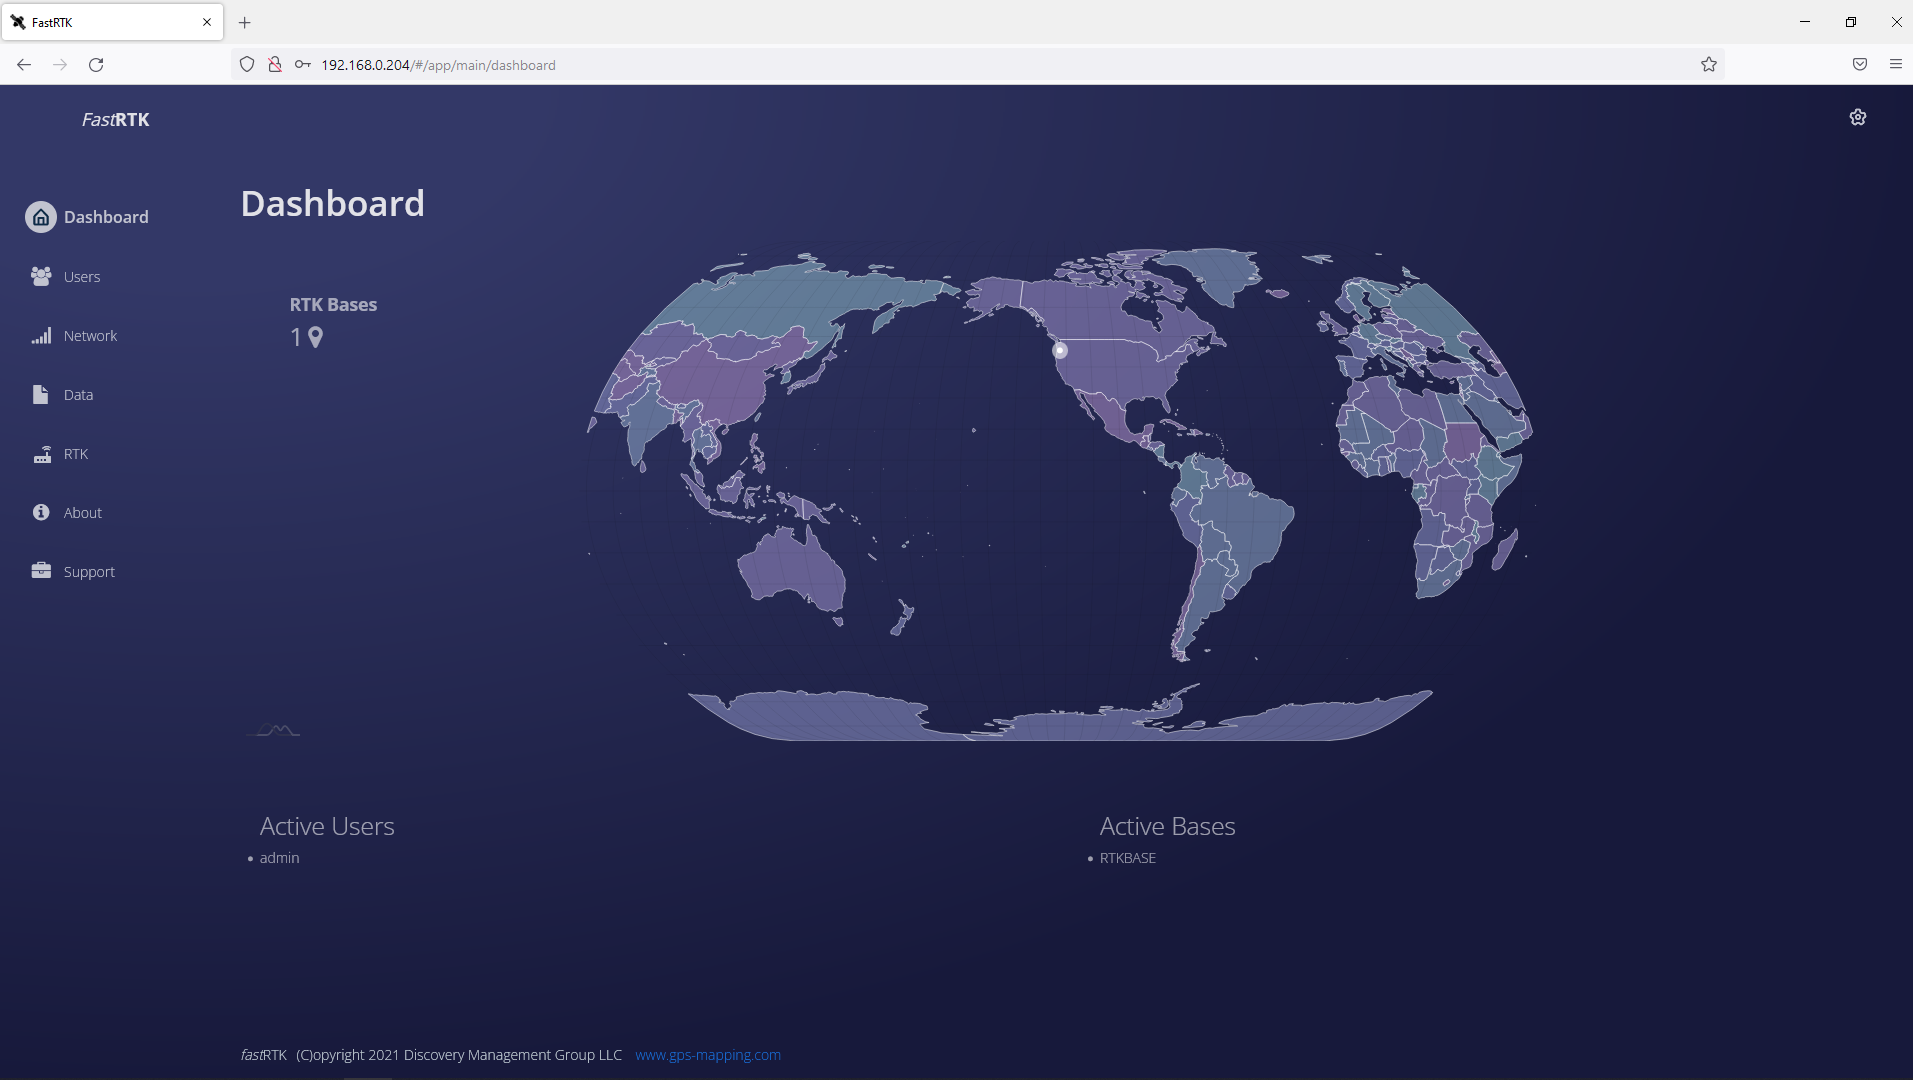
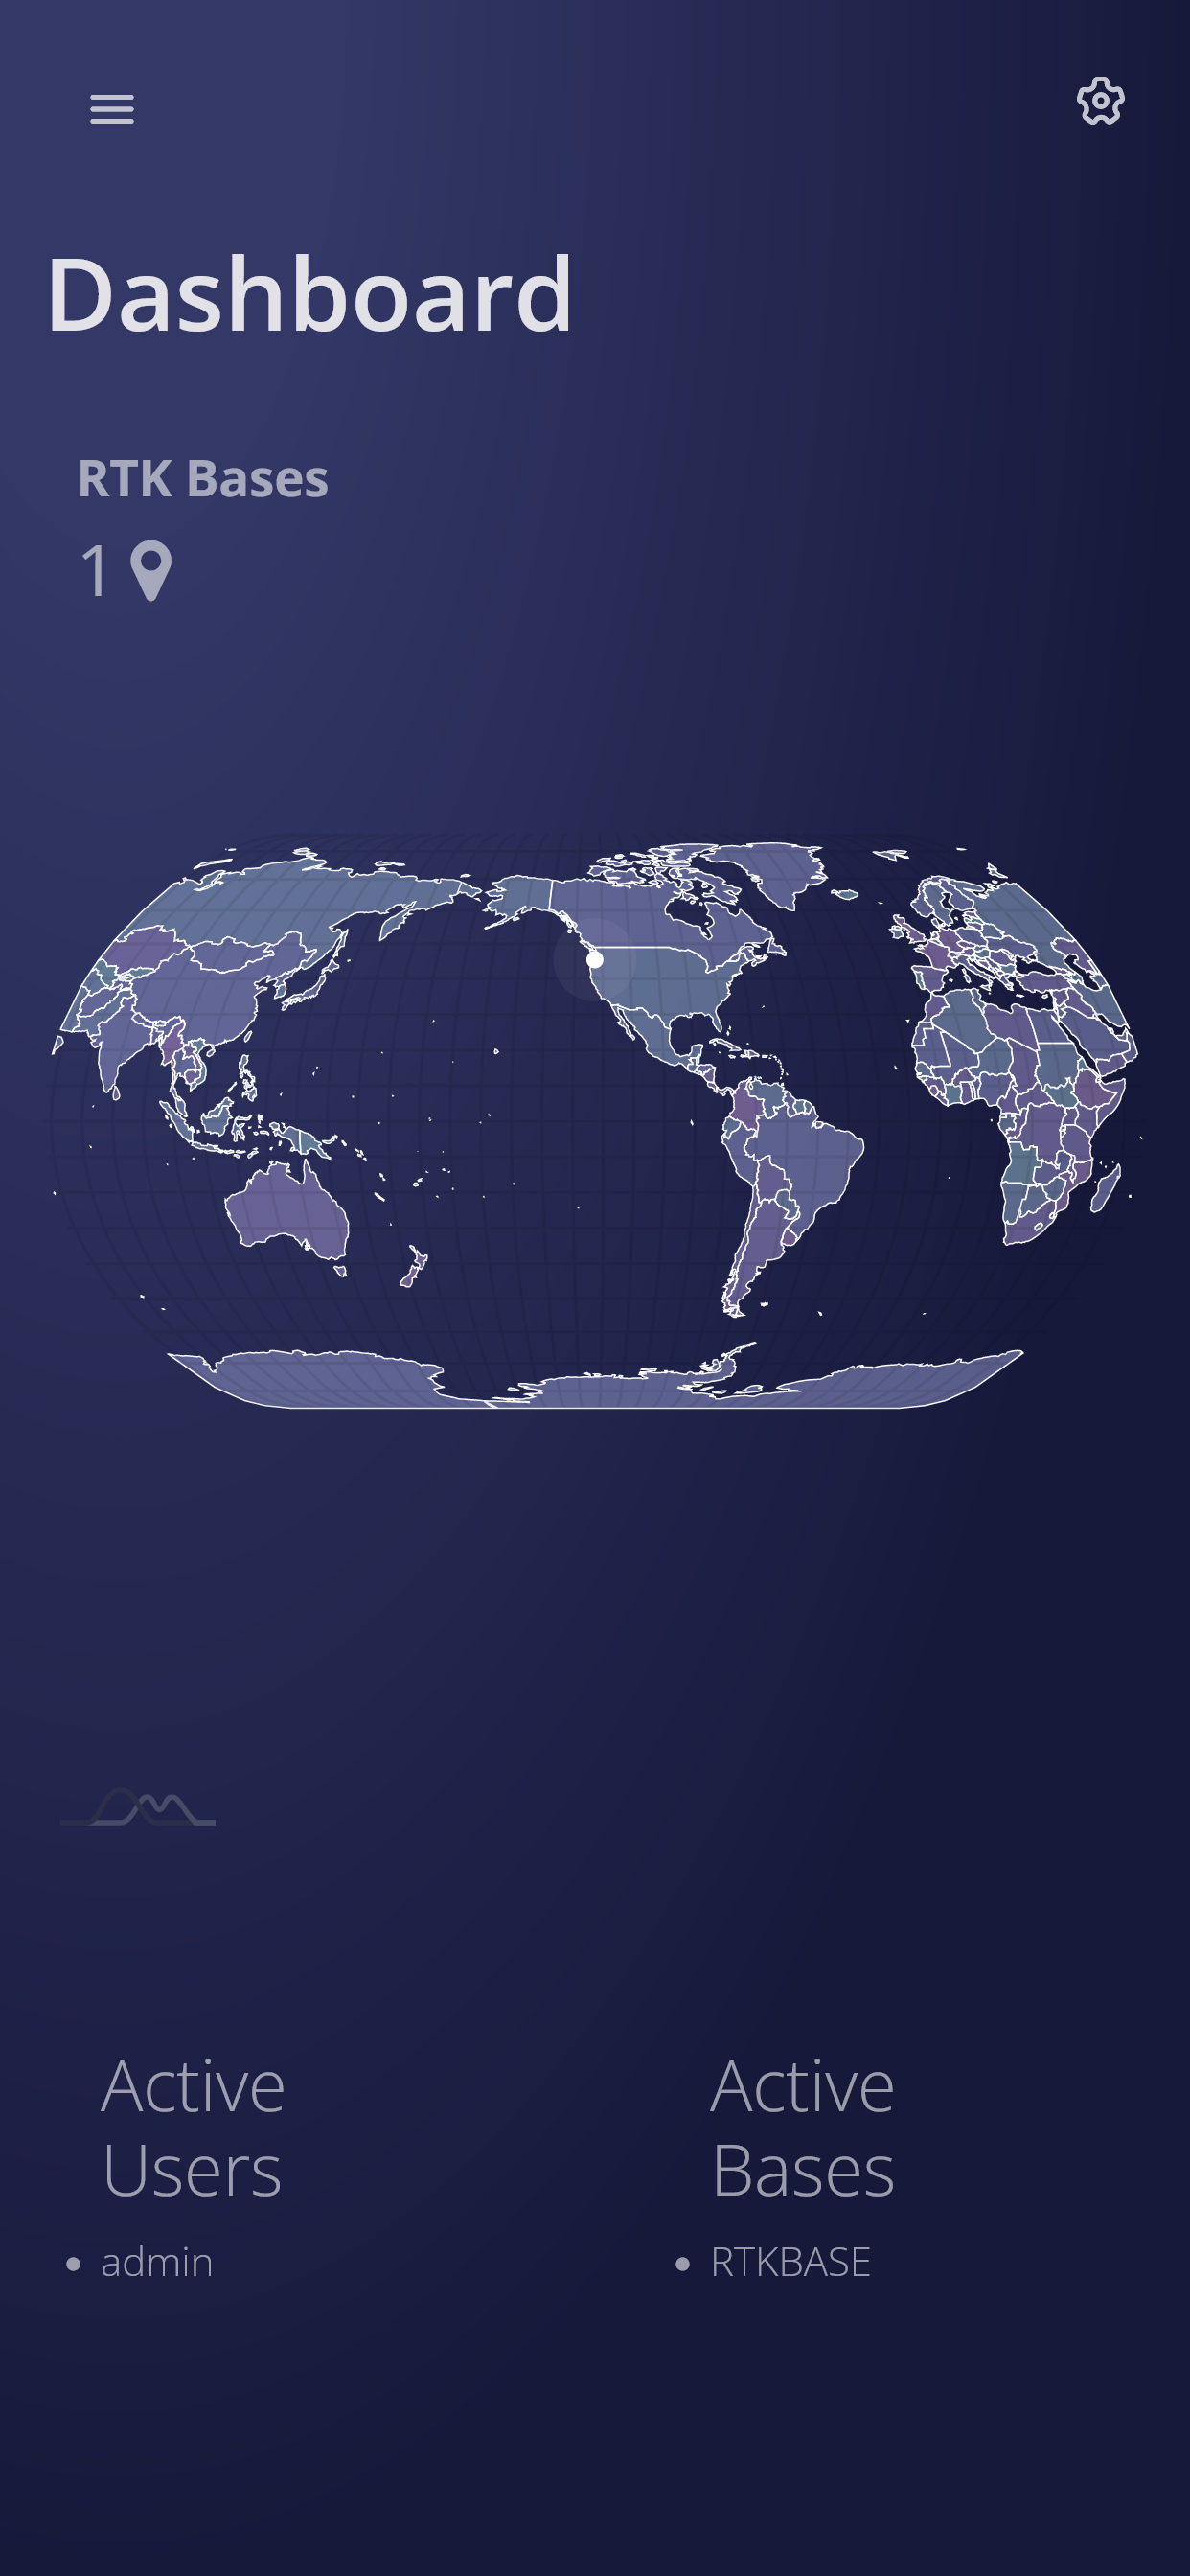
The Dashboard page lists active FastRTK bases and active users. Bases are shown on the map. Active users are not displayed on the map.
Desktop screenshots FastRTK version 4.1.1 (click to expand)
Mobile Screenshots FastRTK version 4.1.1 (click to expand)
¶ Users
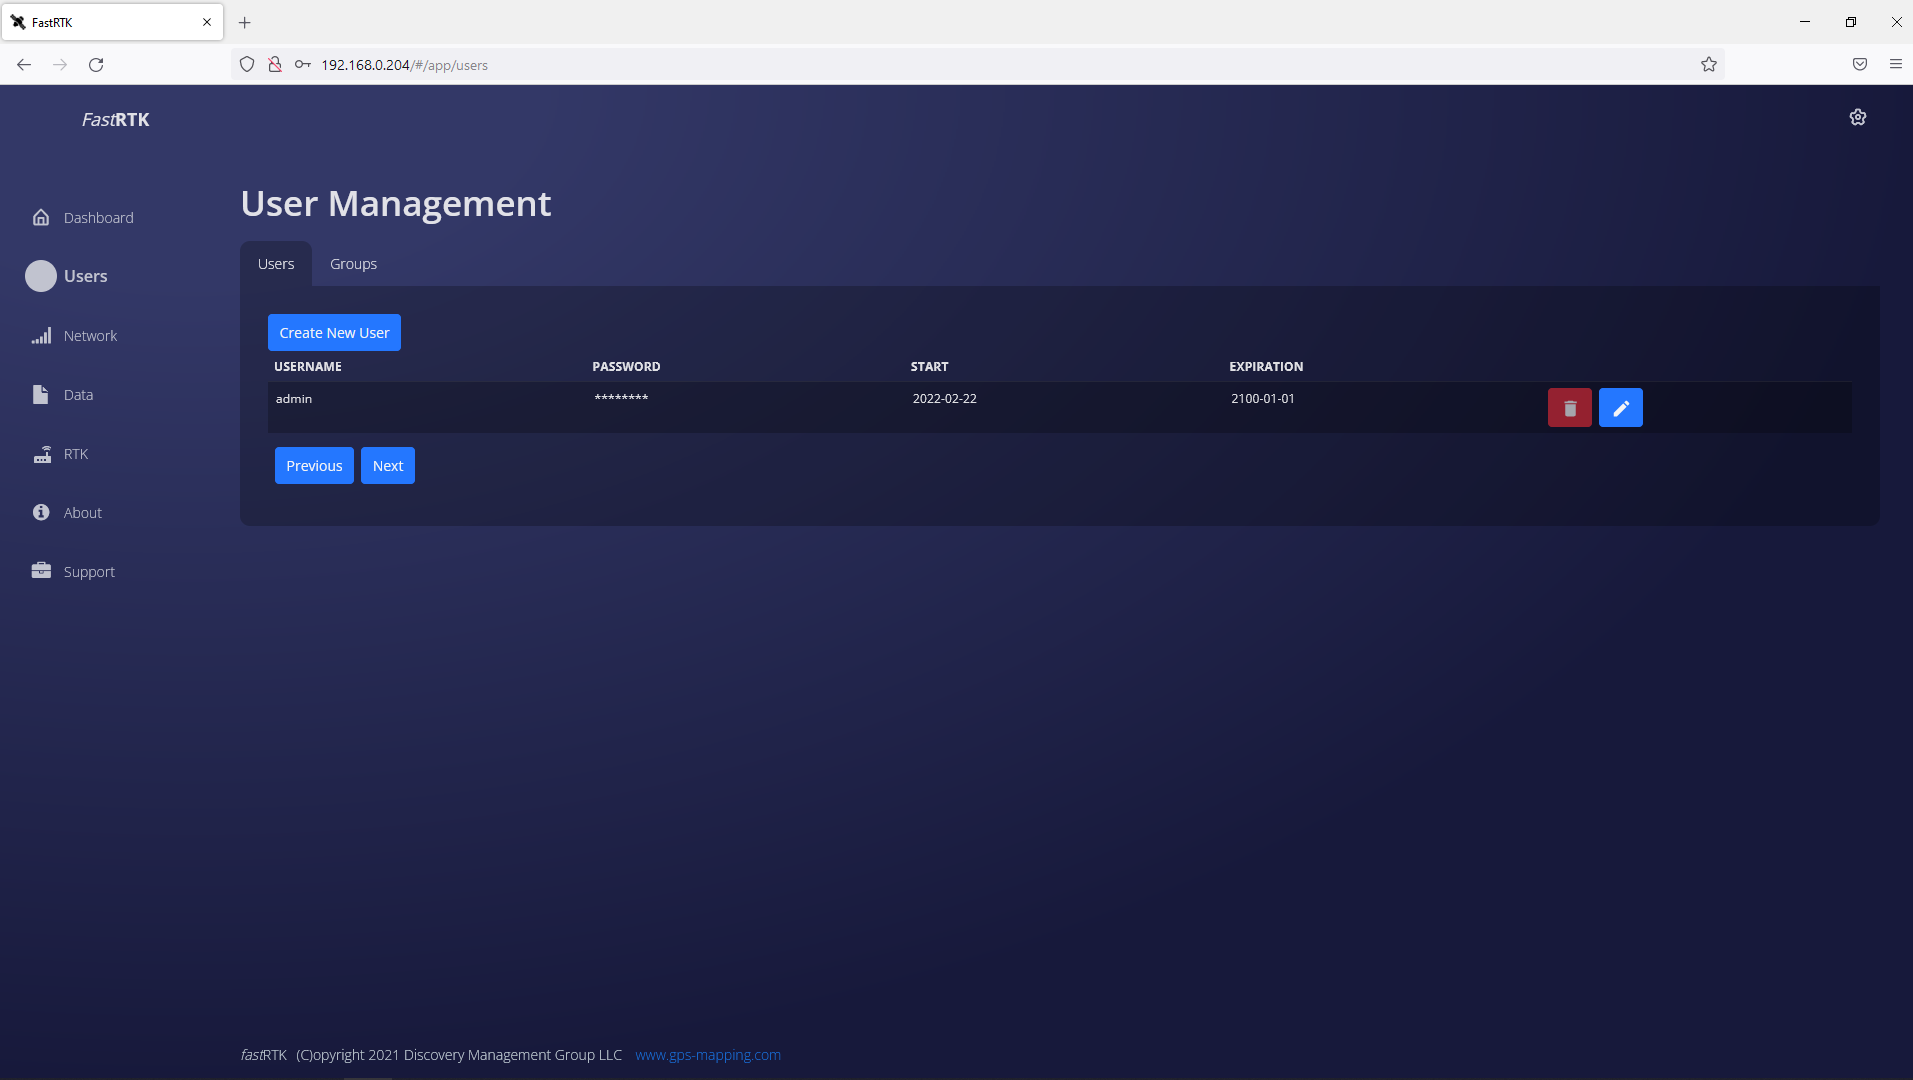
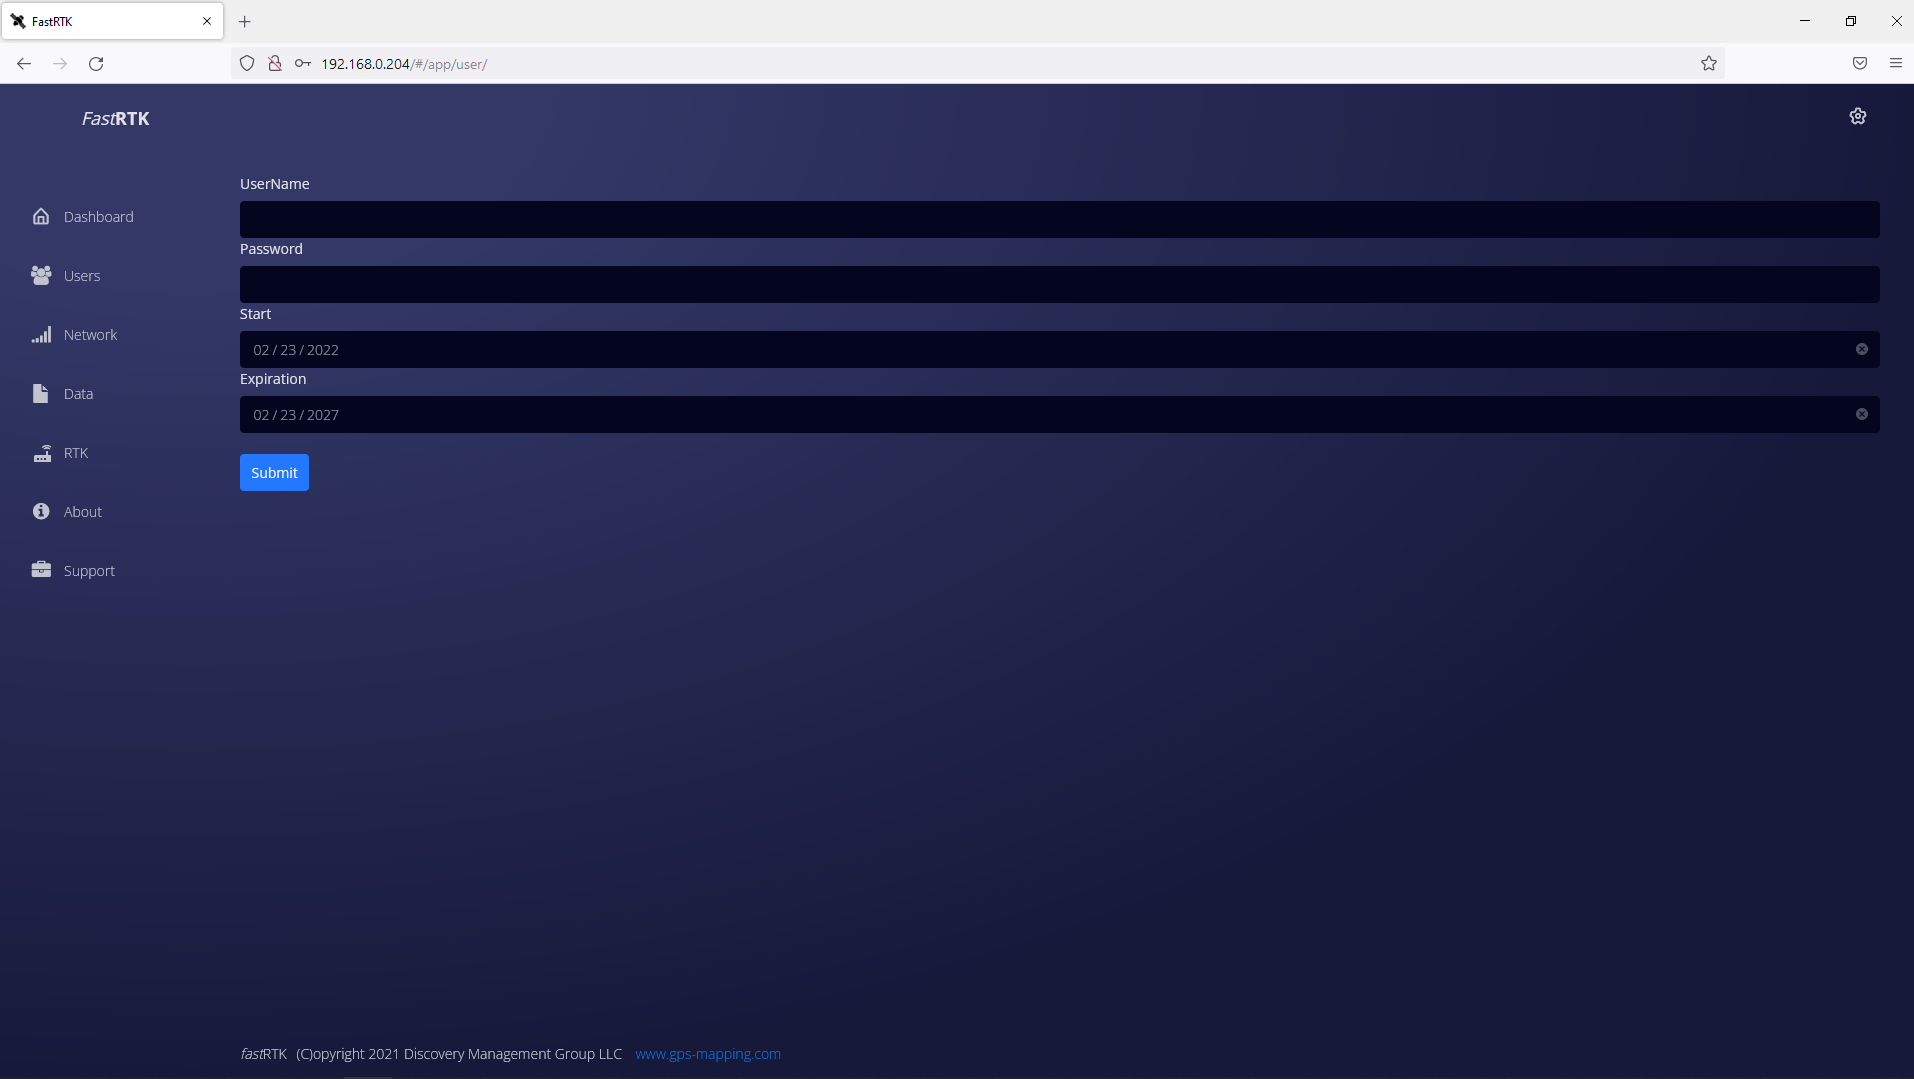
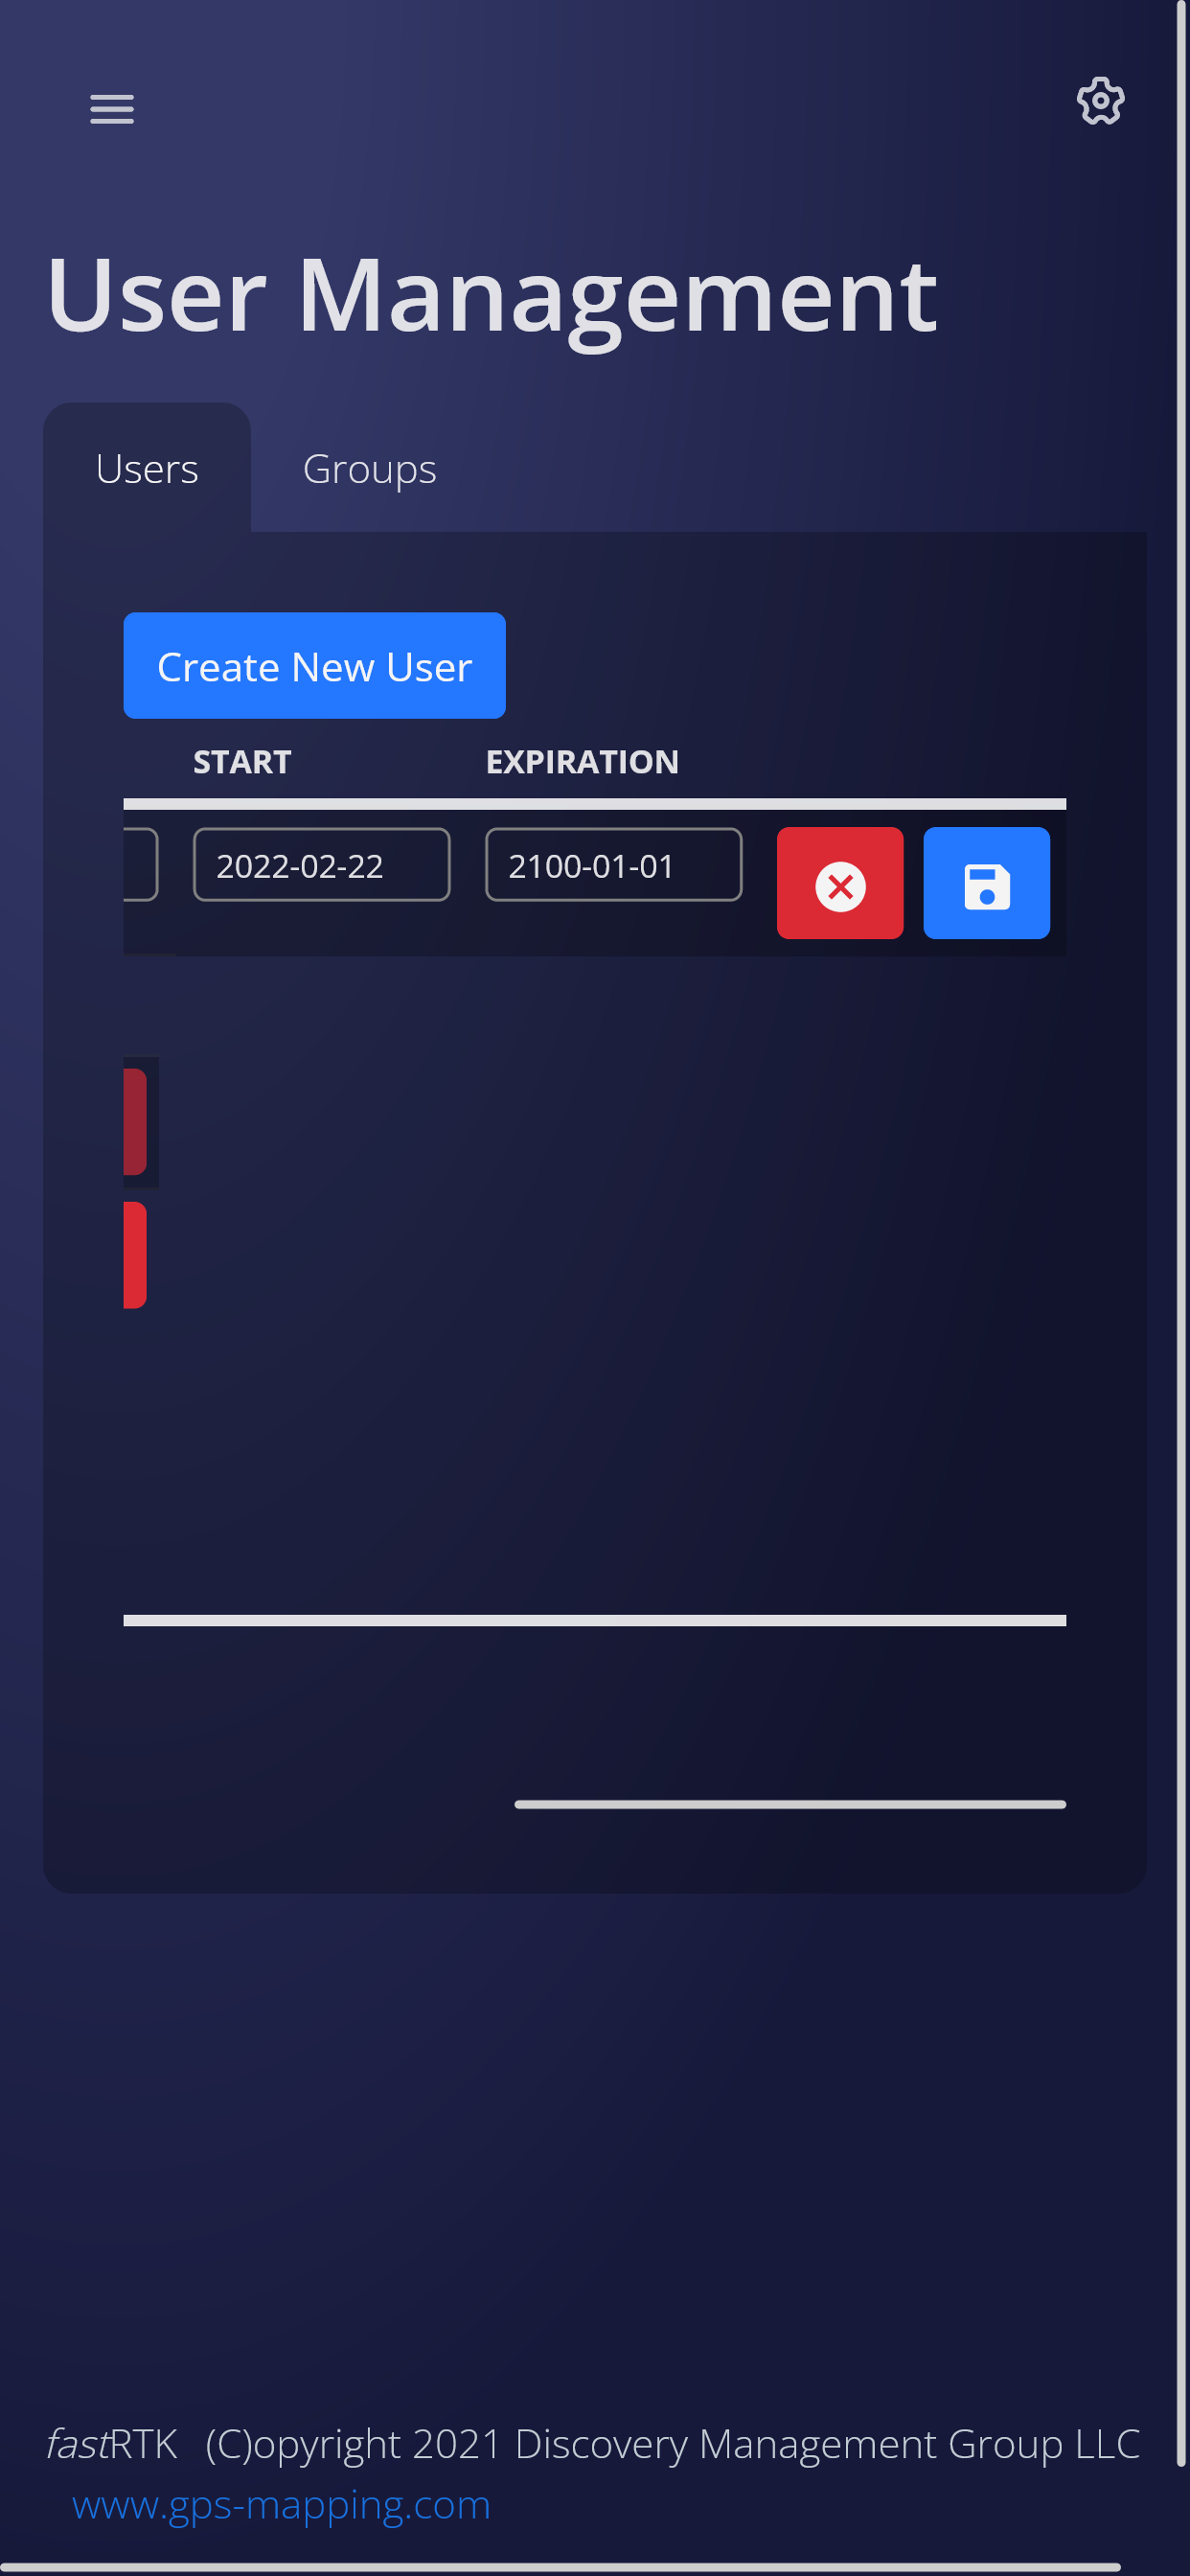
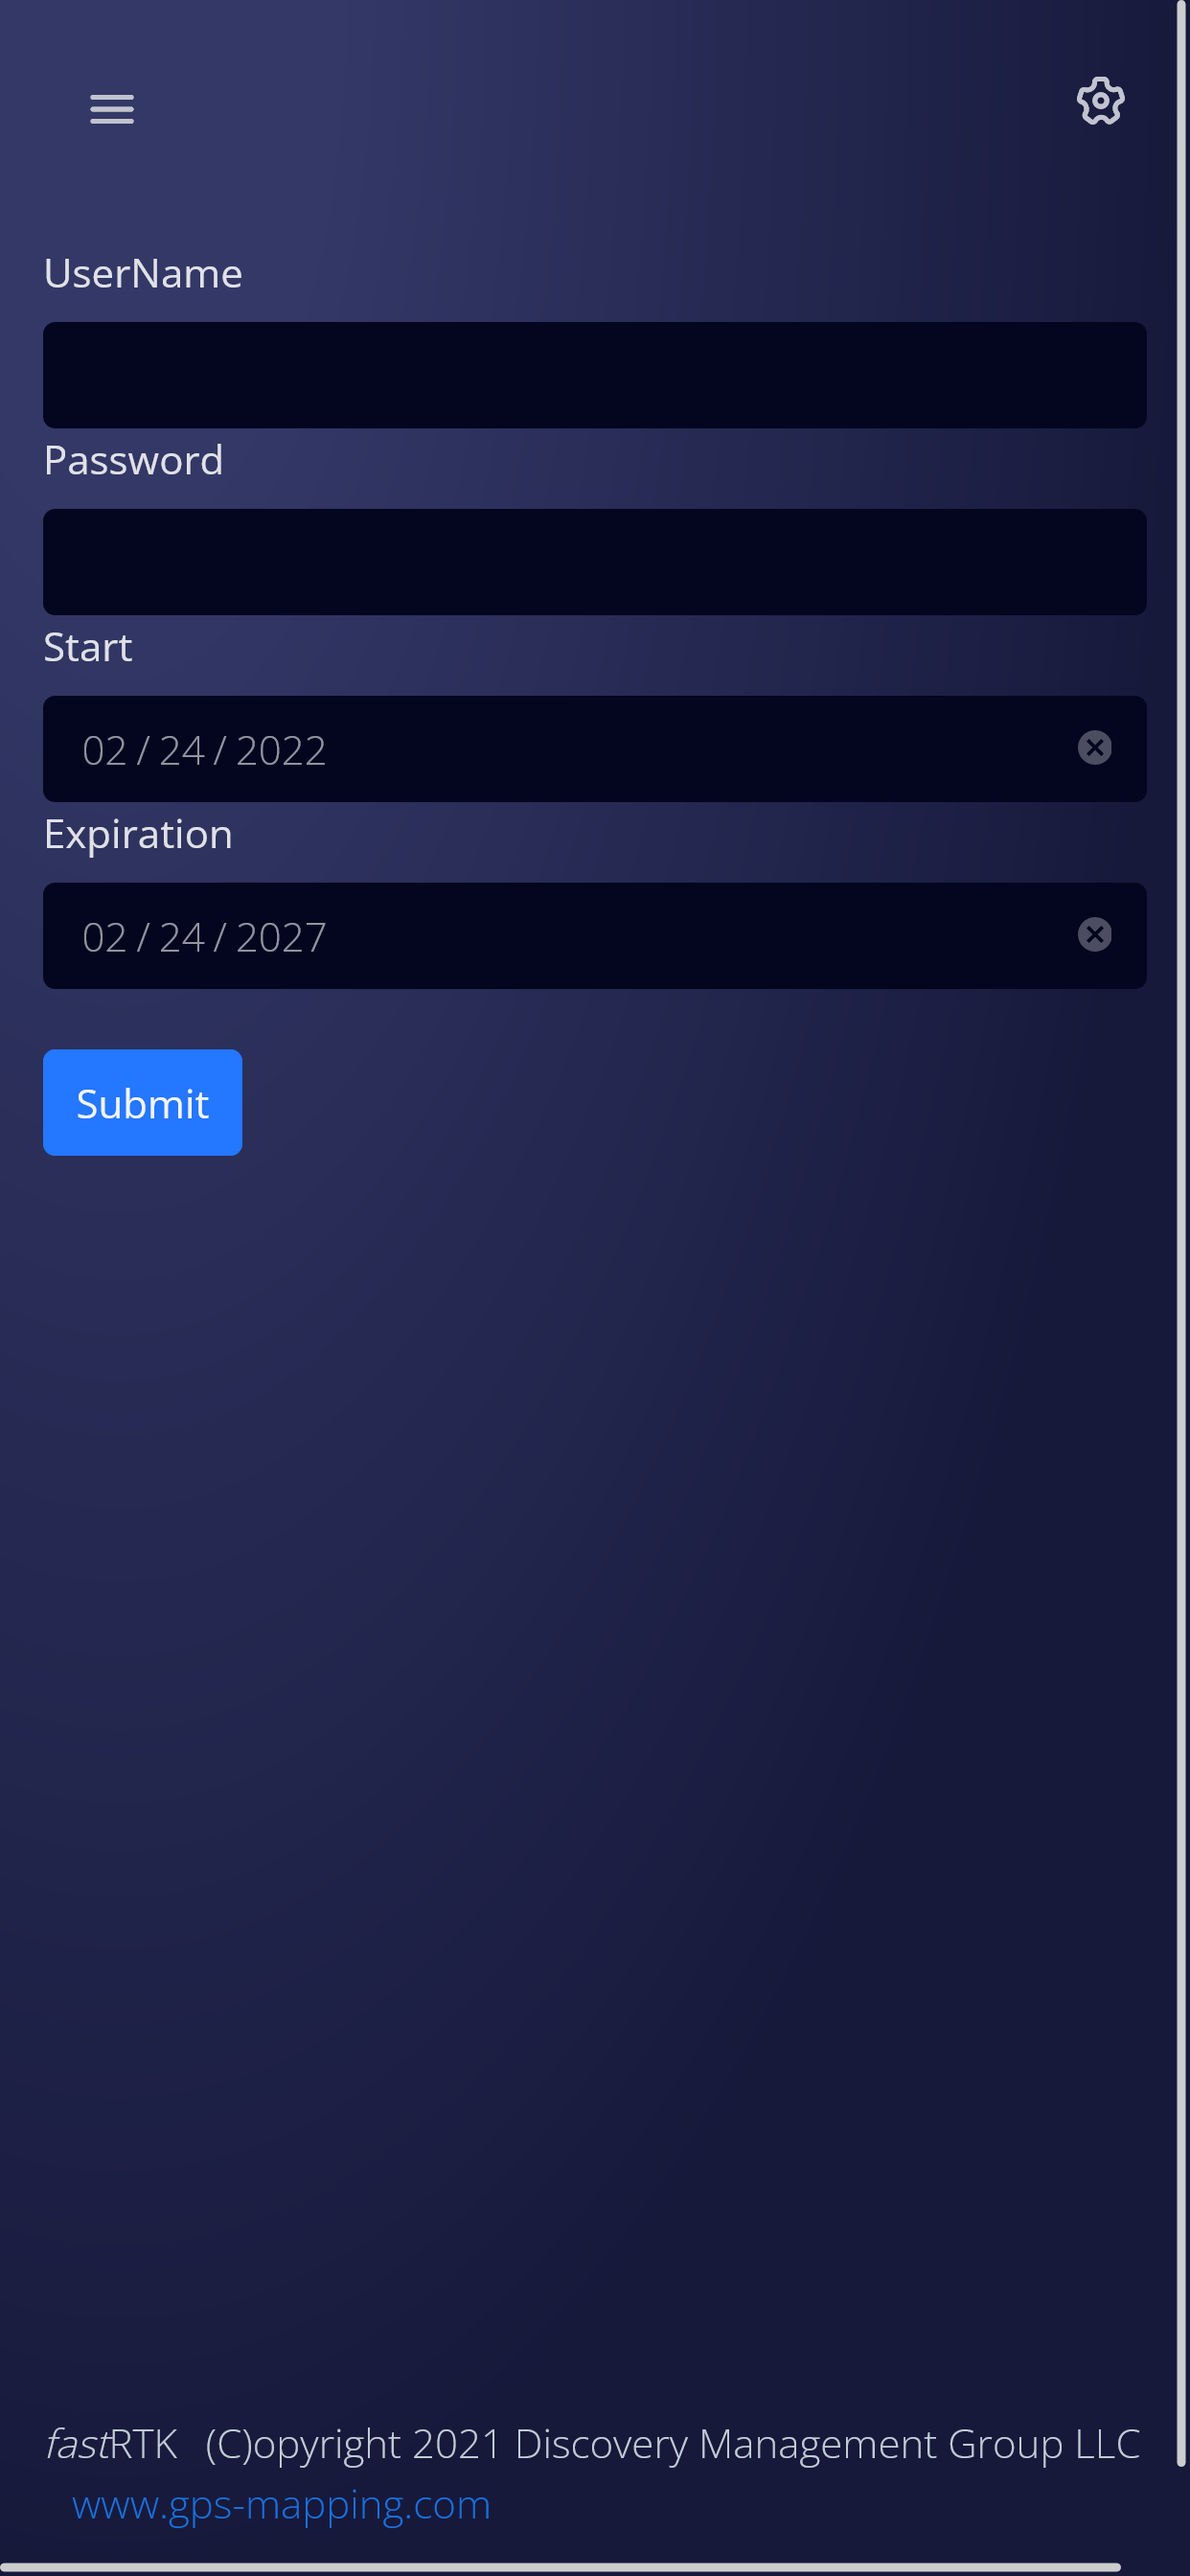
The Users page is where the admin controls the login credentials for users. The user, with a rover GNSS, will input the credentials on their device in order to connect to the FastRTK base.
- See existing users
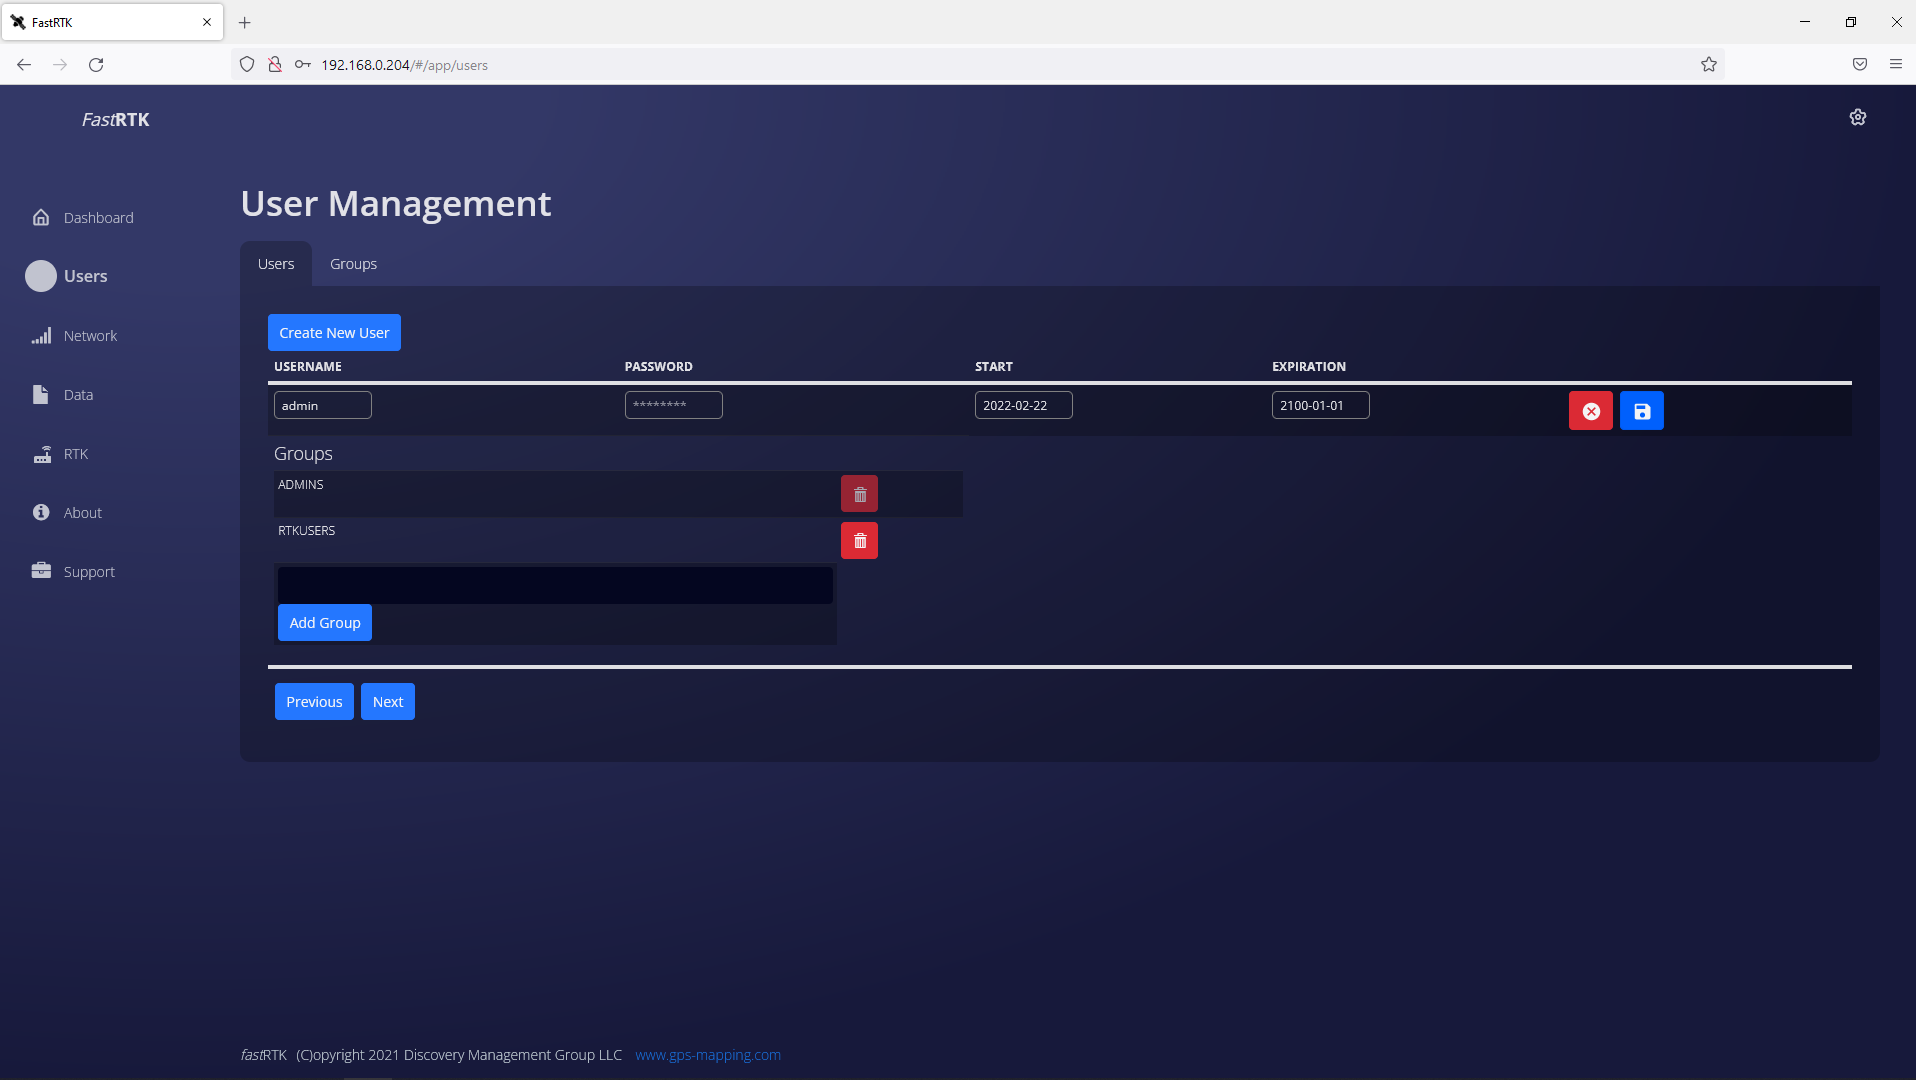
- Edit existing users
- Add new users
- Control user credential start/stop dates
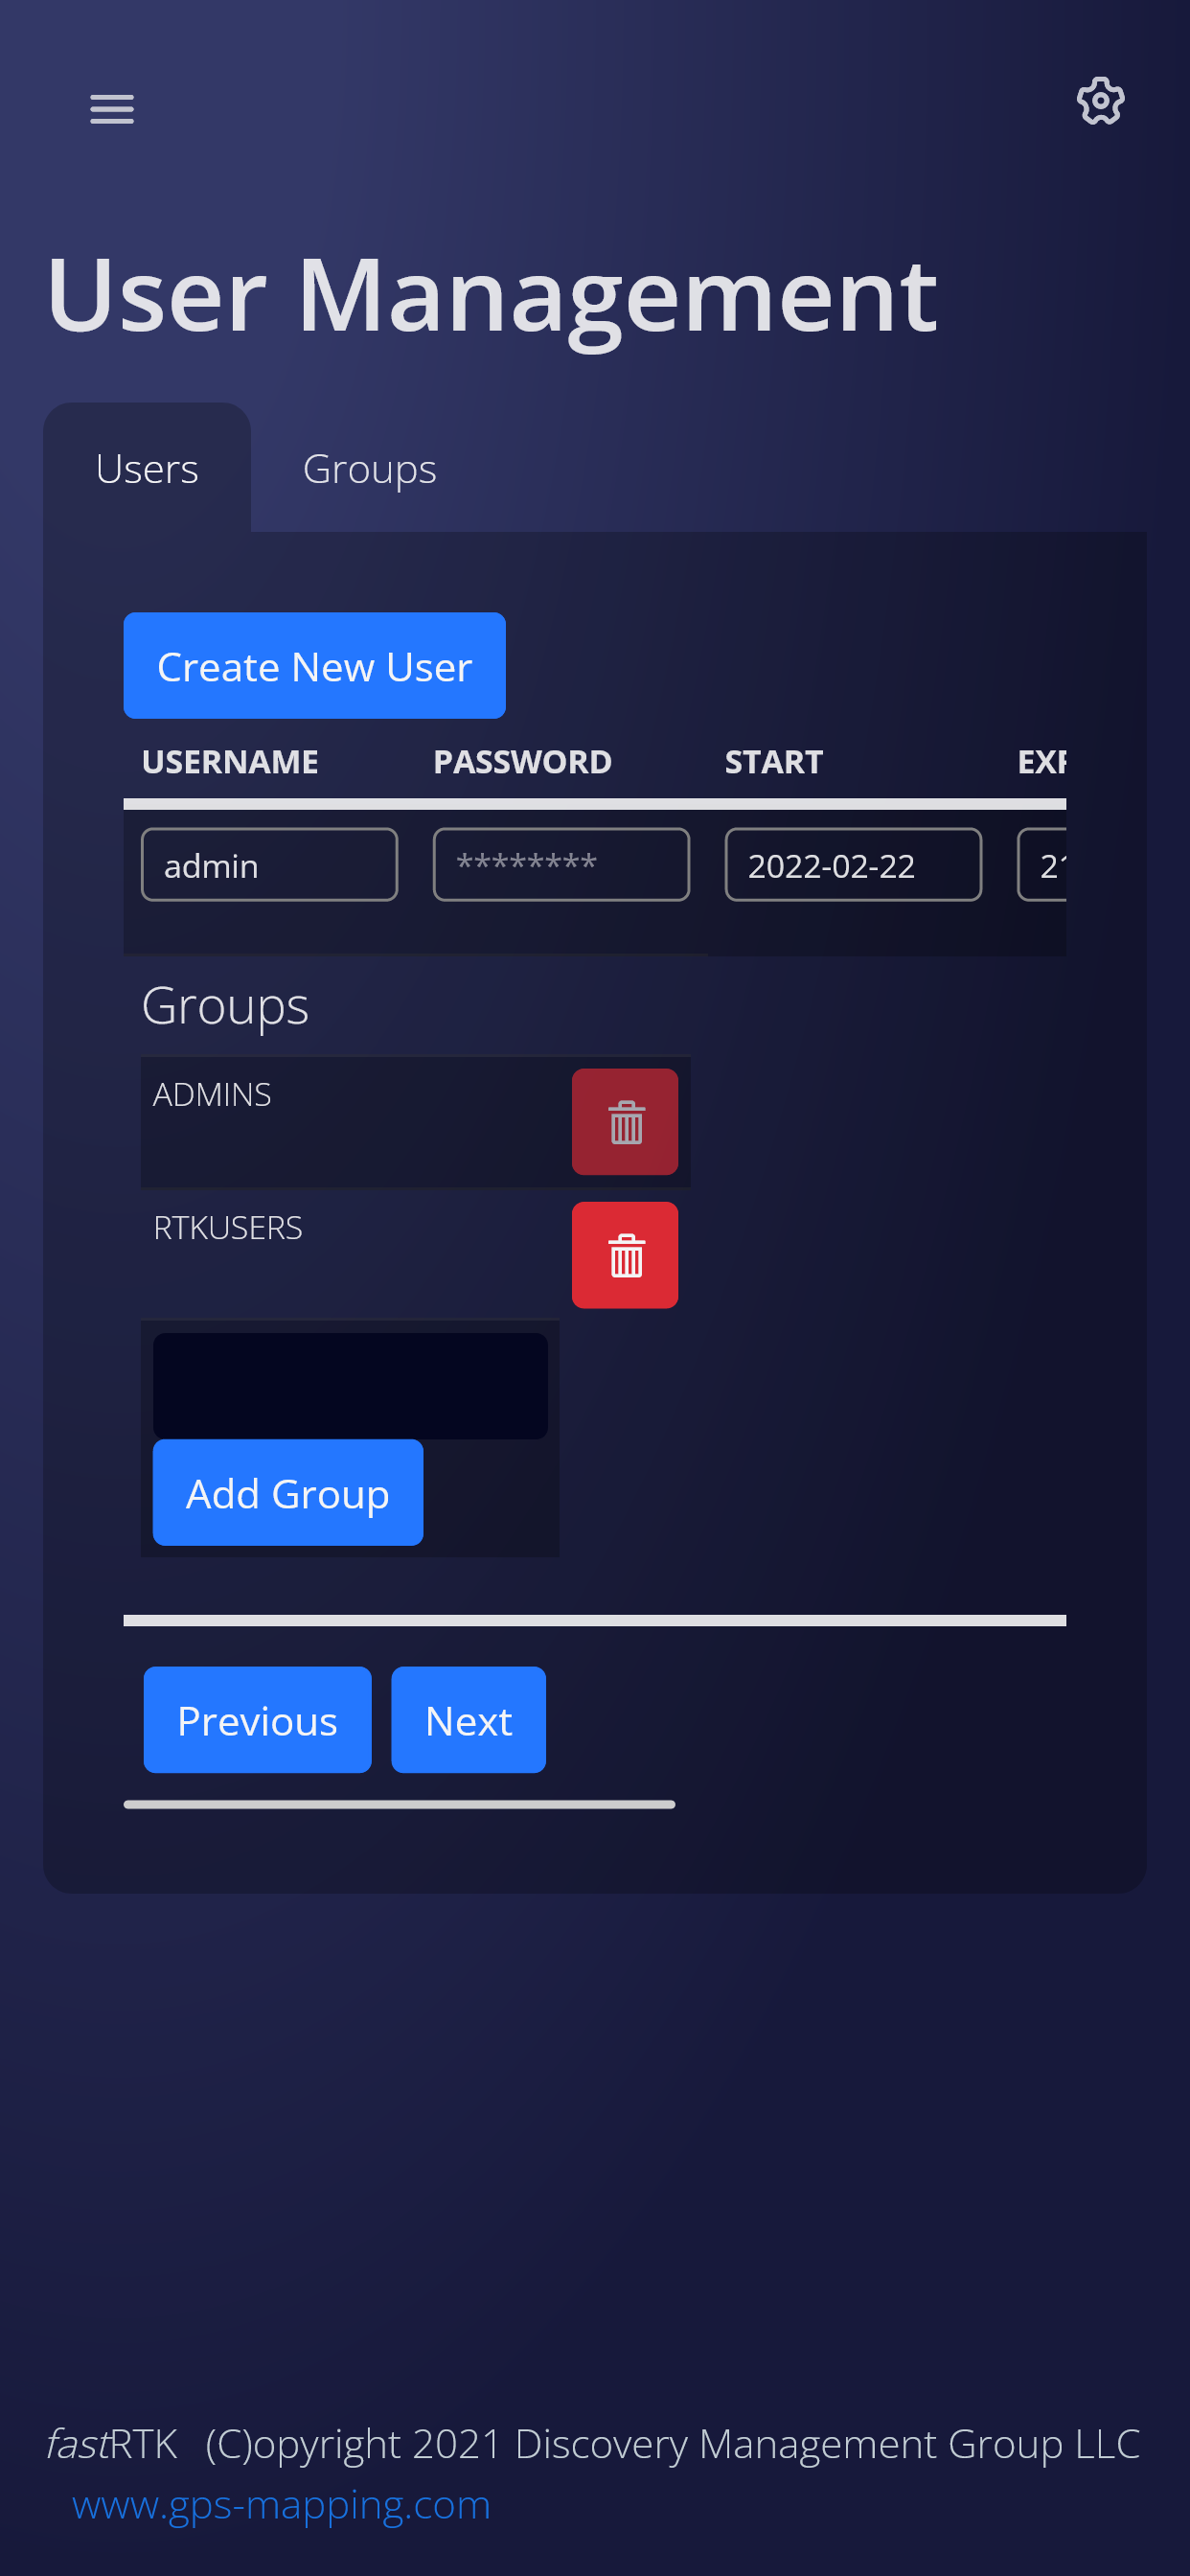
By default, new users are added to the RTKUSERS group. To limit what mountpoints a user has access to, add the User to a Group with limited mountpoint access.
Desktop Screenshots FastRTK version 4.1.1 (click to expand)
Edit a user
Add a new user
Mobile Screenshots FastRTK version 4.1.1 (click to expand)
View user information on mobile: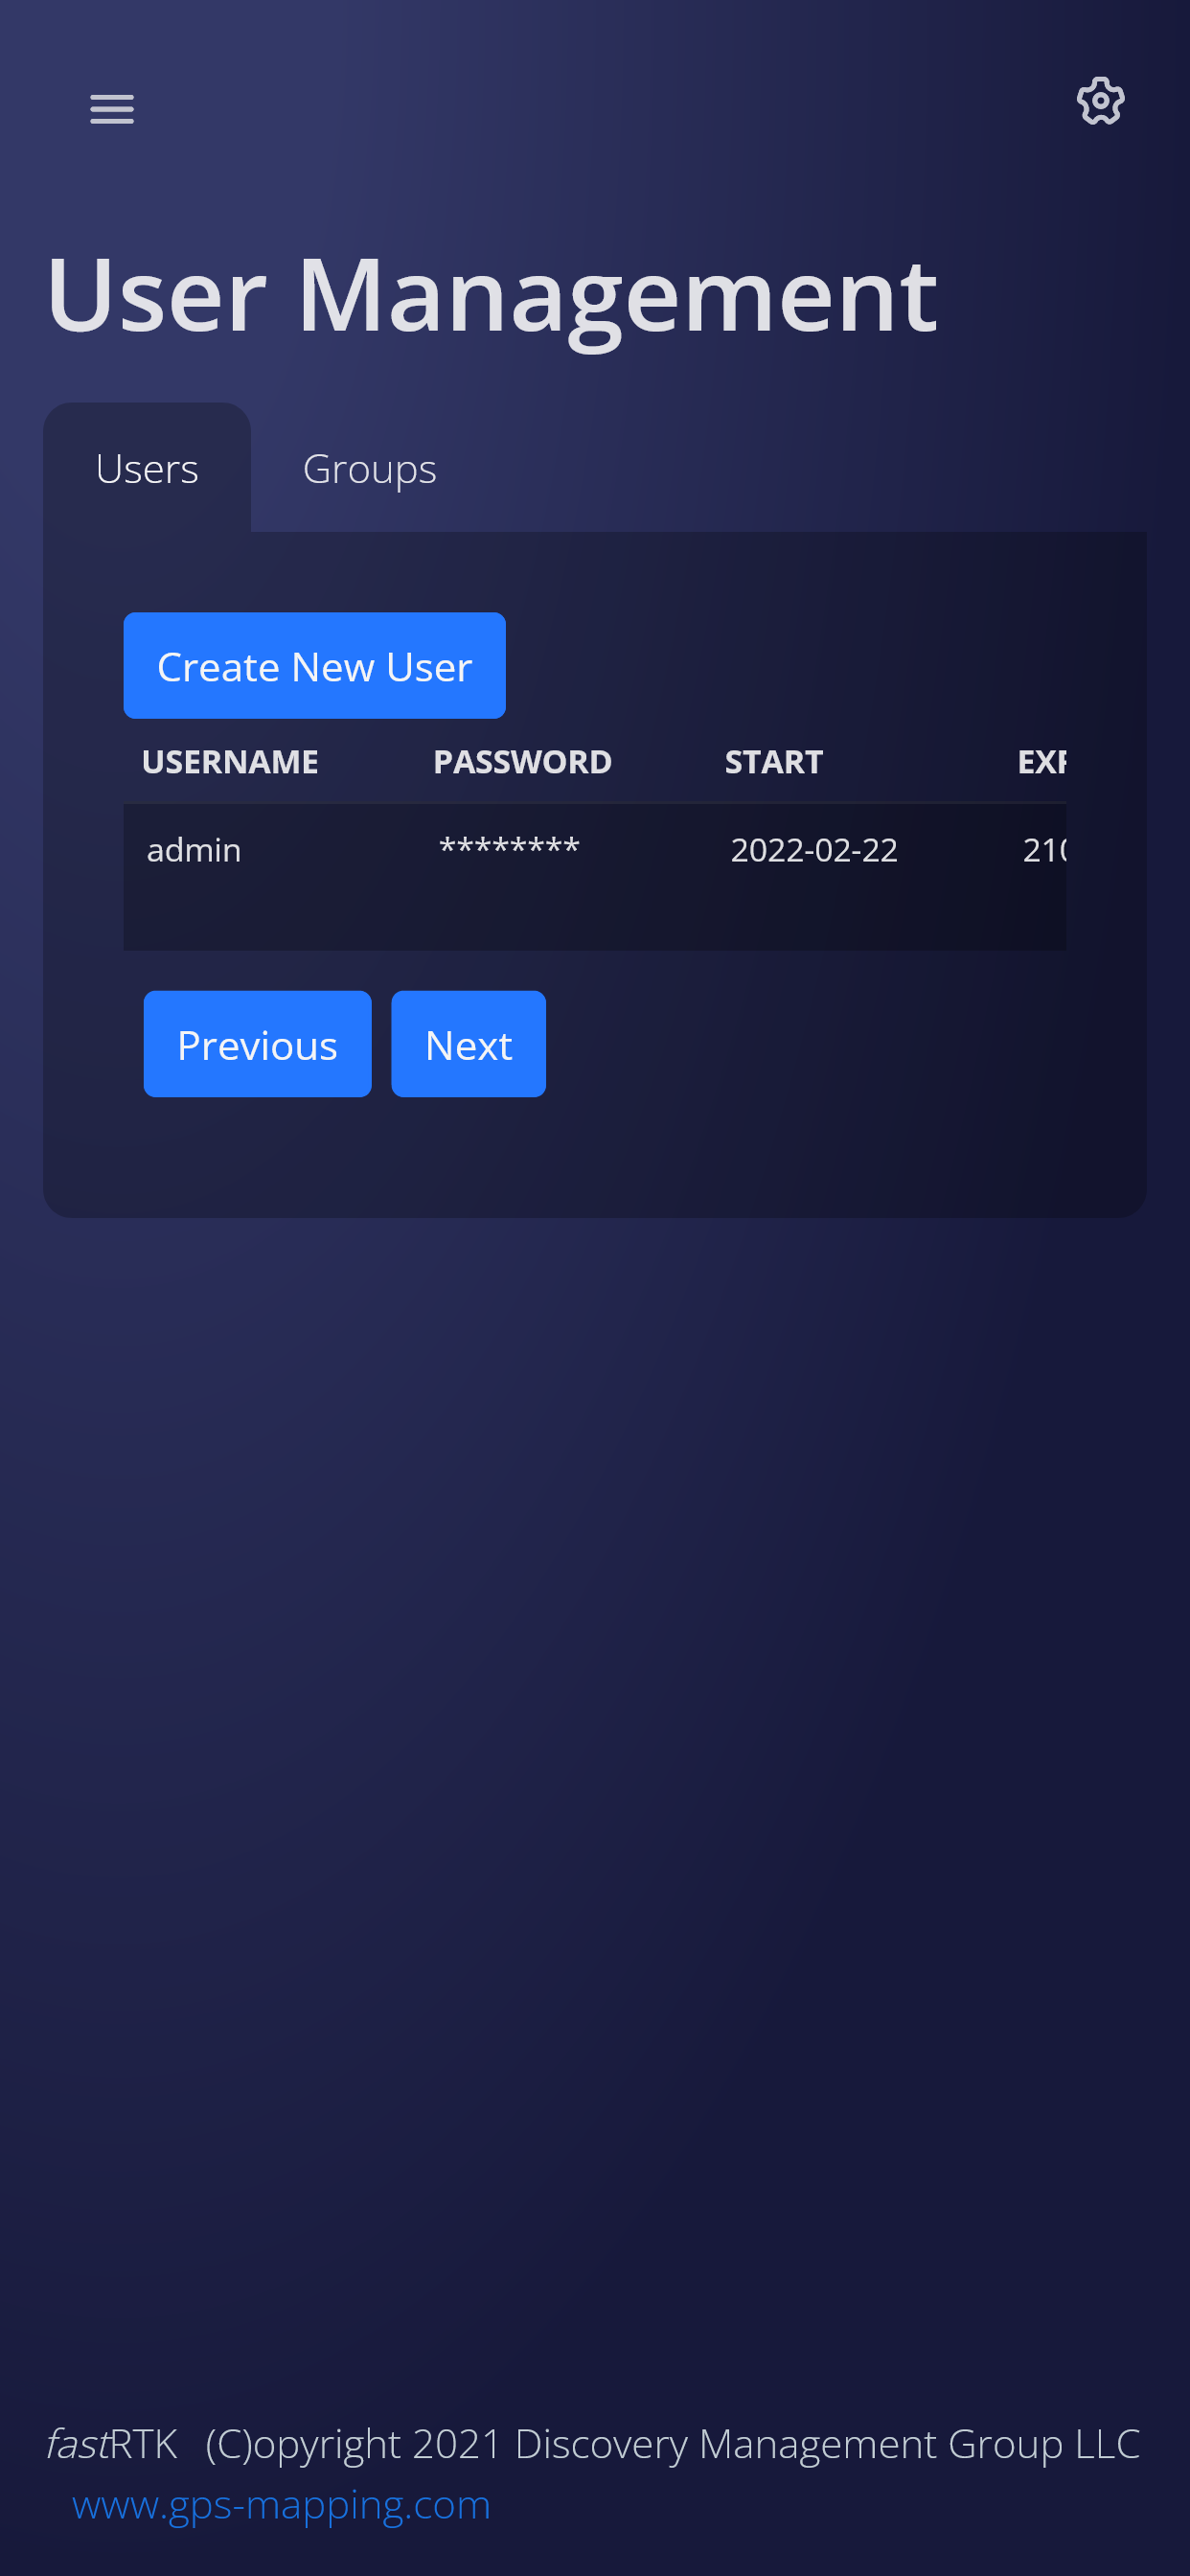
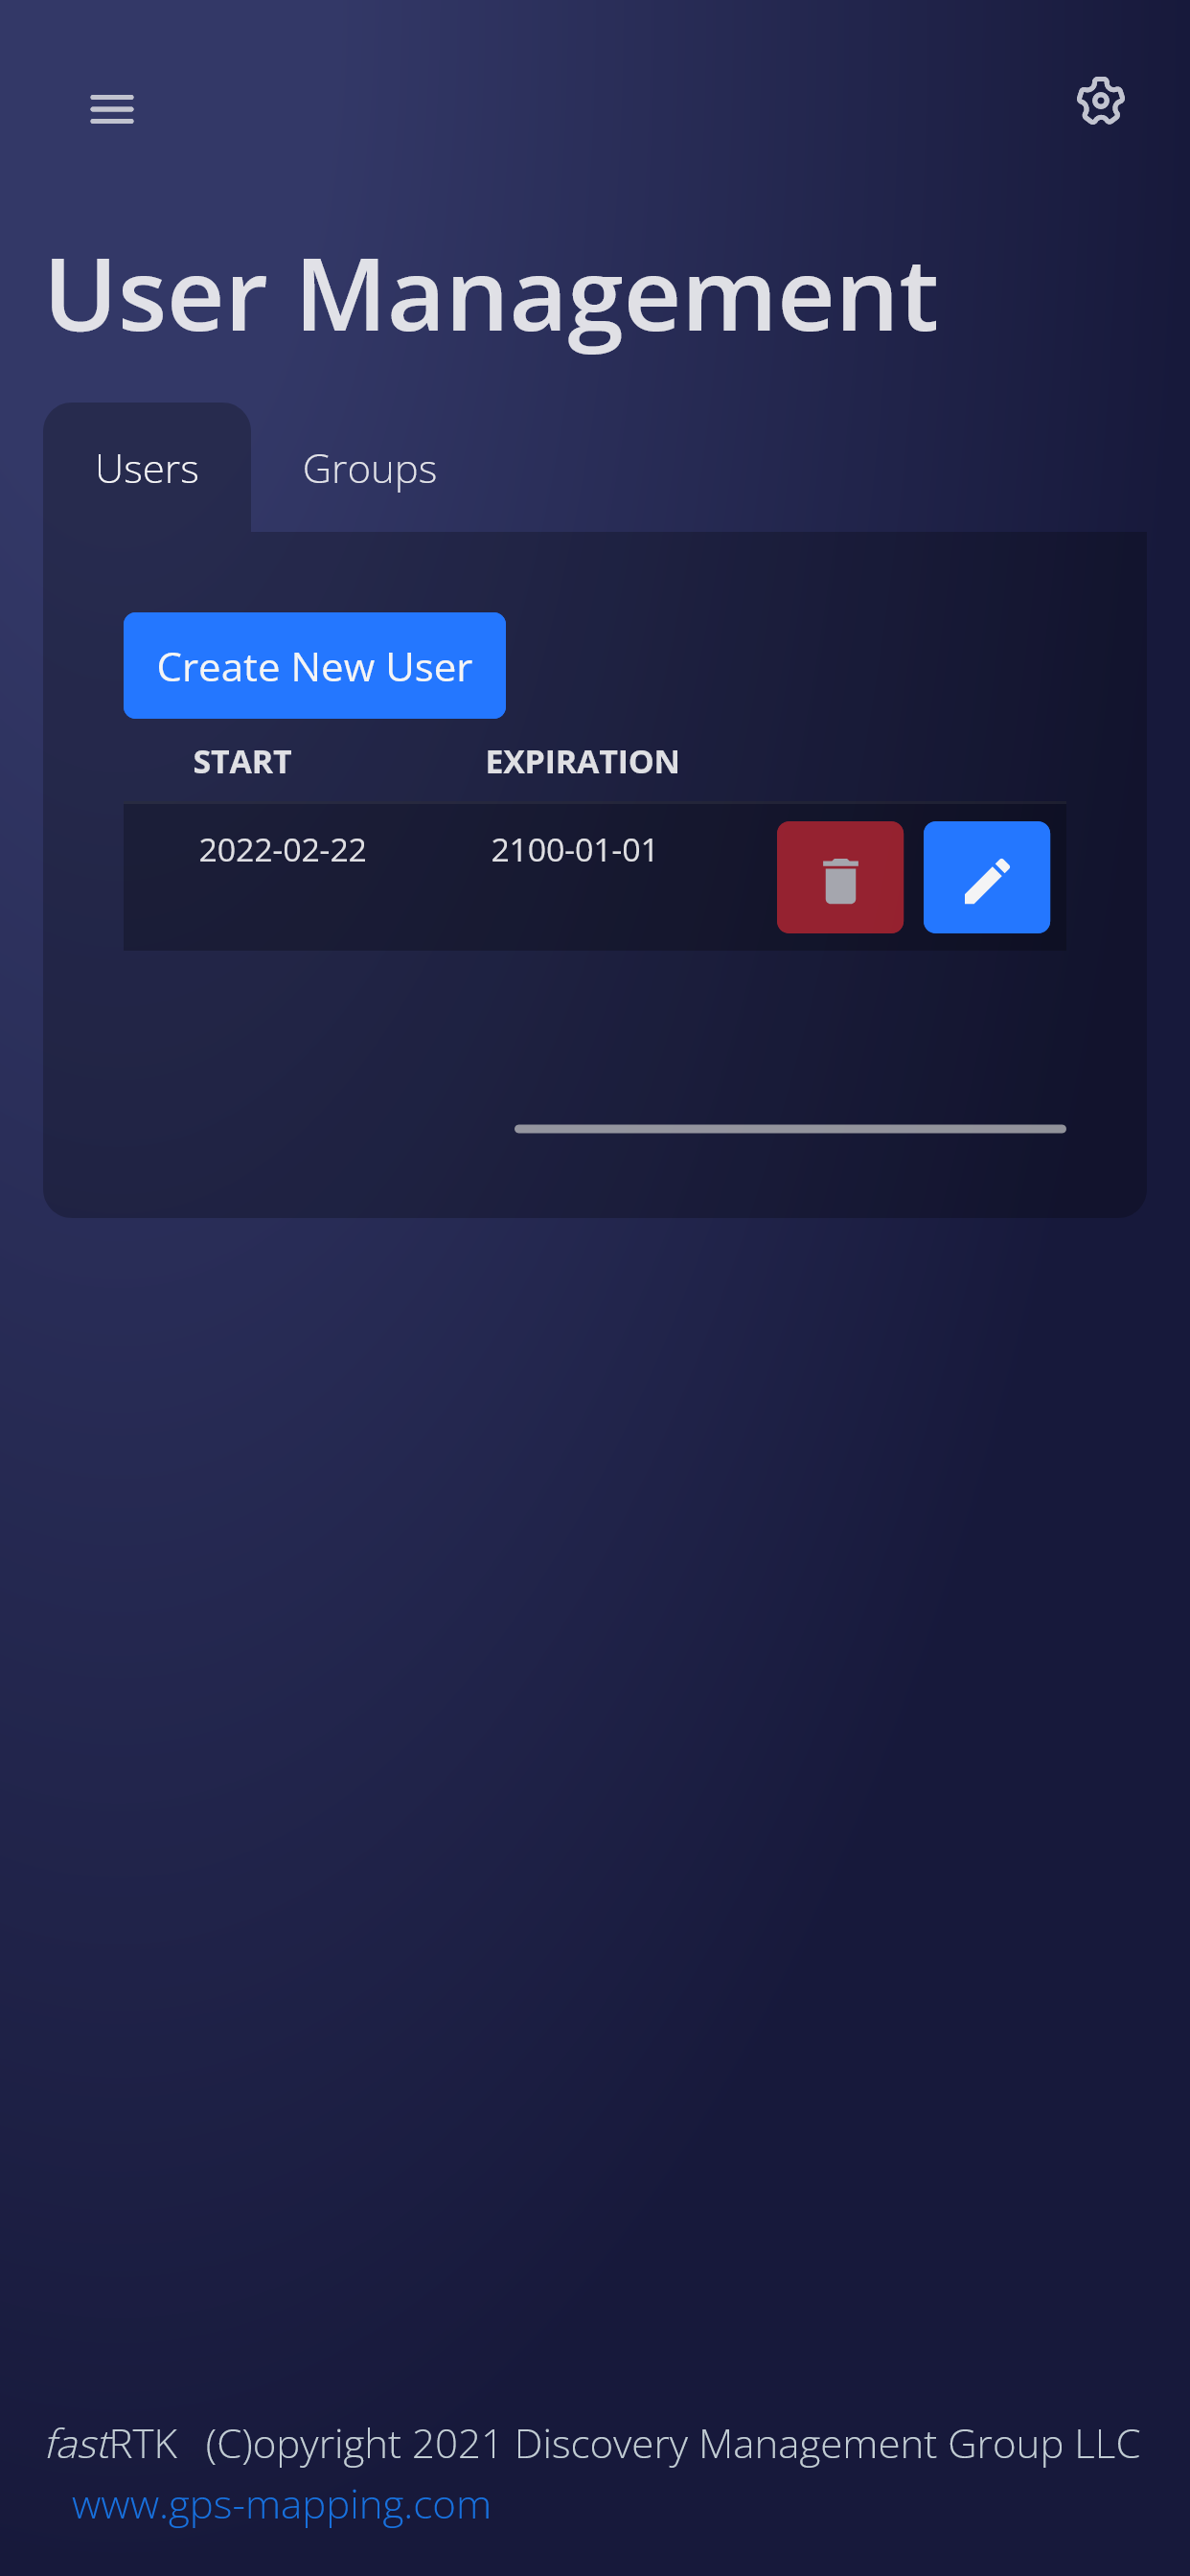
Edit a user's information on mobile:
¶ Groups
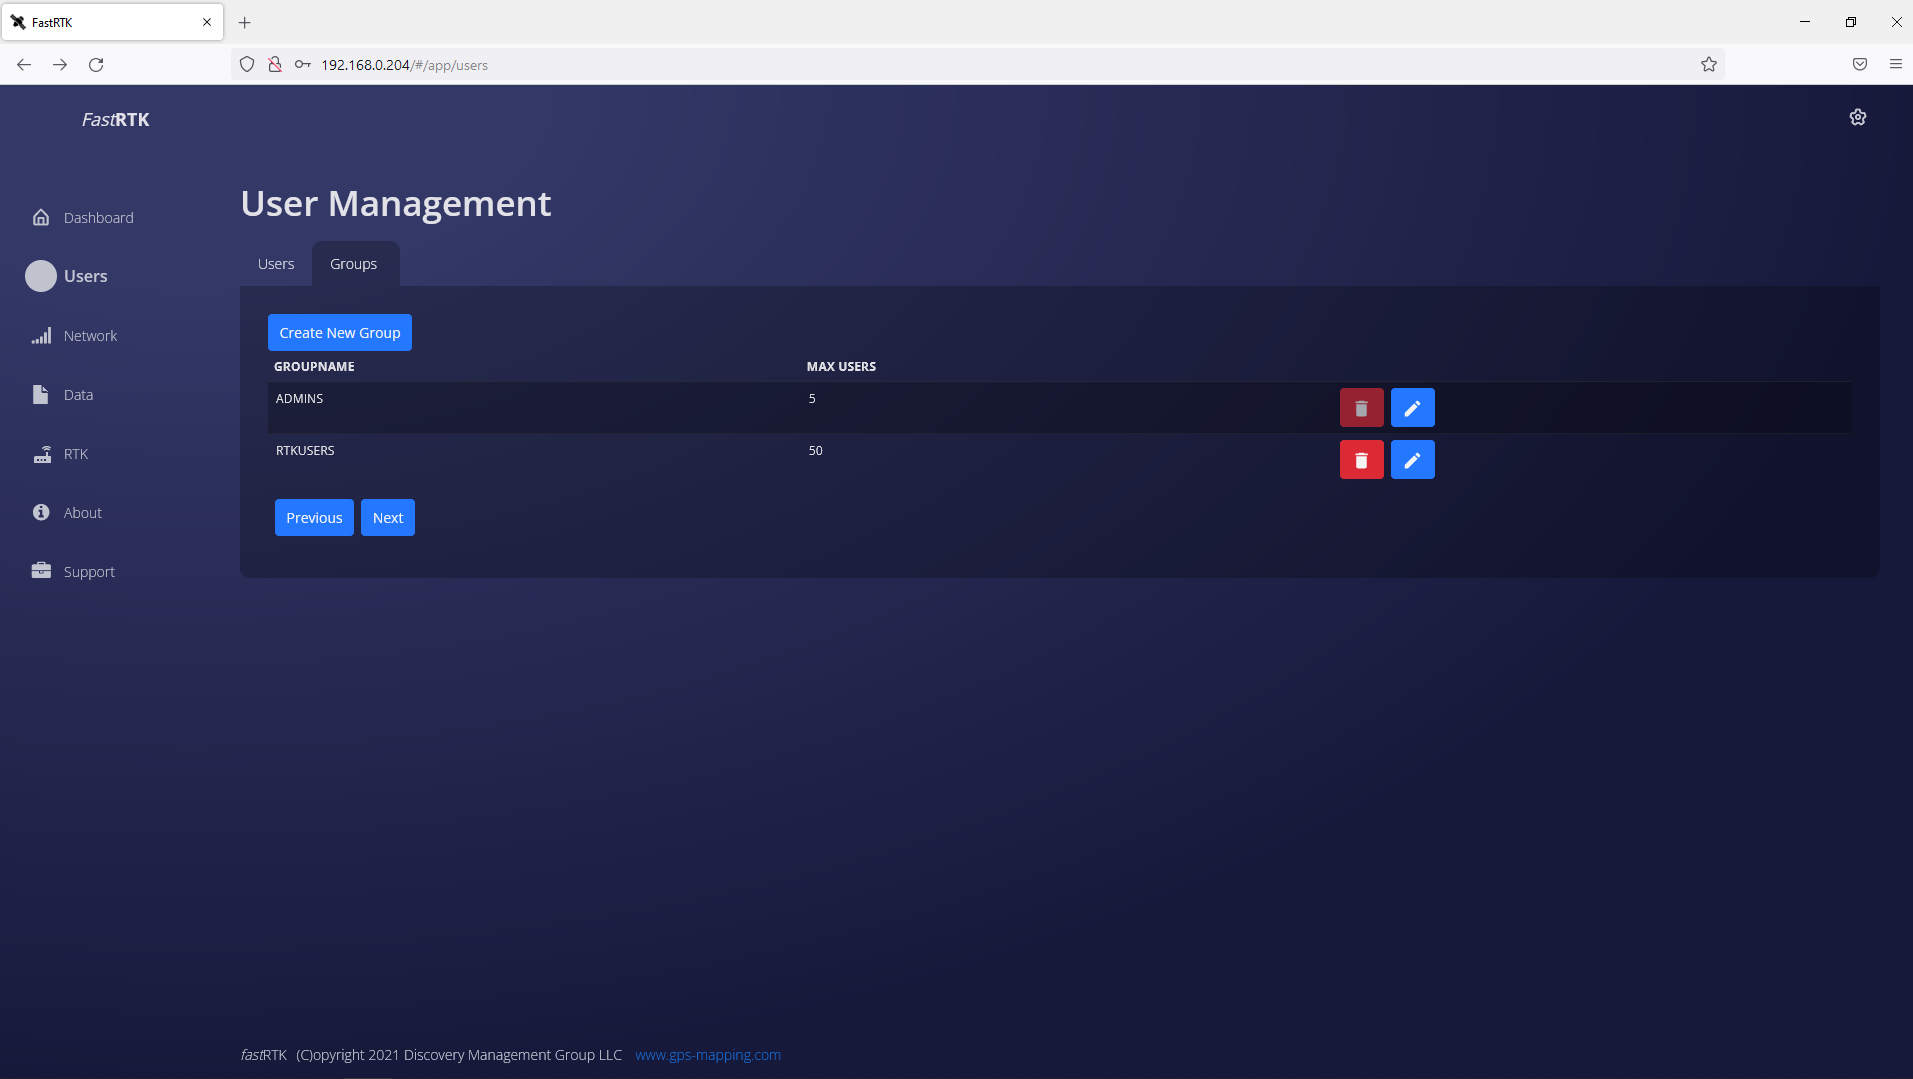
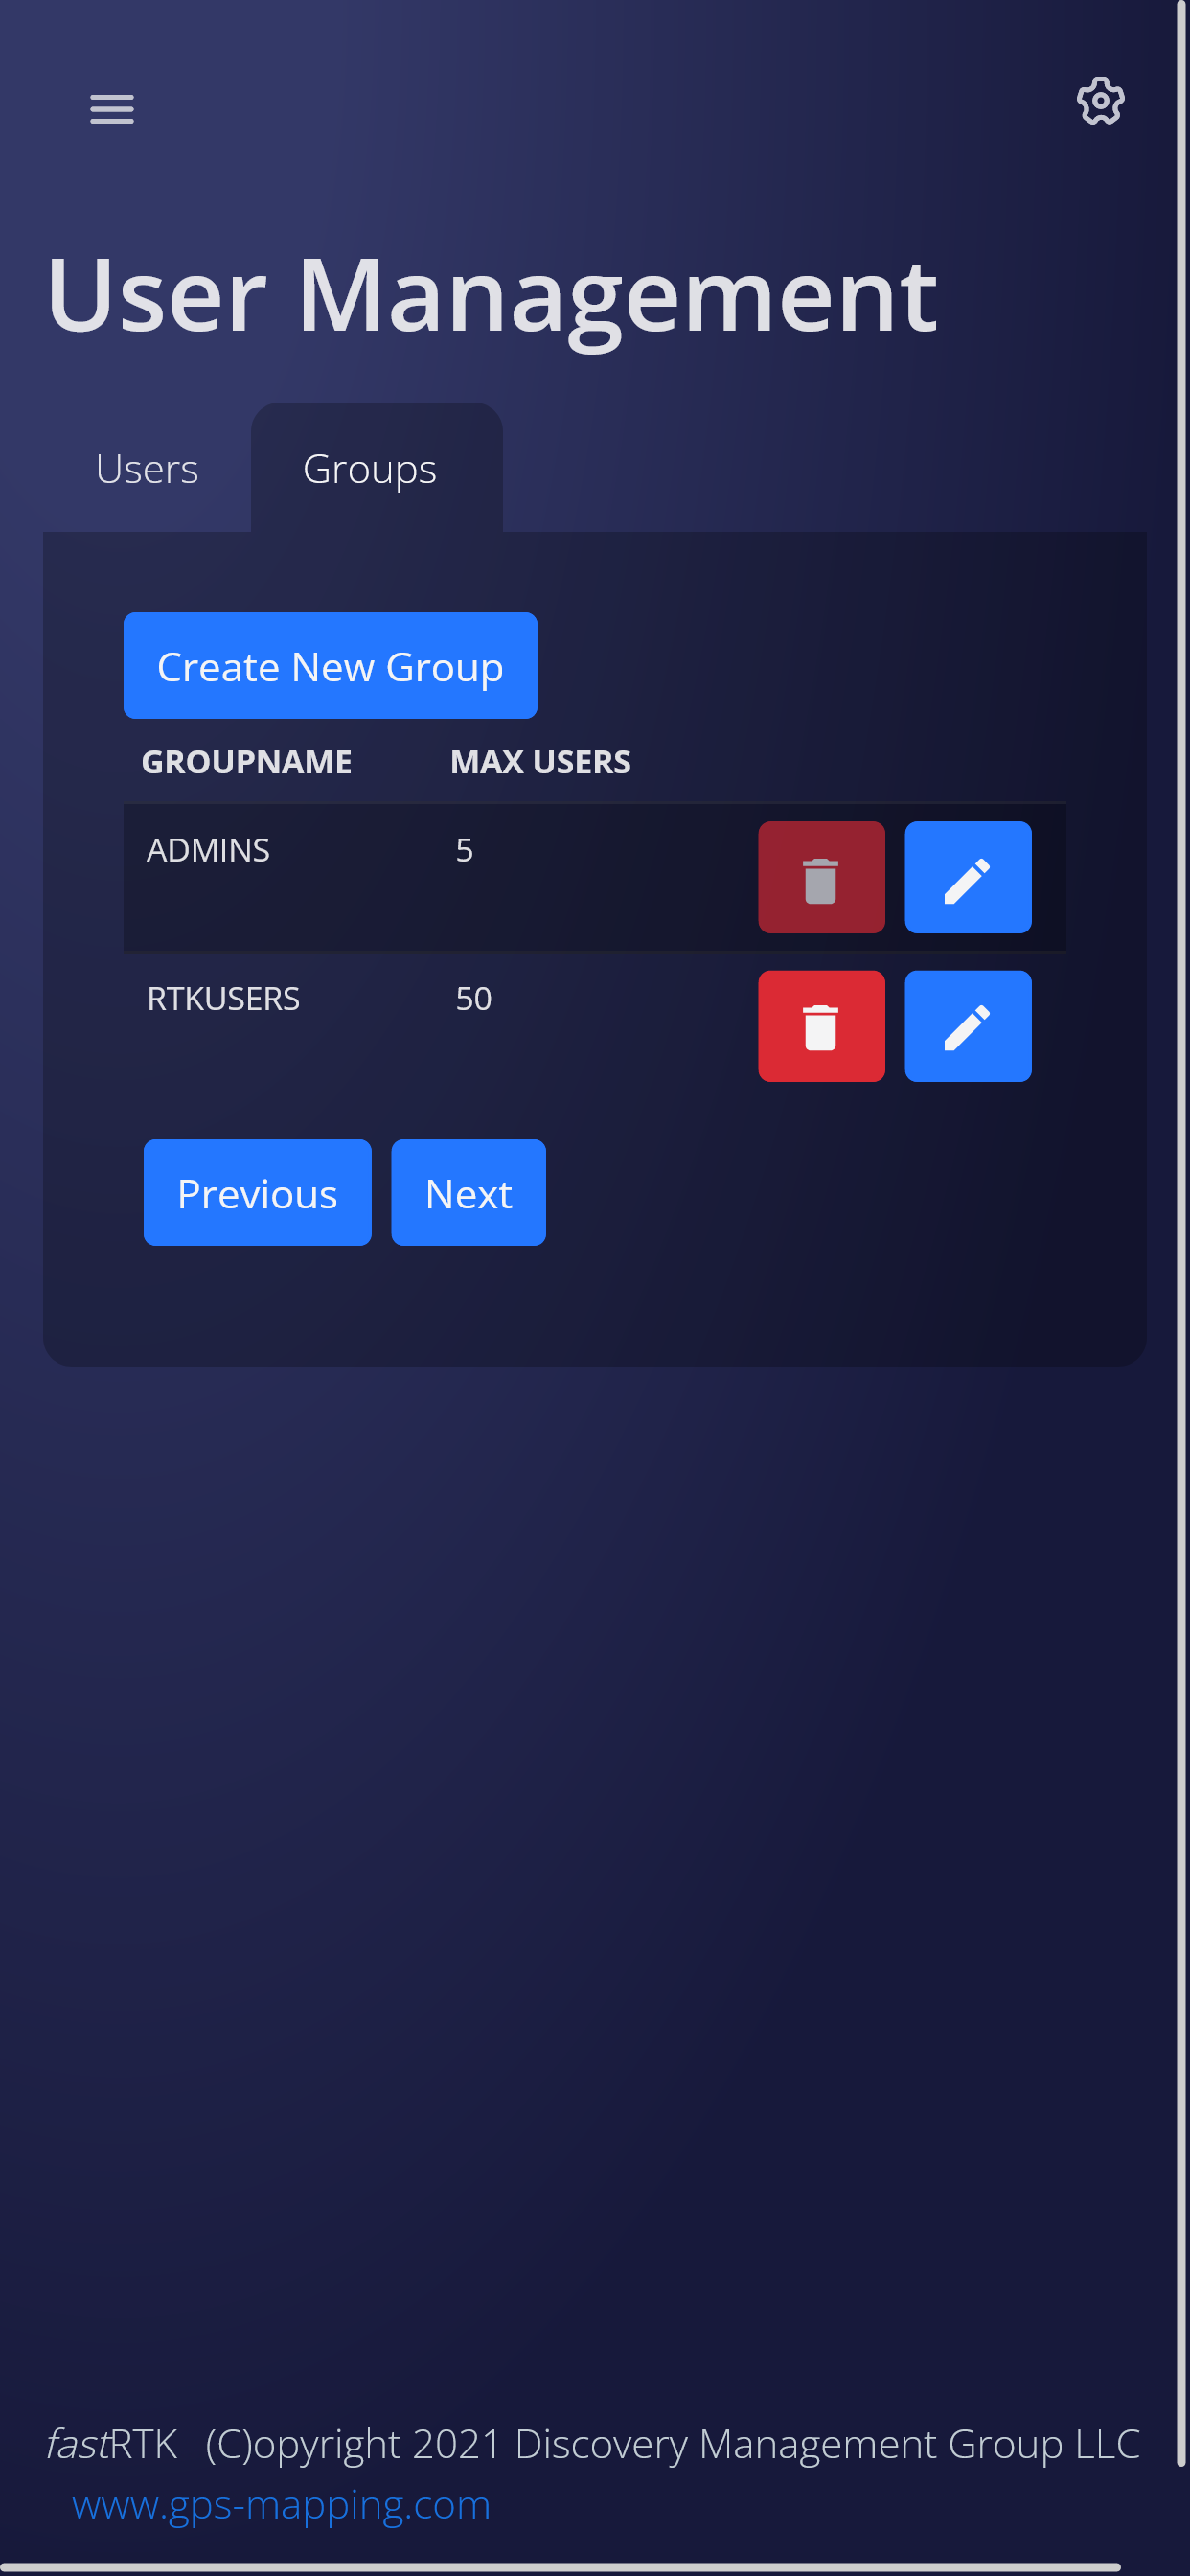
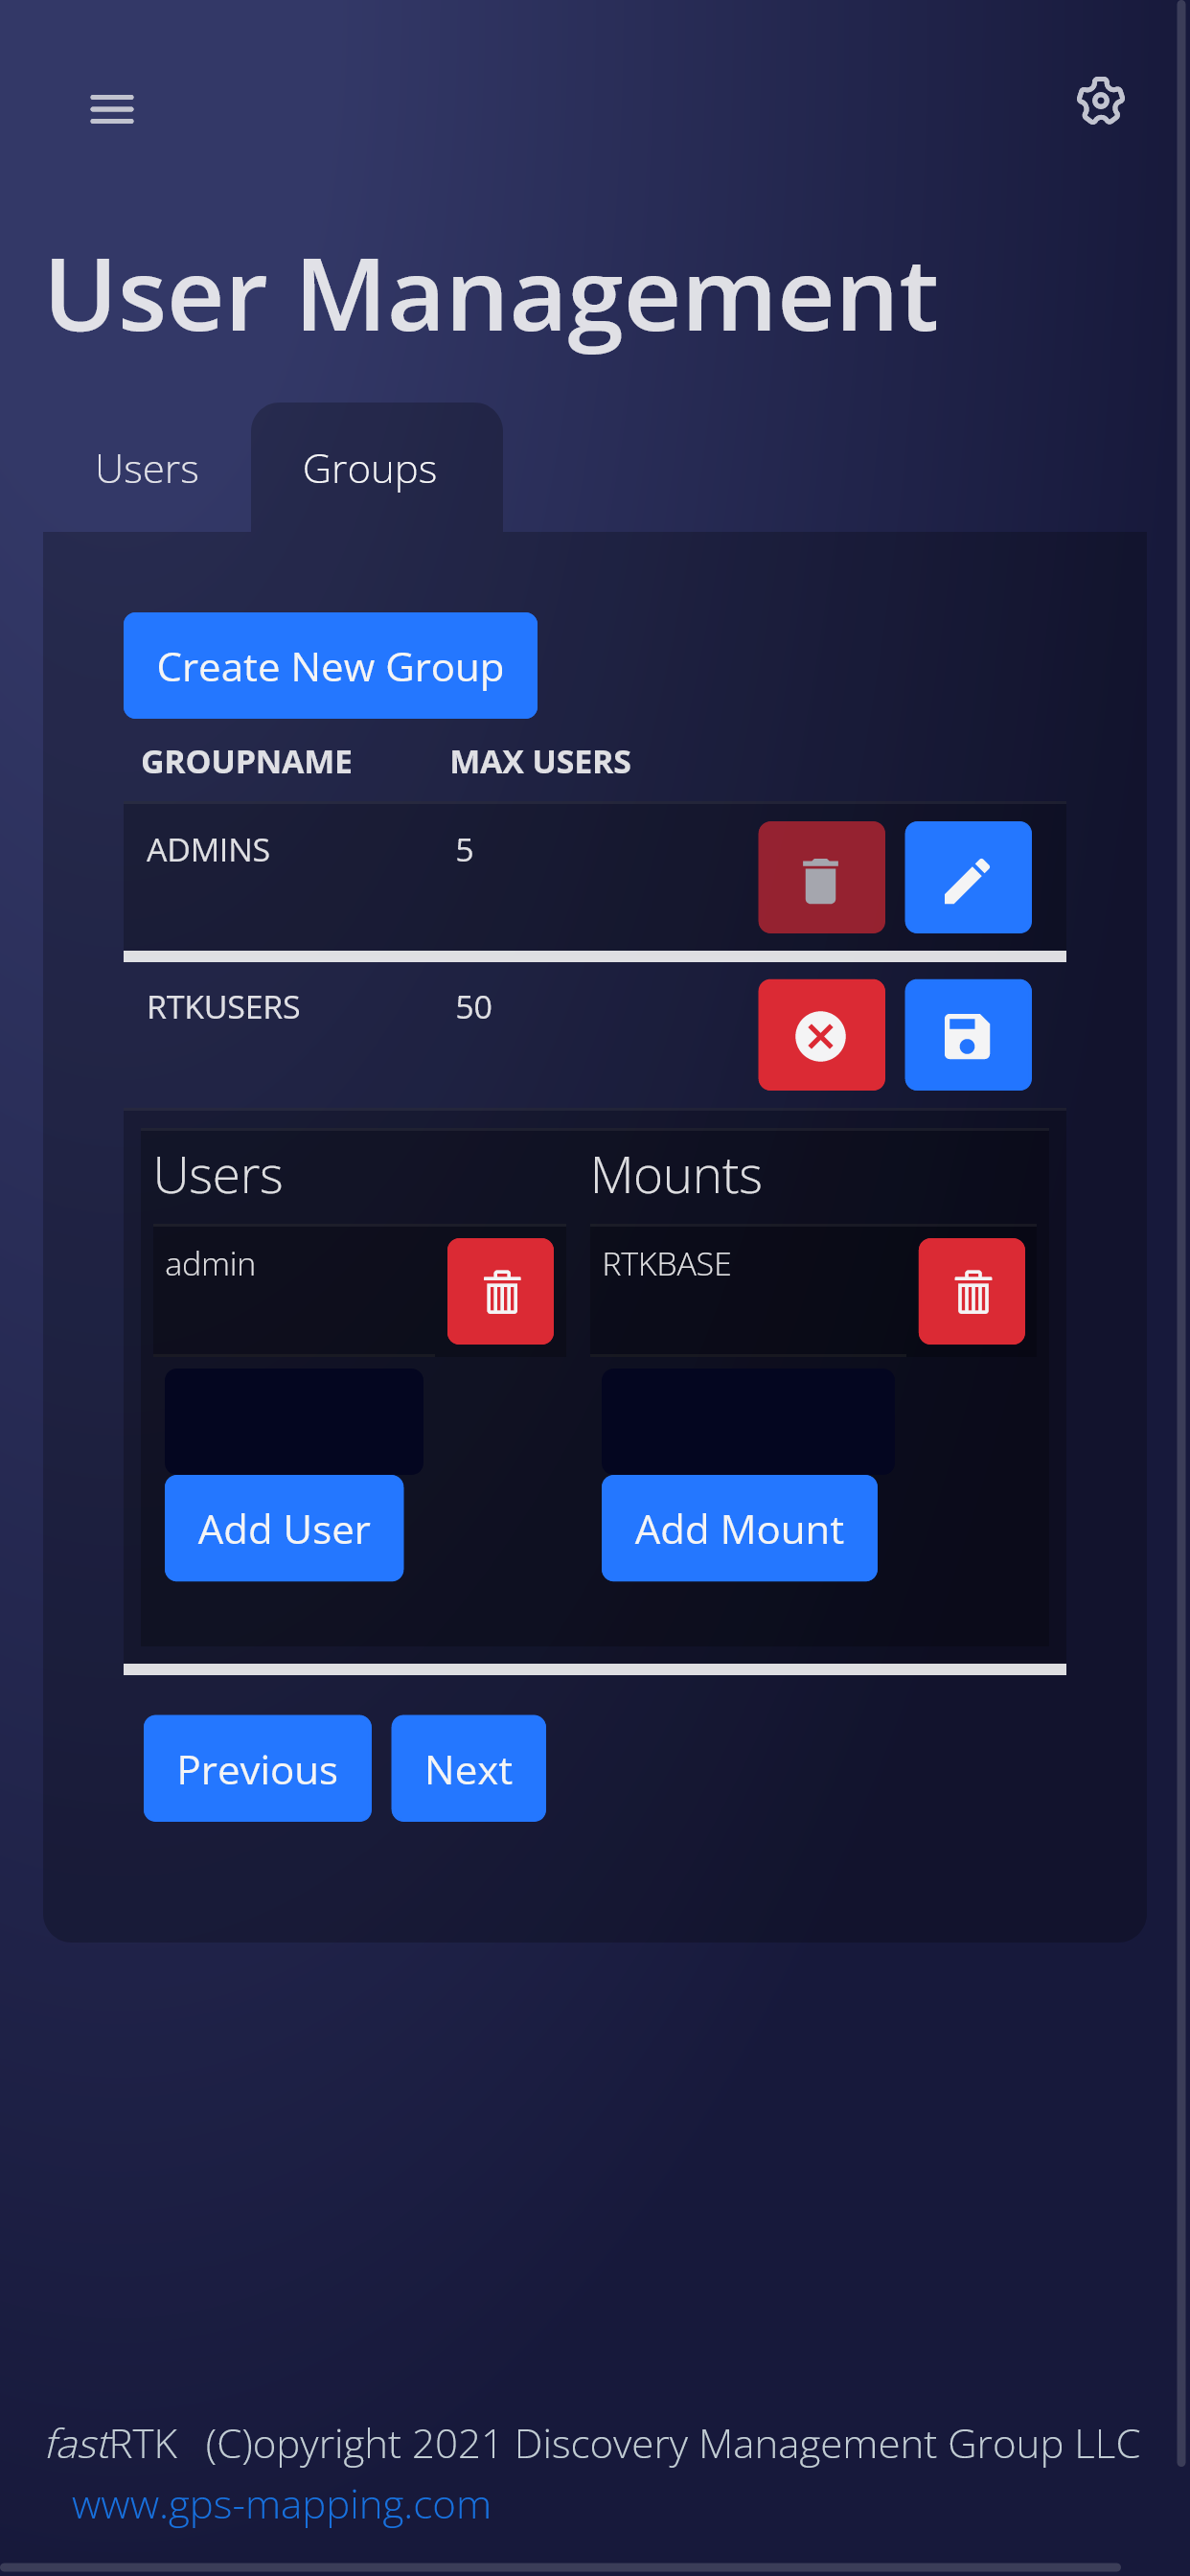
In the Groups page, you can manage which Group a User belongs to and which mountpoints each Group has access to.
By default, new users are added to the RTKUSERS group. To limit what mountpoints a user has access to, add the User to a Group with limited mountpoint access.
- See existing groups
- Edit existing groups
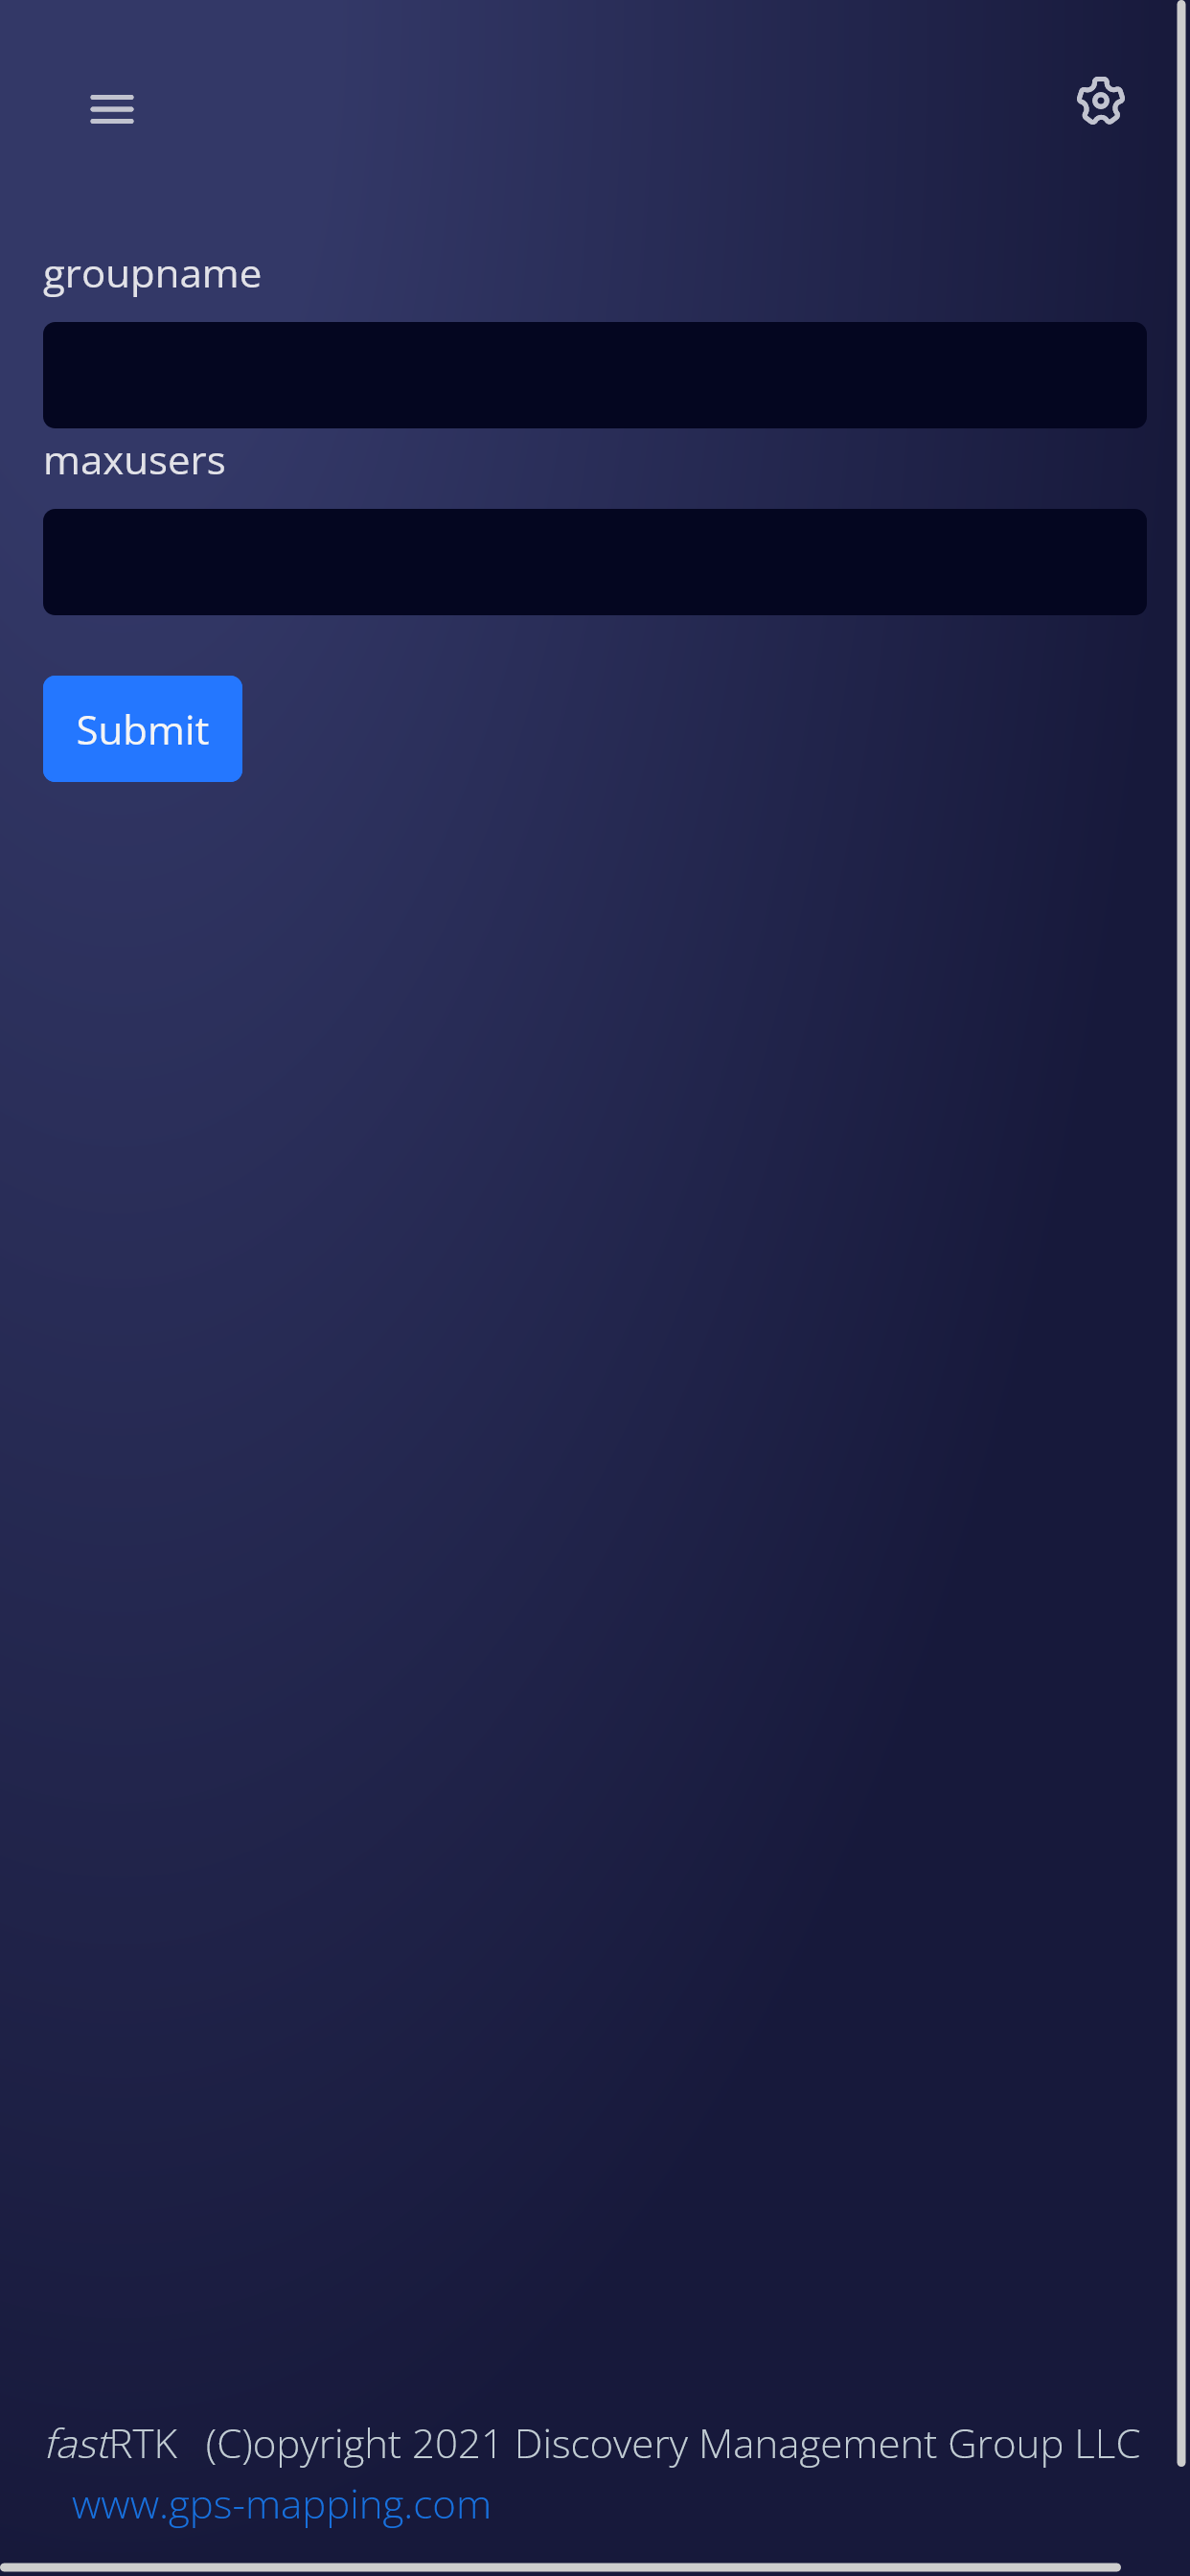
- Add new groups
- Manage mountpoint access for a group
Desktop Screenshots FastRTK version 4.1.1 (click to expand)
Mobile Screenshots FastRTK version 4.1.1 (click to expand)
¶ Network
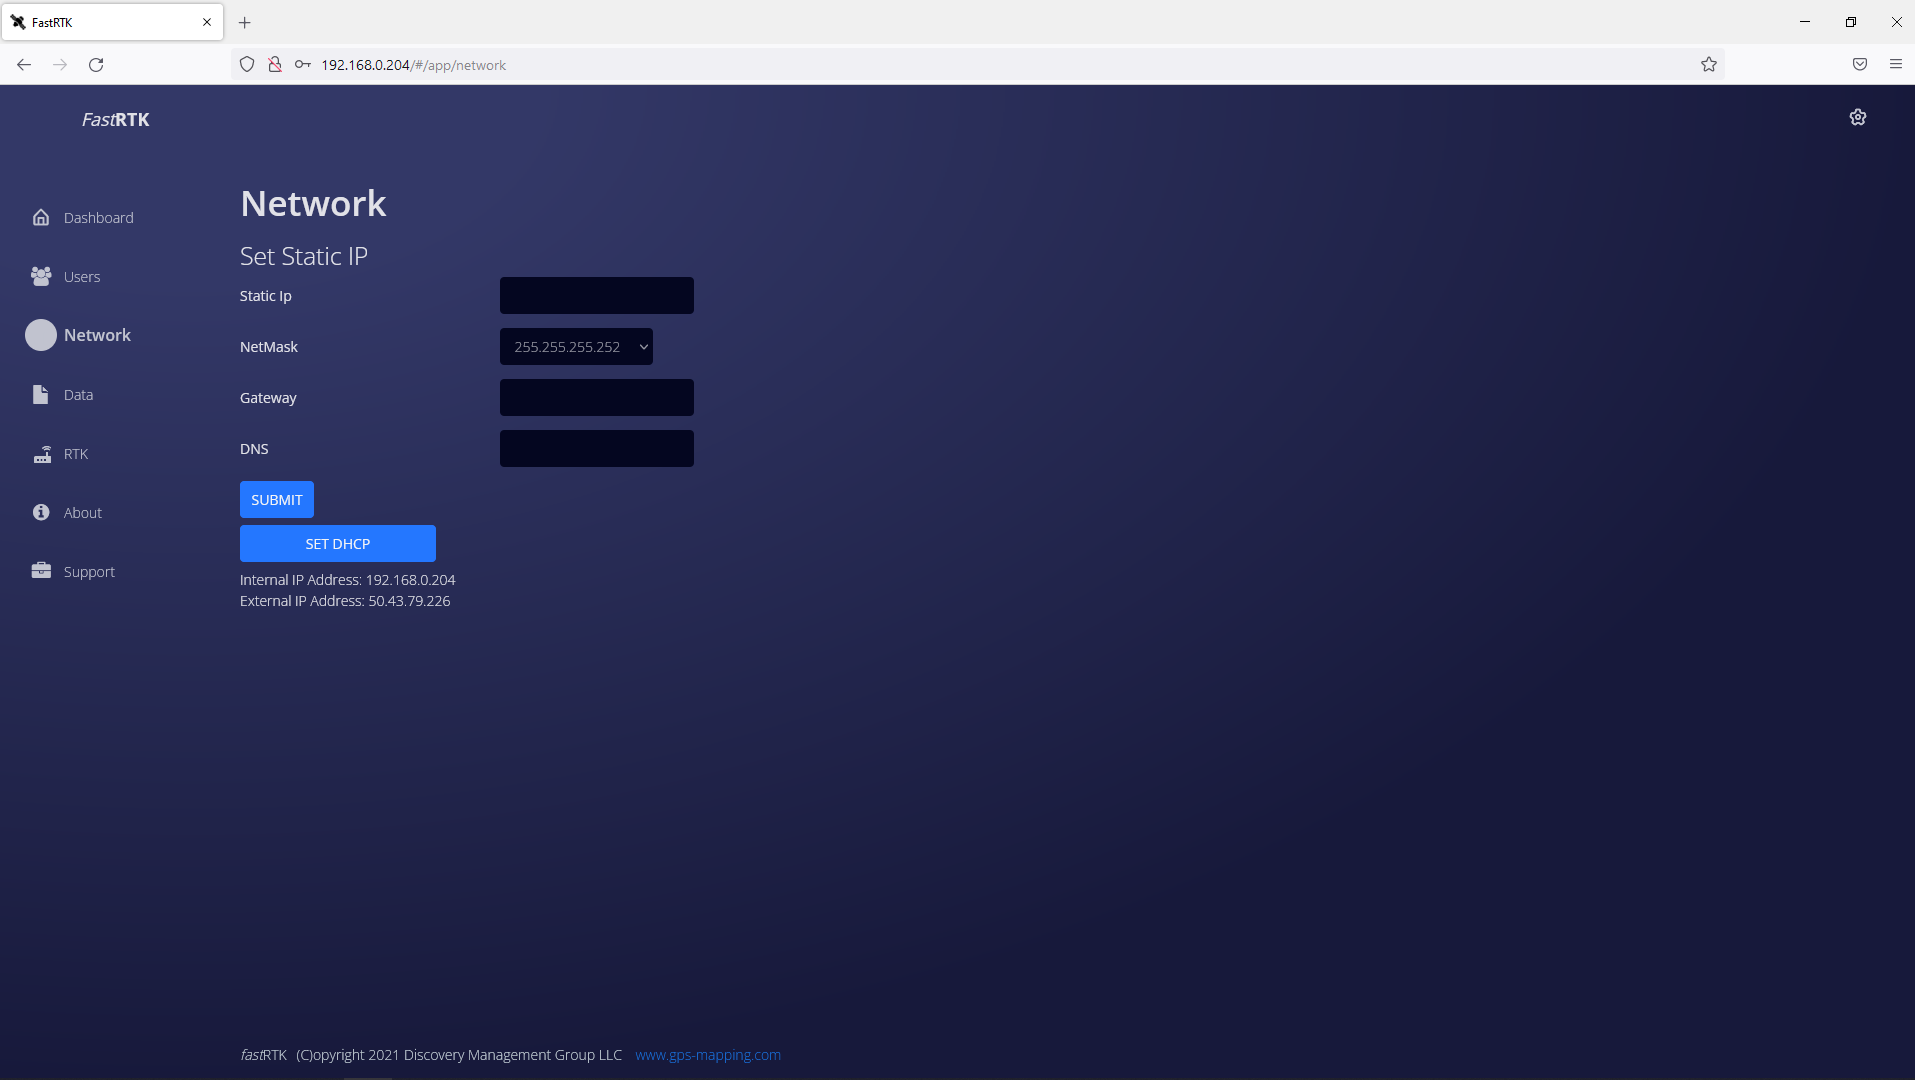
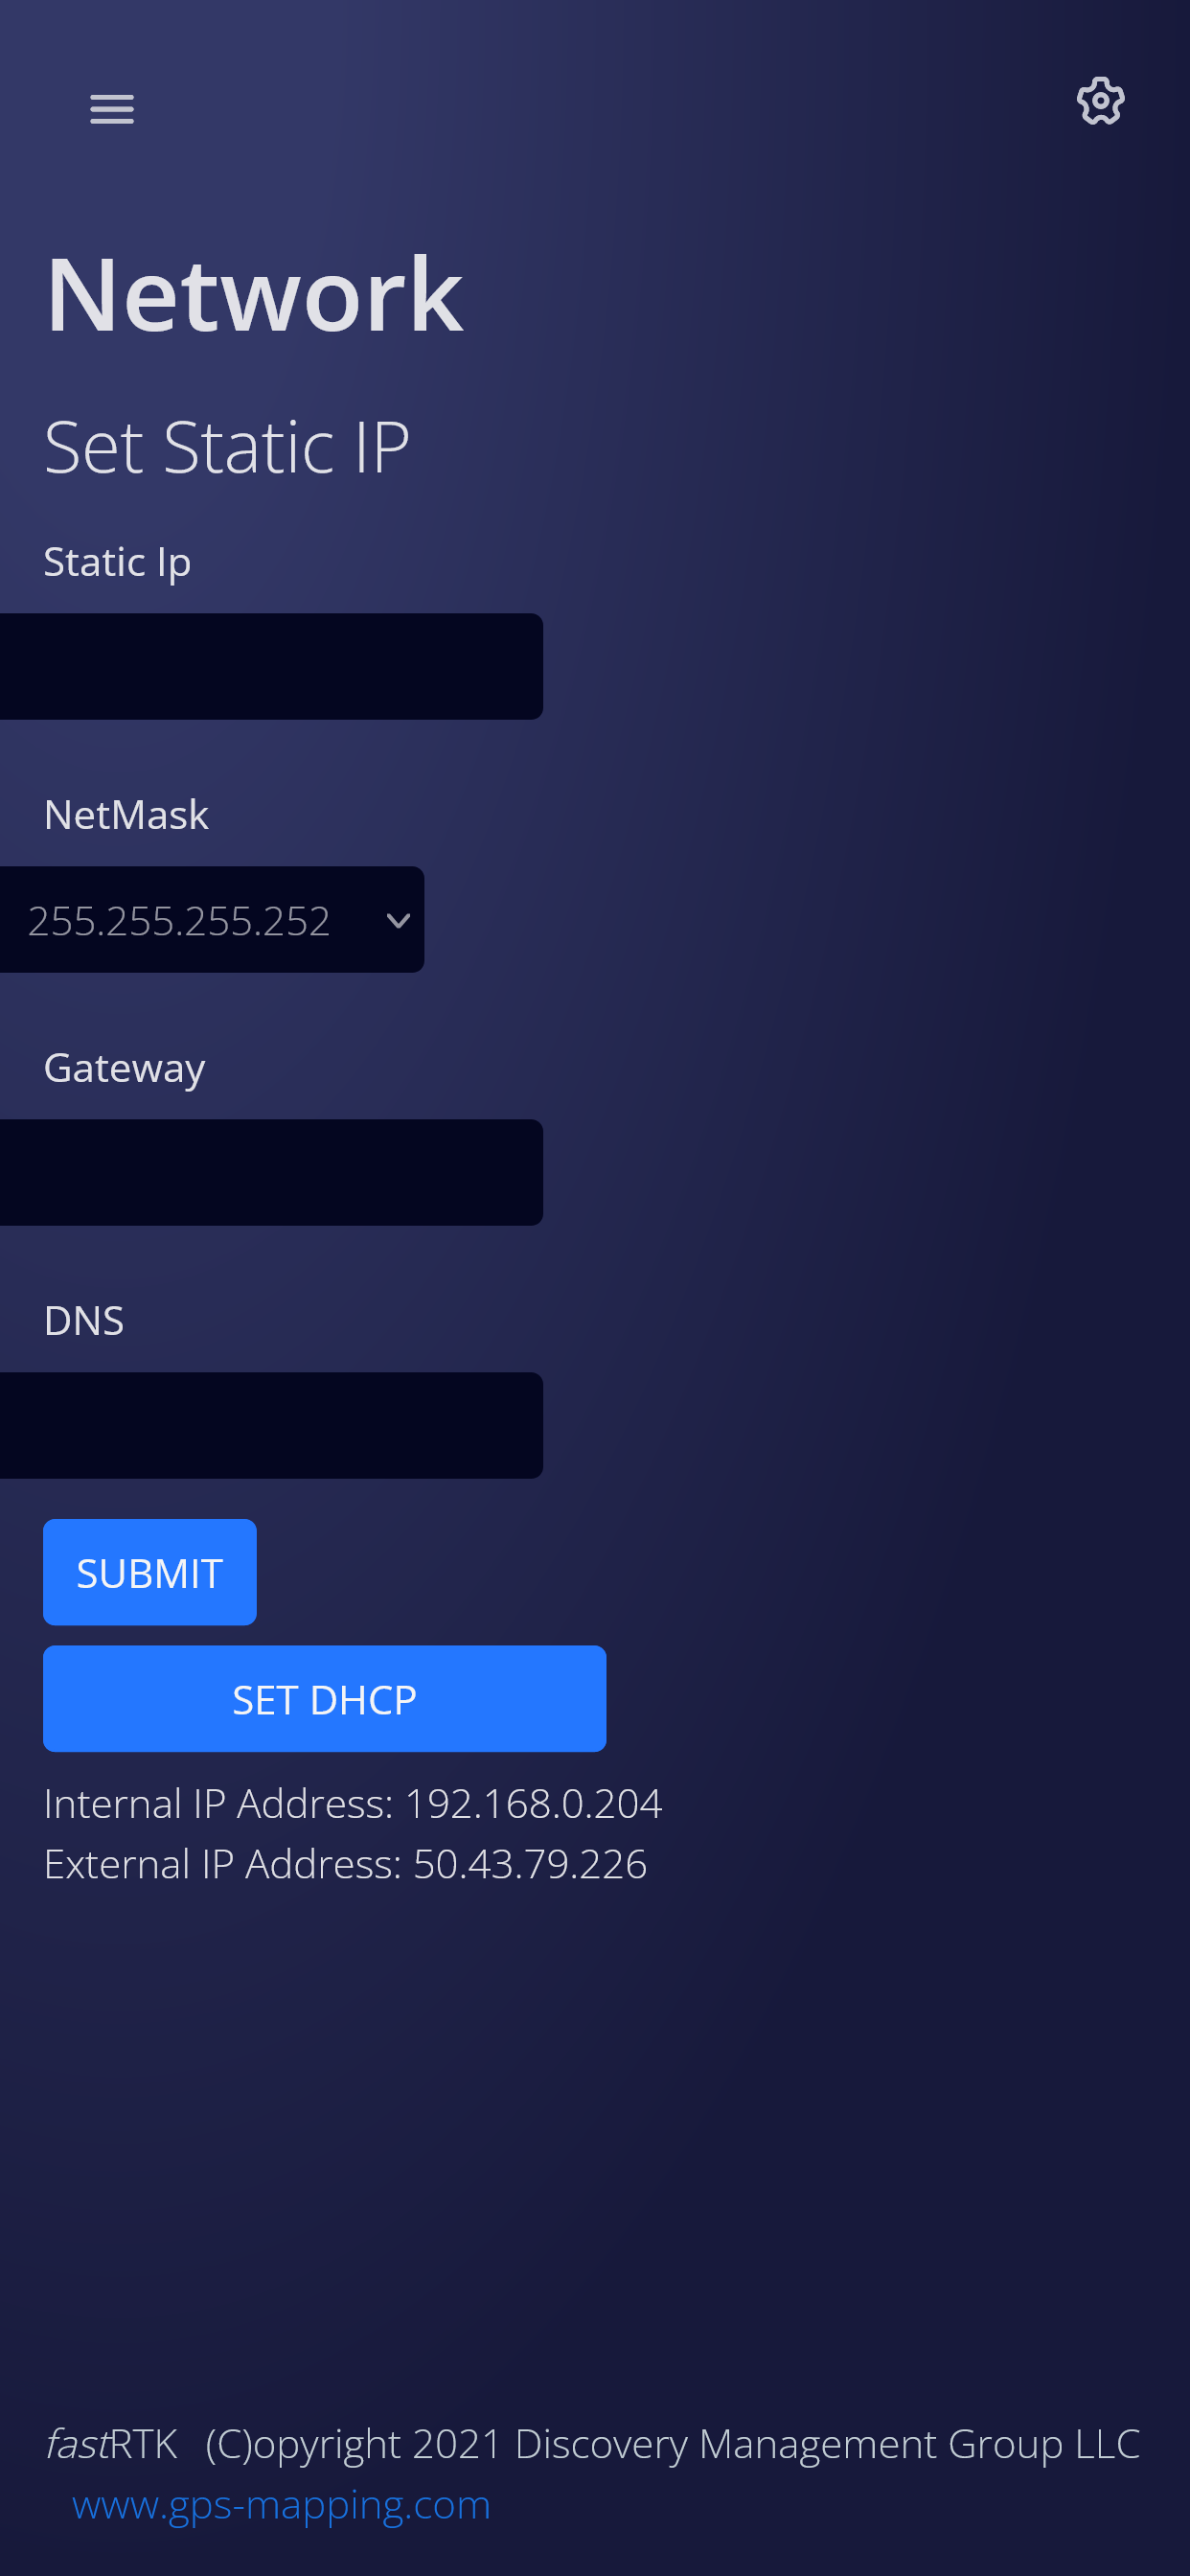
Displays information about the base's network information.
In a future update: edit the base's network information
Desktop screenshots FastRTK version 4.1.1 (click to expand)
Mobile screenshots FastRTK version 4.1.1 (click to expand)
¶ Data
Data Storage
Shows used and remaining space on the RTK base computer
¶ Recording Raw Observation Data
Input desired record time, we suggest 12 hours (2 hr minimum).
ClickStart Recordingbutton. While recording, button will change toStop Recording
When recording is complete, the RINEX (v2.11) file will appear under files.
Raw data file naming convention
Raw data file name defaults to "BASEdddf", where:
- "ddd" = day of the year file began recording (according to GPS time, not your local time), and
- "f" = unique indentifier for multiple files beginning on the same day.
For example:
- First file recorded on January 1, 2021 = BASE001a.21o
- Second file recorded on December 31, 2021 = BASE365b.21o
¶ RTK
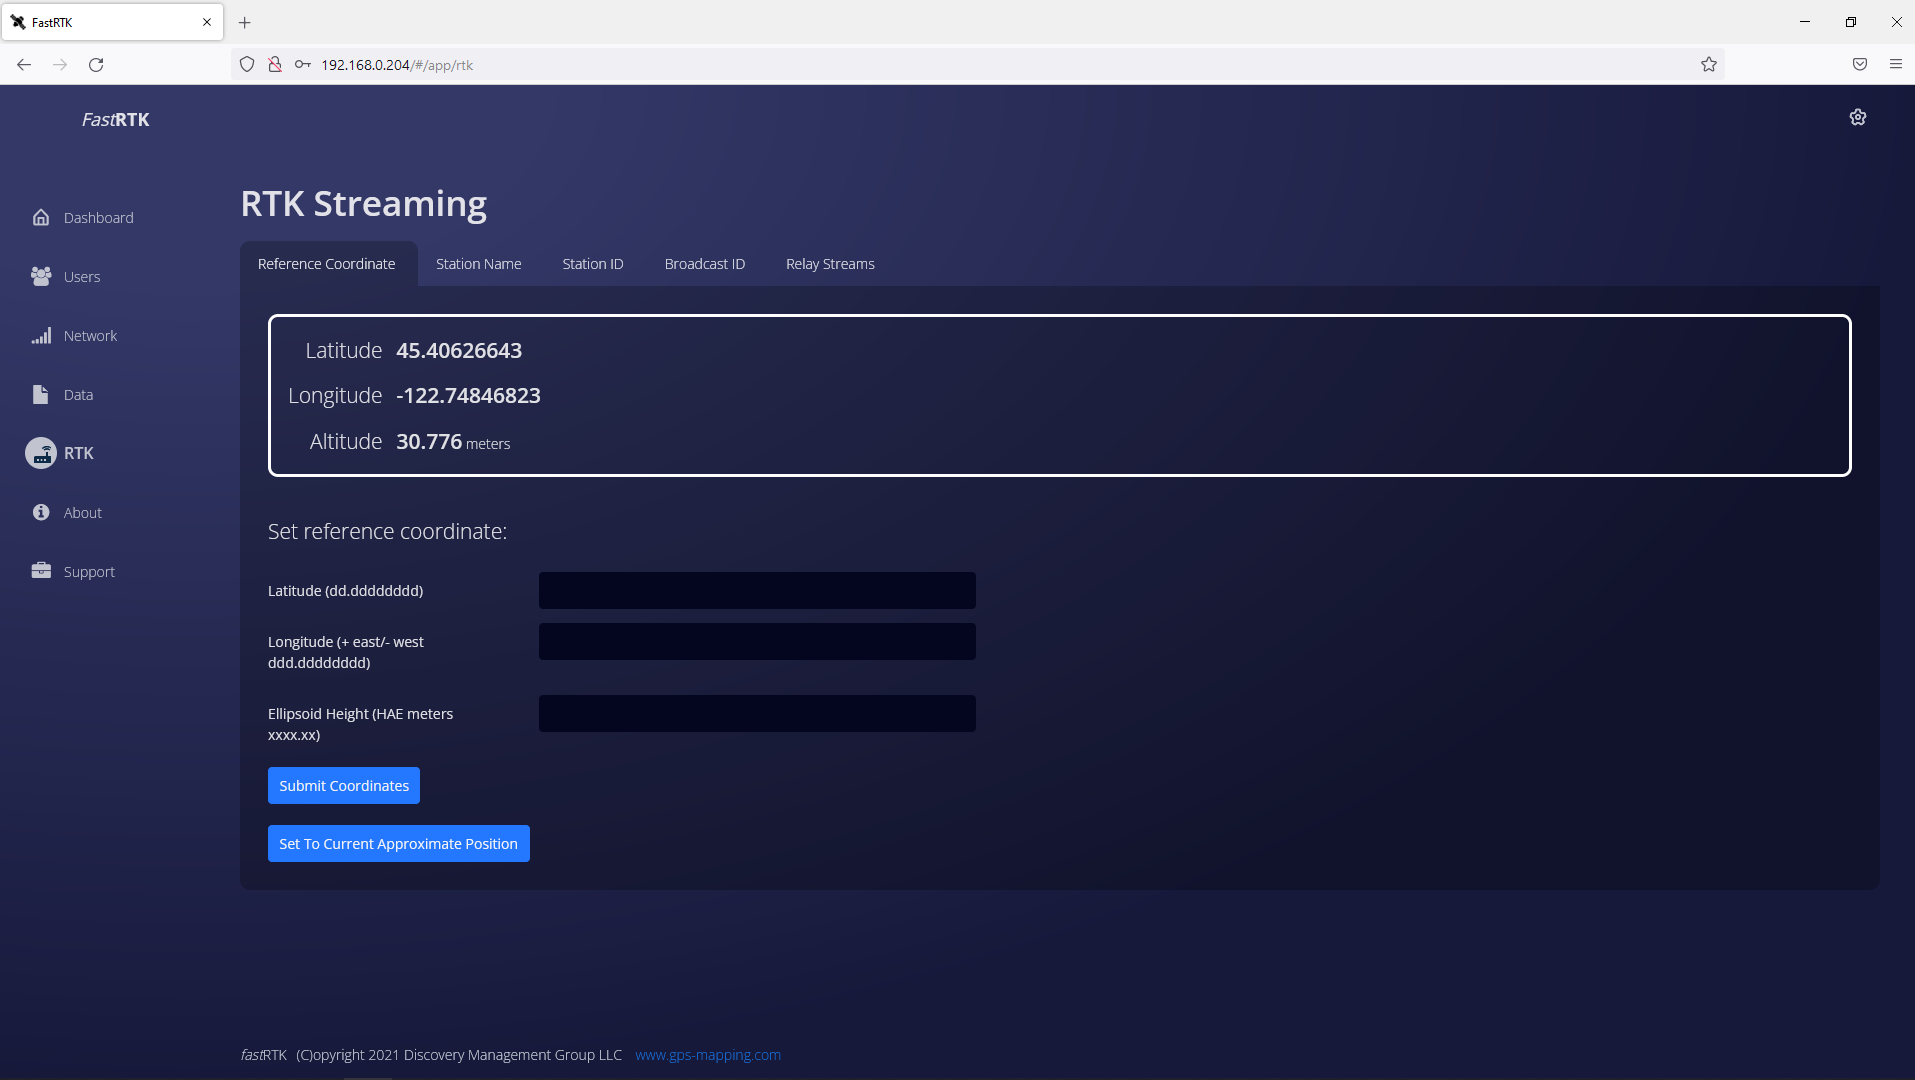
View and input the coordinate information for the local base you've connected to.
On a virtual base (like a hub set up on AWS), there will be no reference coordinate shown.
Desktop screenshots FastRTK version 4.1.1 (click to expand)
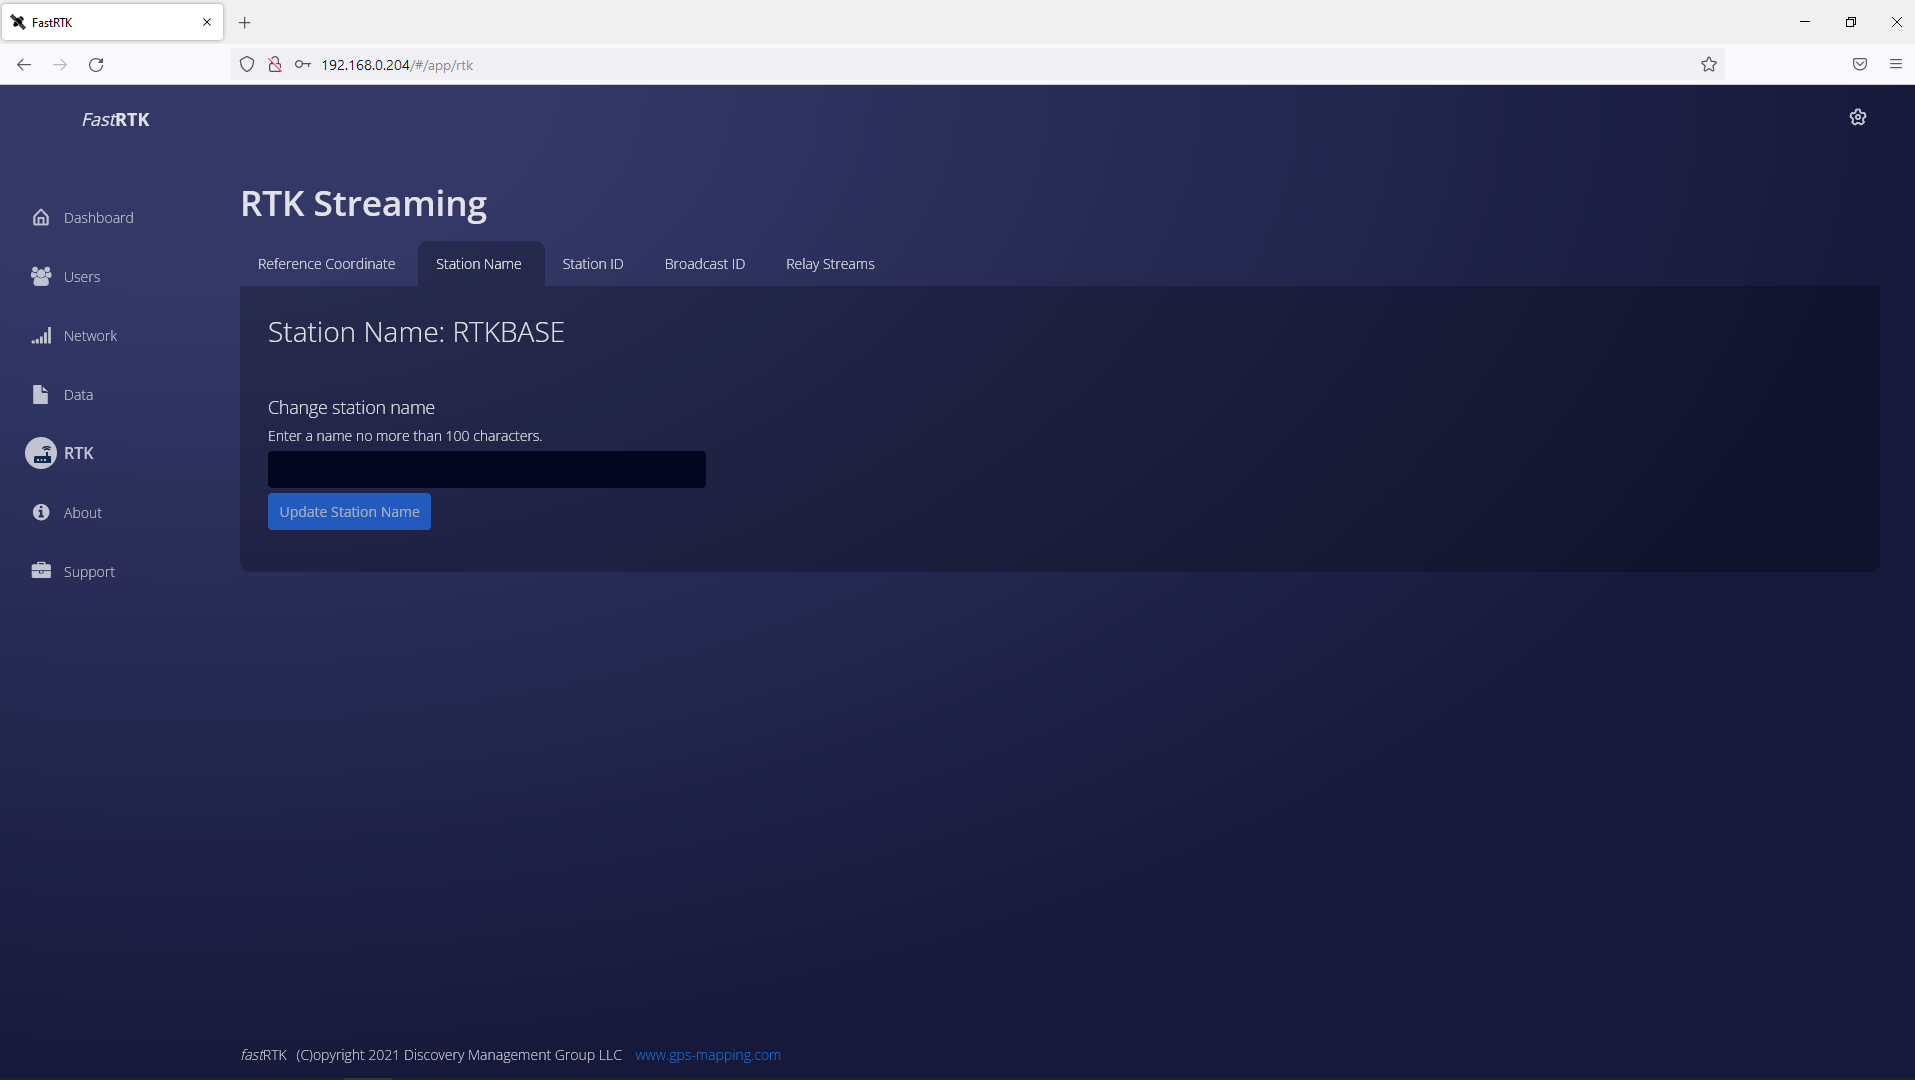
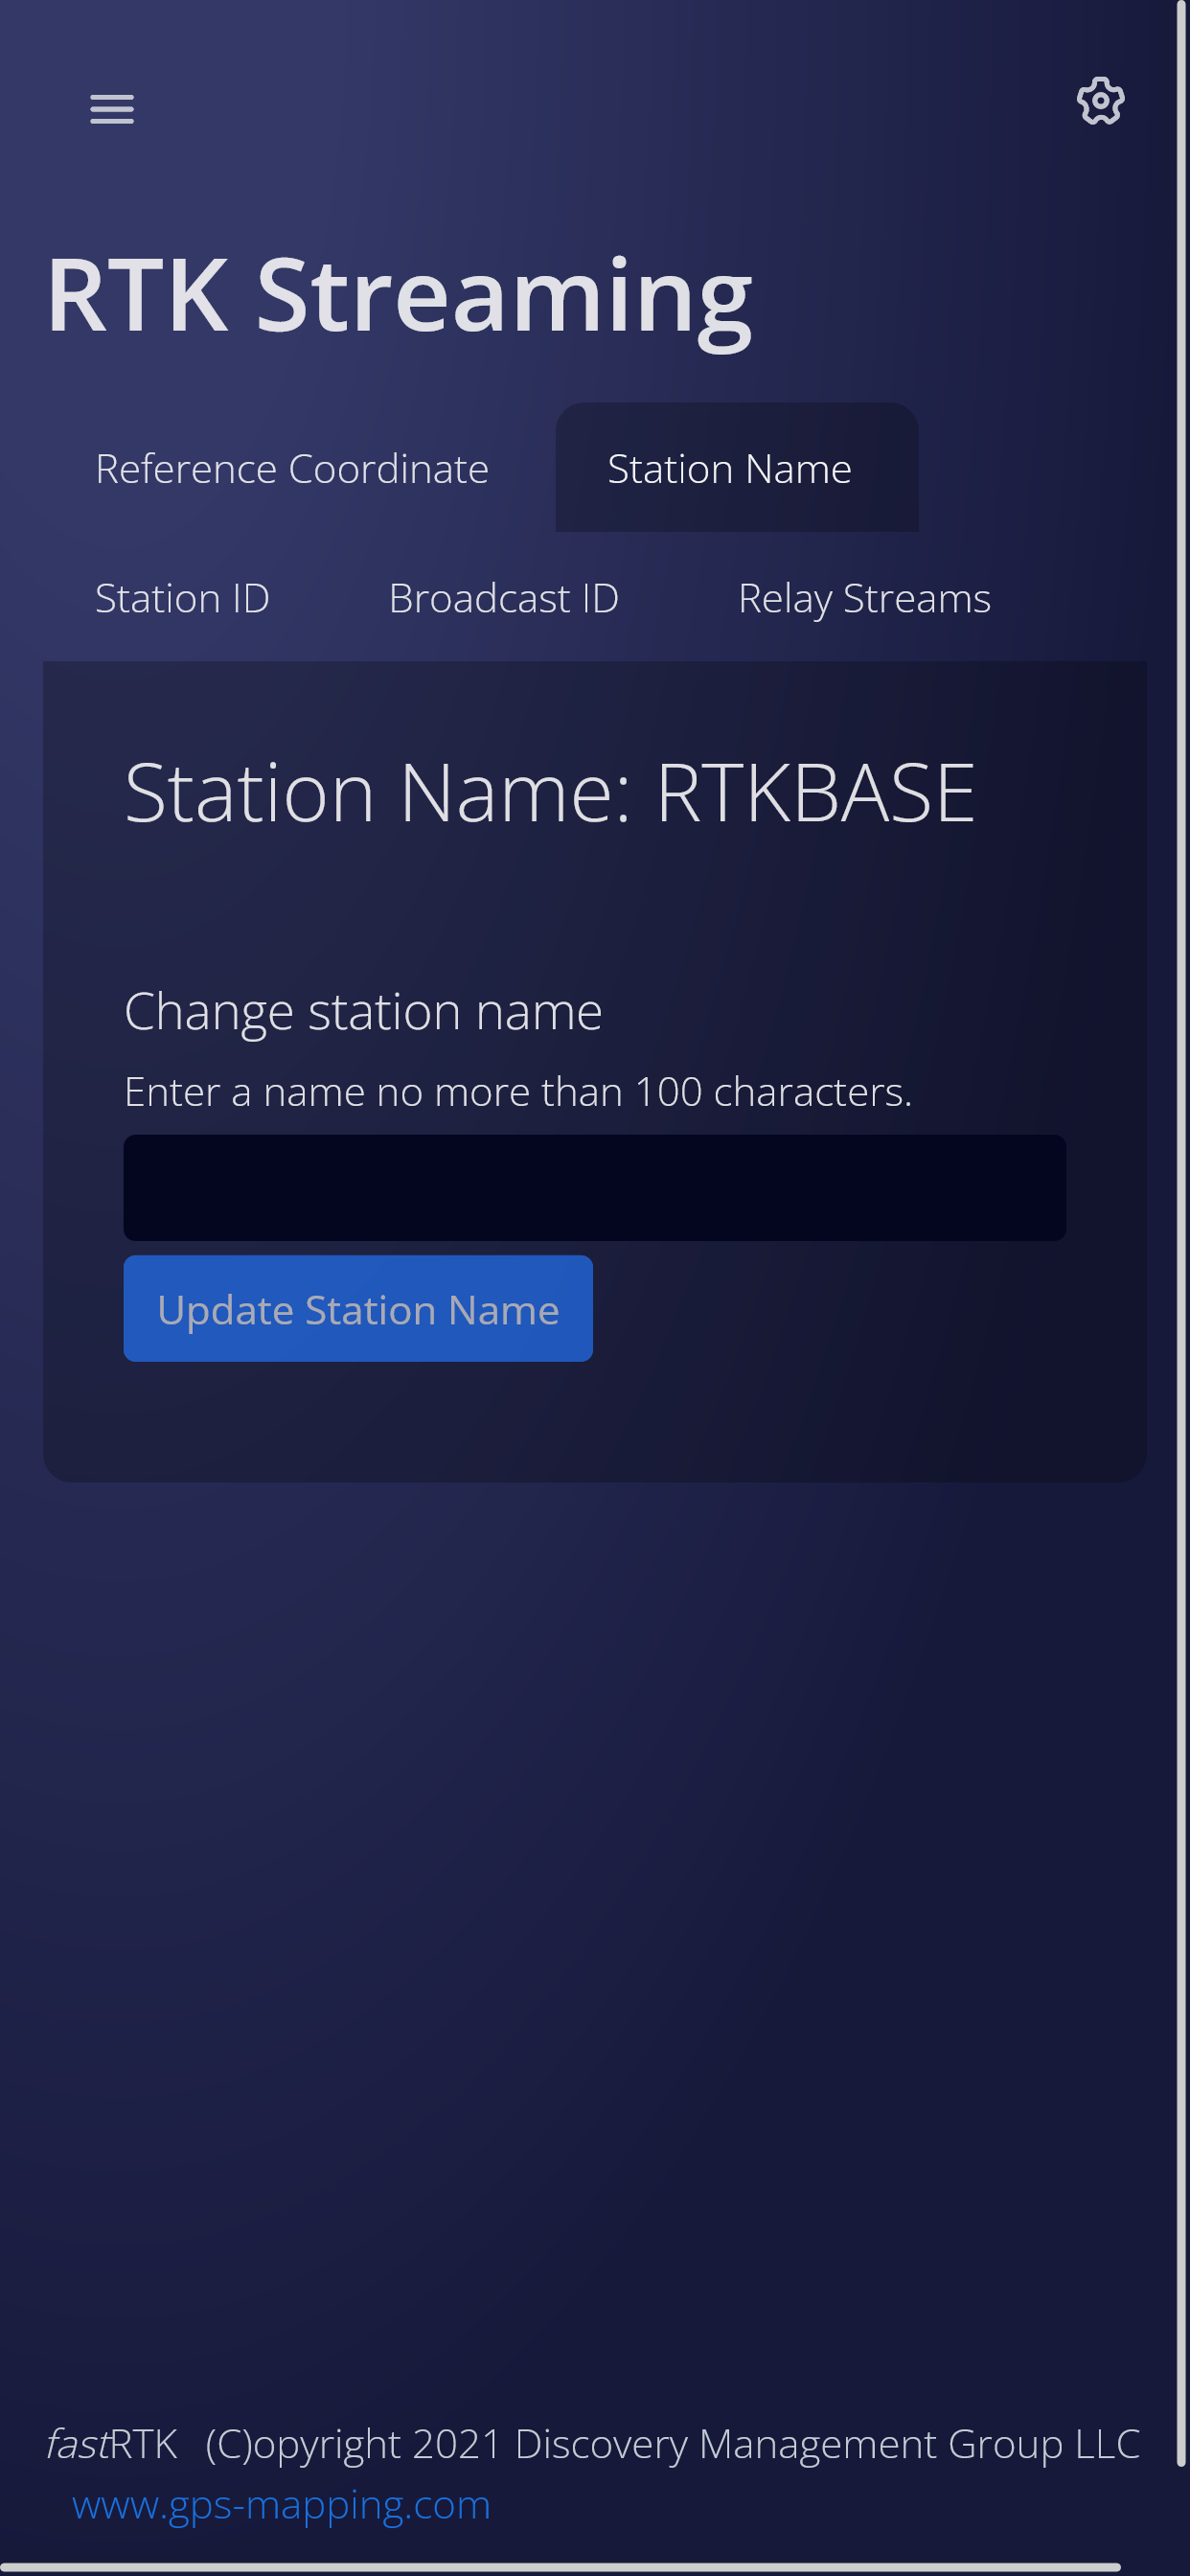
View and edit the station name. Station name appears on the FastRTK dashboard, relay stream tab, etc.
Desktop screenshots FastRTK version 4.1.1 (click to expand)
Mobile device screenshots FastRTK version 4.1.1 (click to expand)
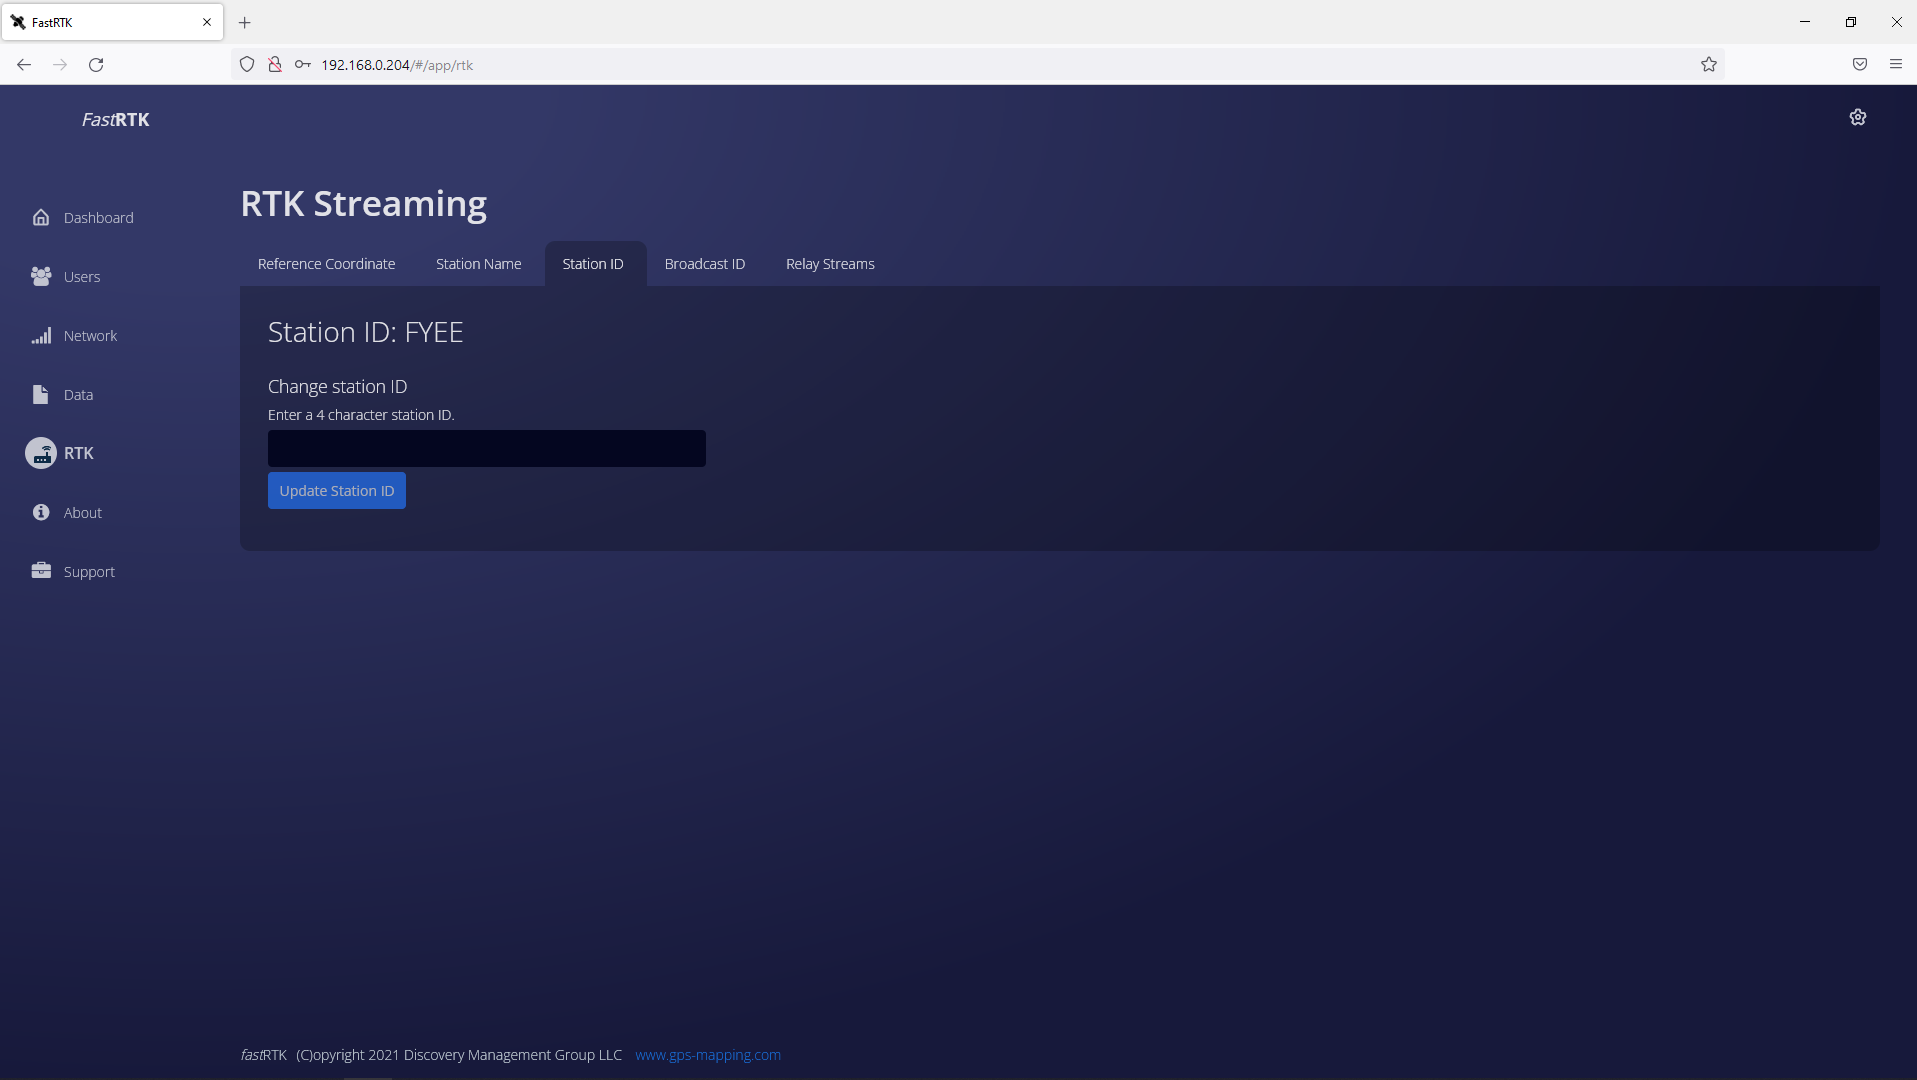
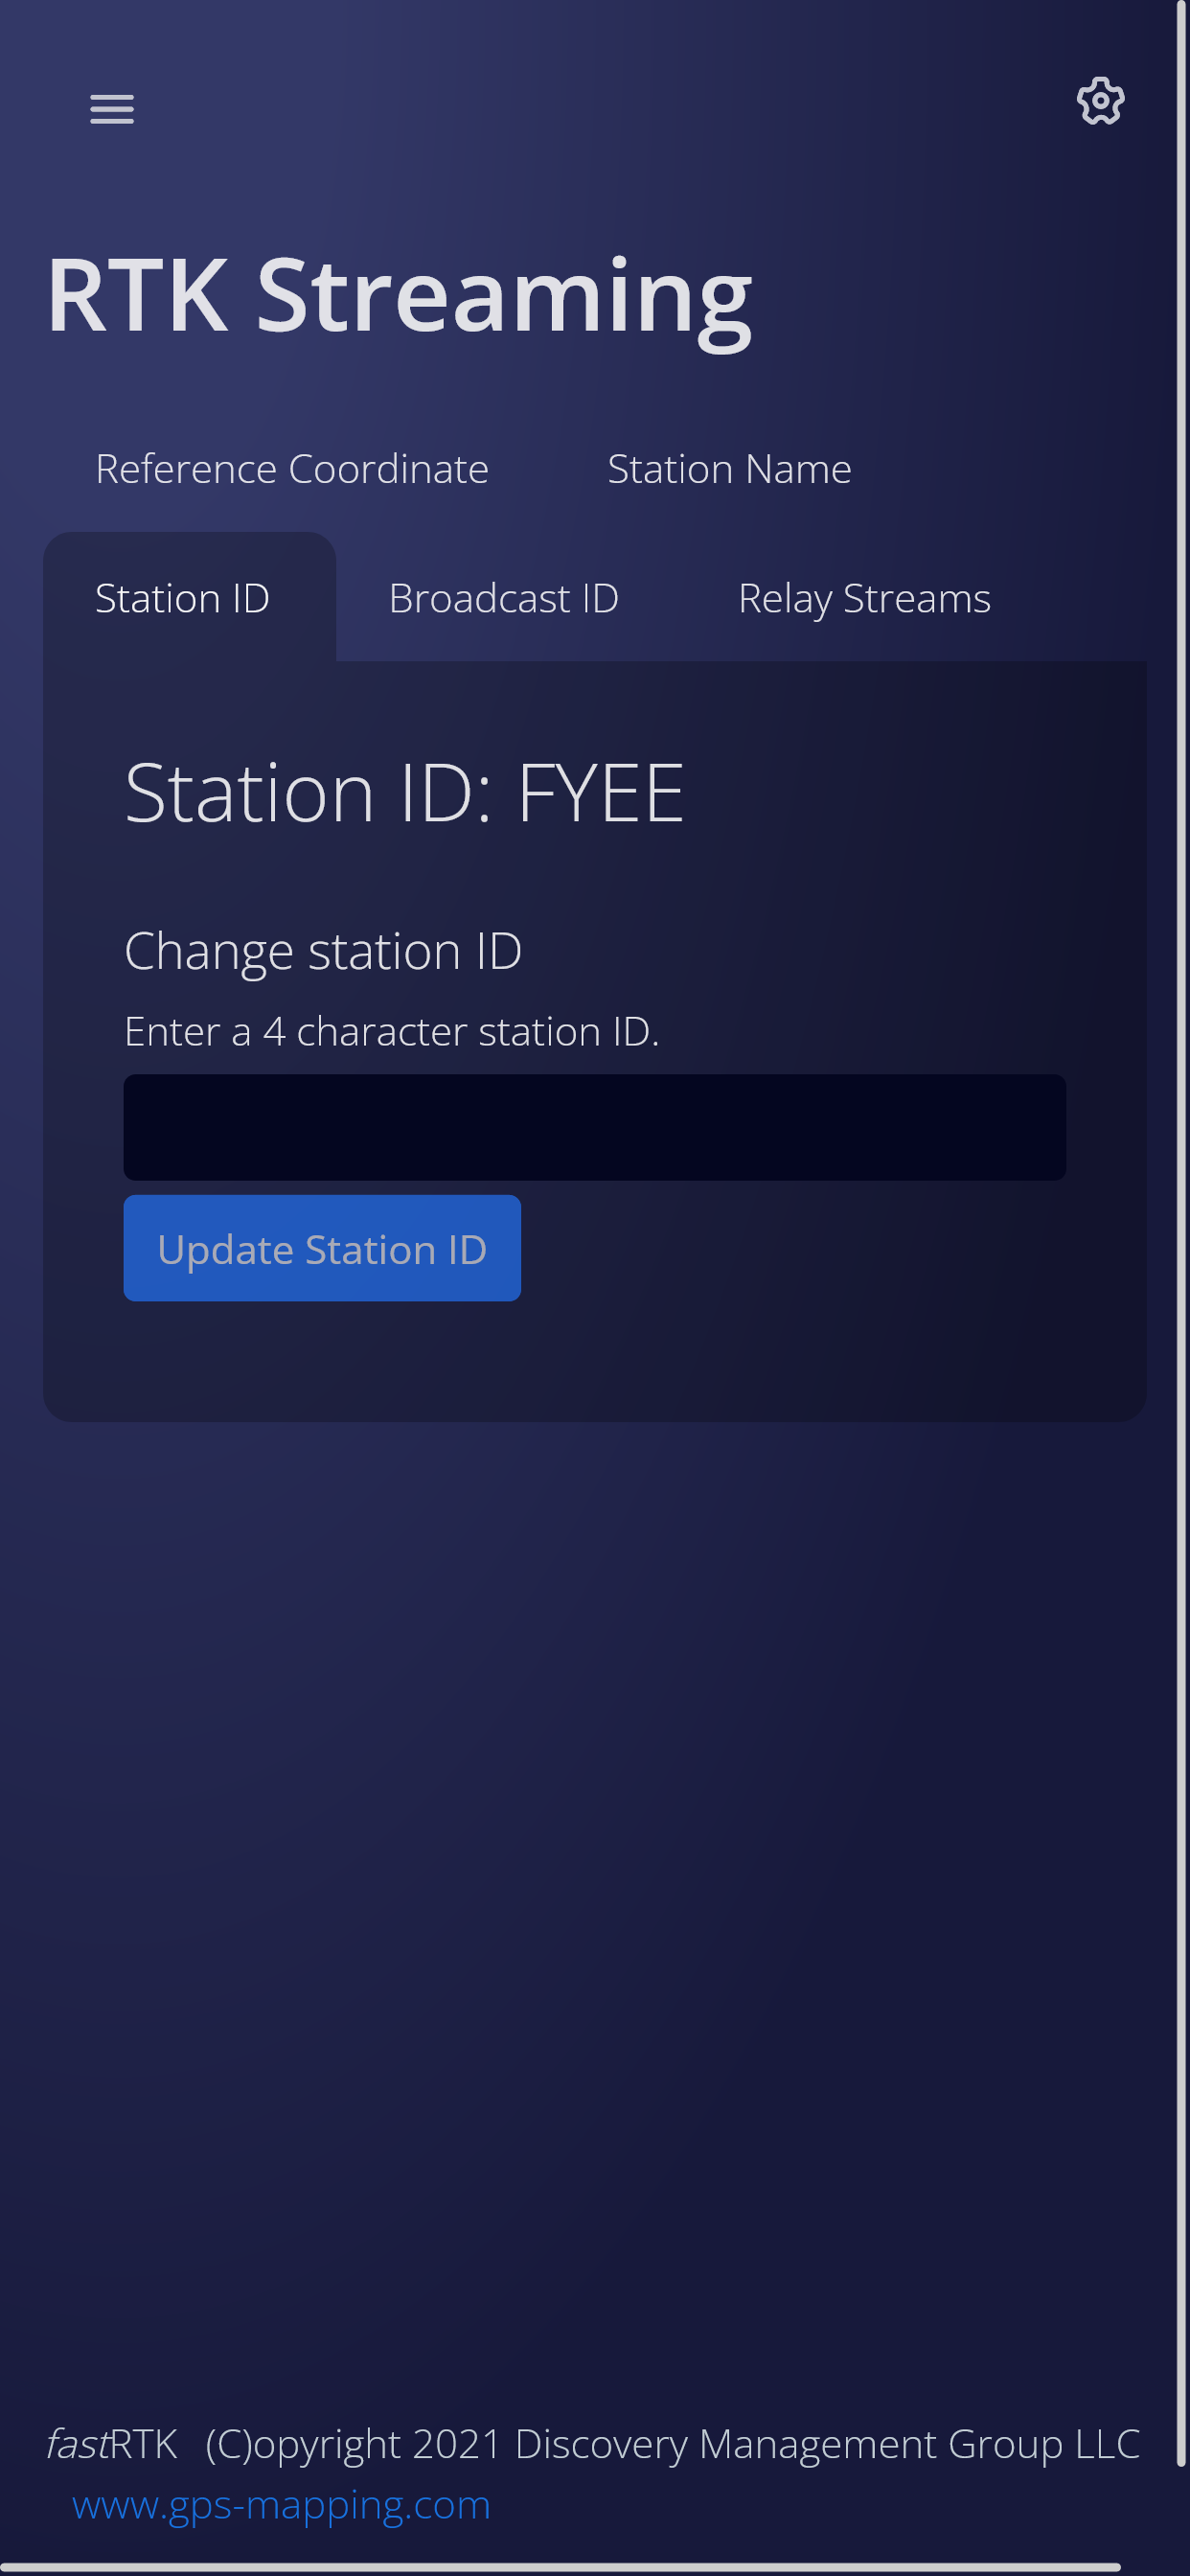
View and edit the 4 character station ID. The Station ID writes to the RINEX file name and RINEX header for any data collected on the base.
Desktop screenshots FastRTK version 4.1.1 (click to expand)
Mobile device screenshots FastRTK version 4.1.1 (click to expand)
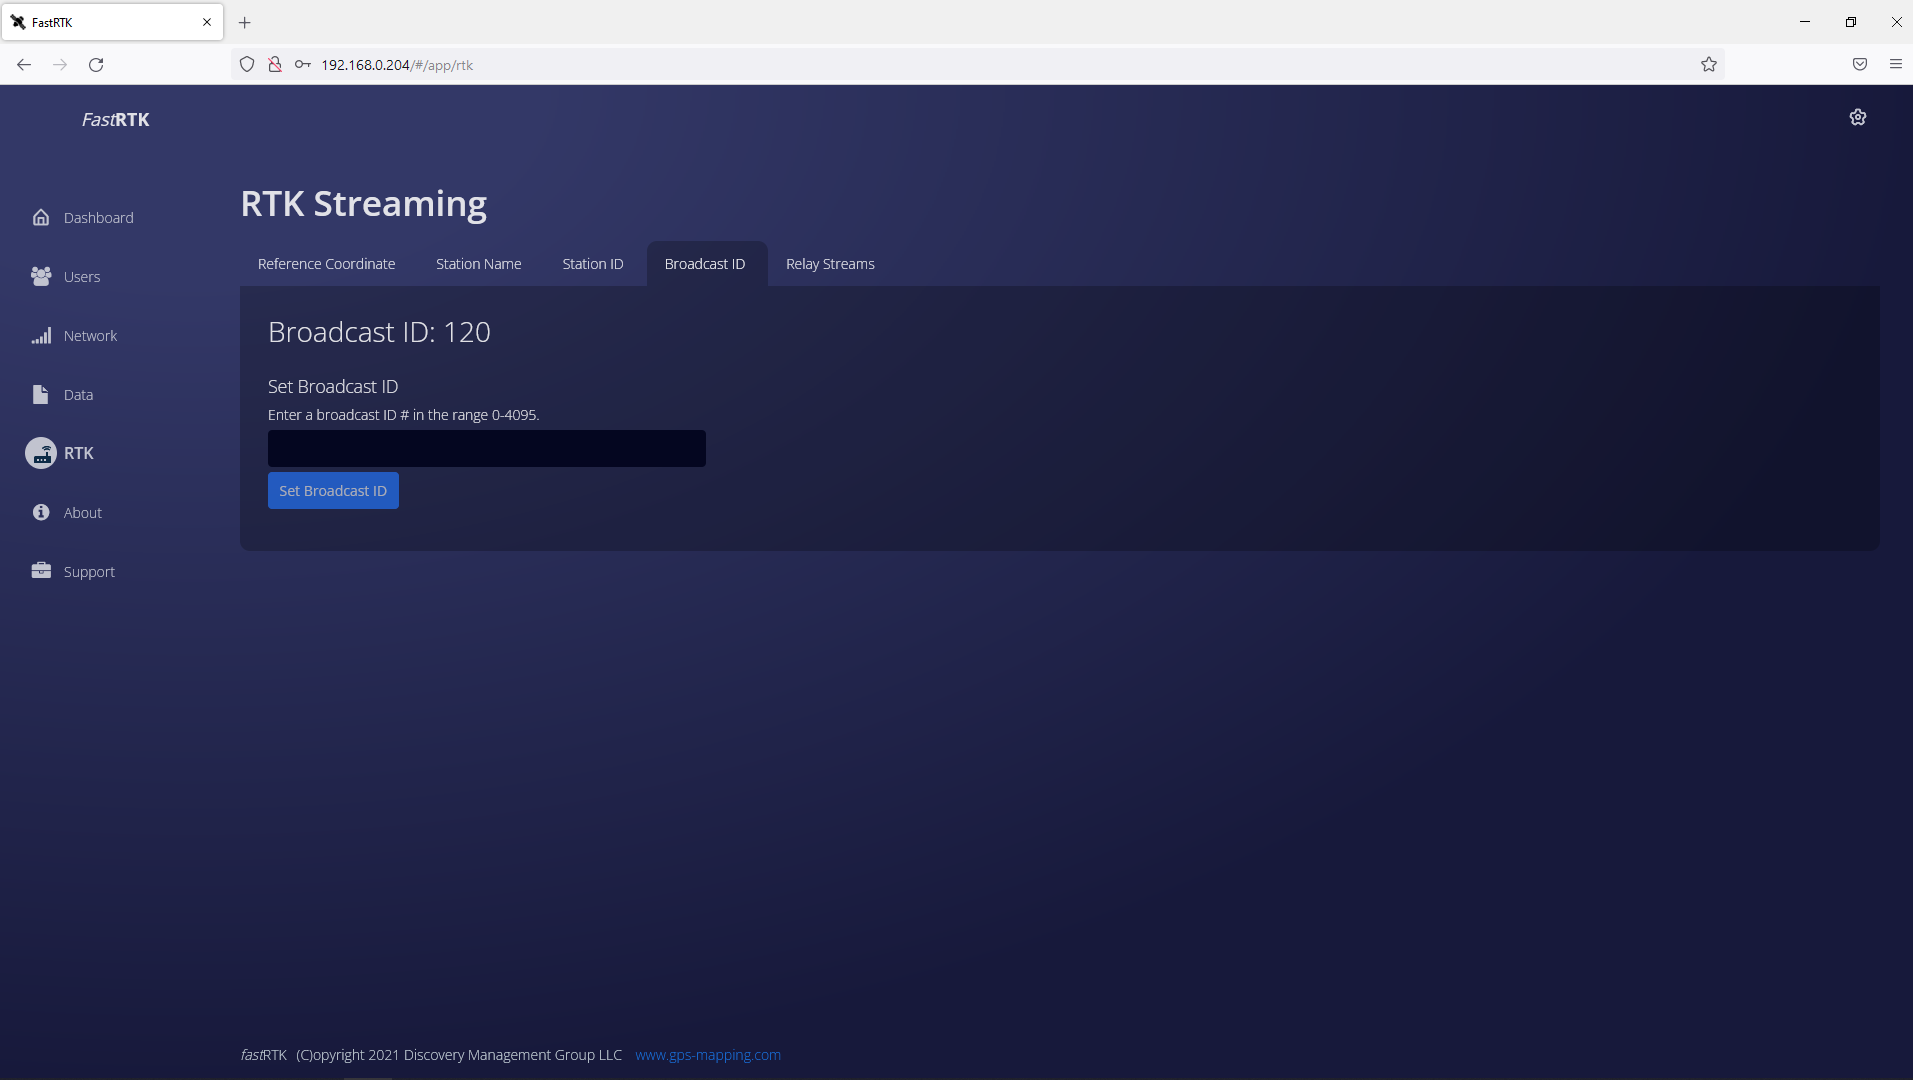
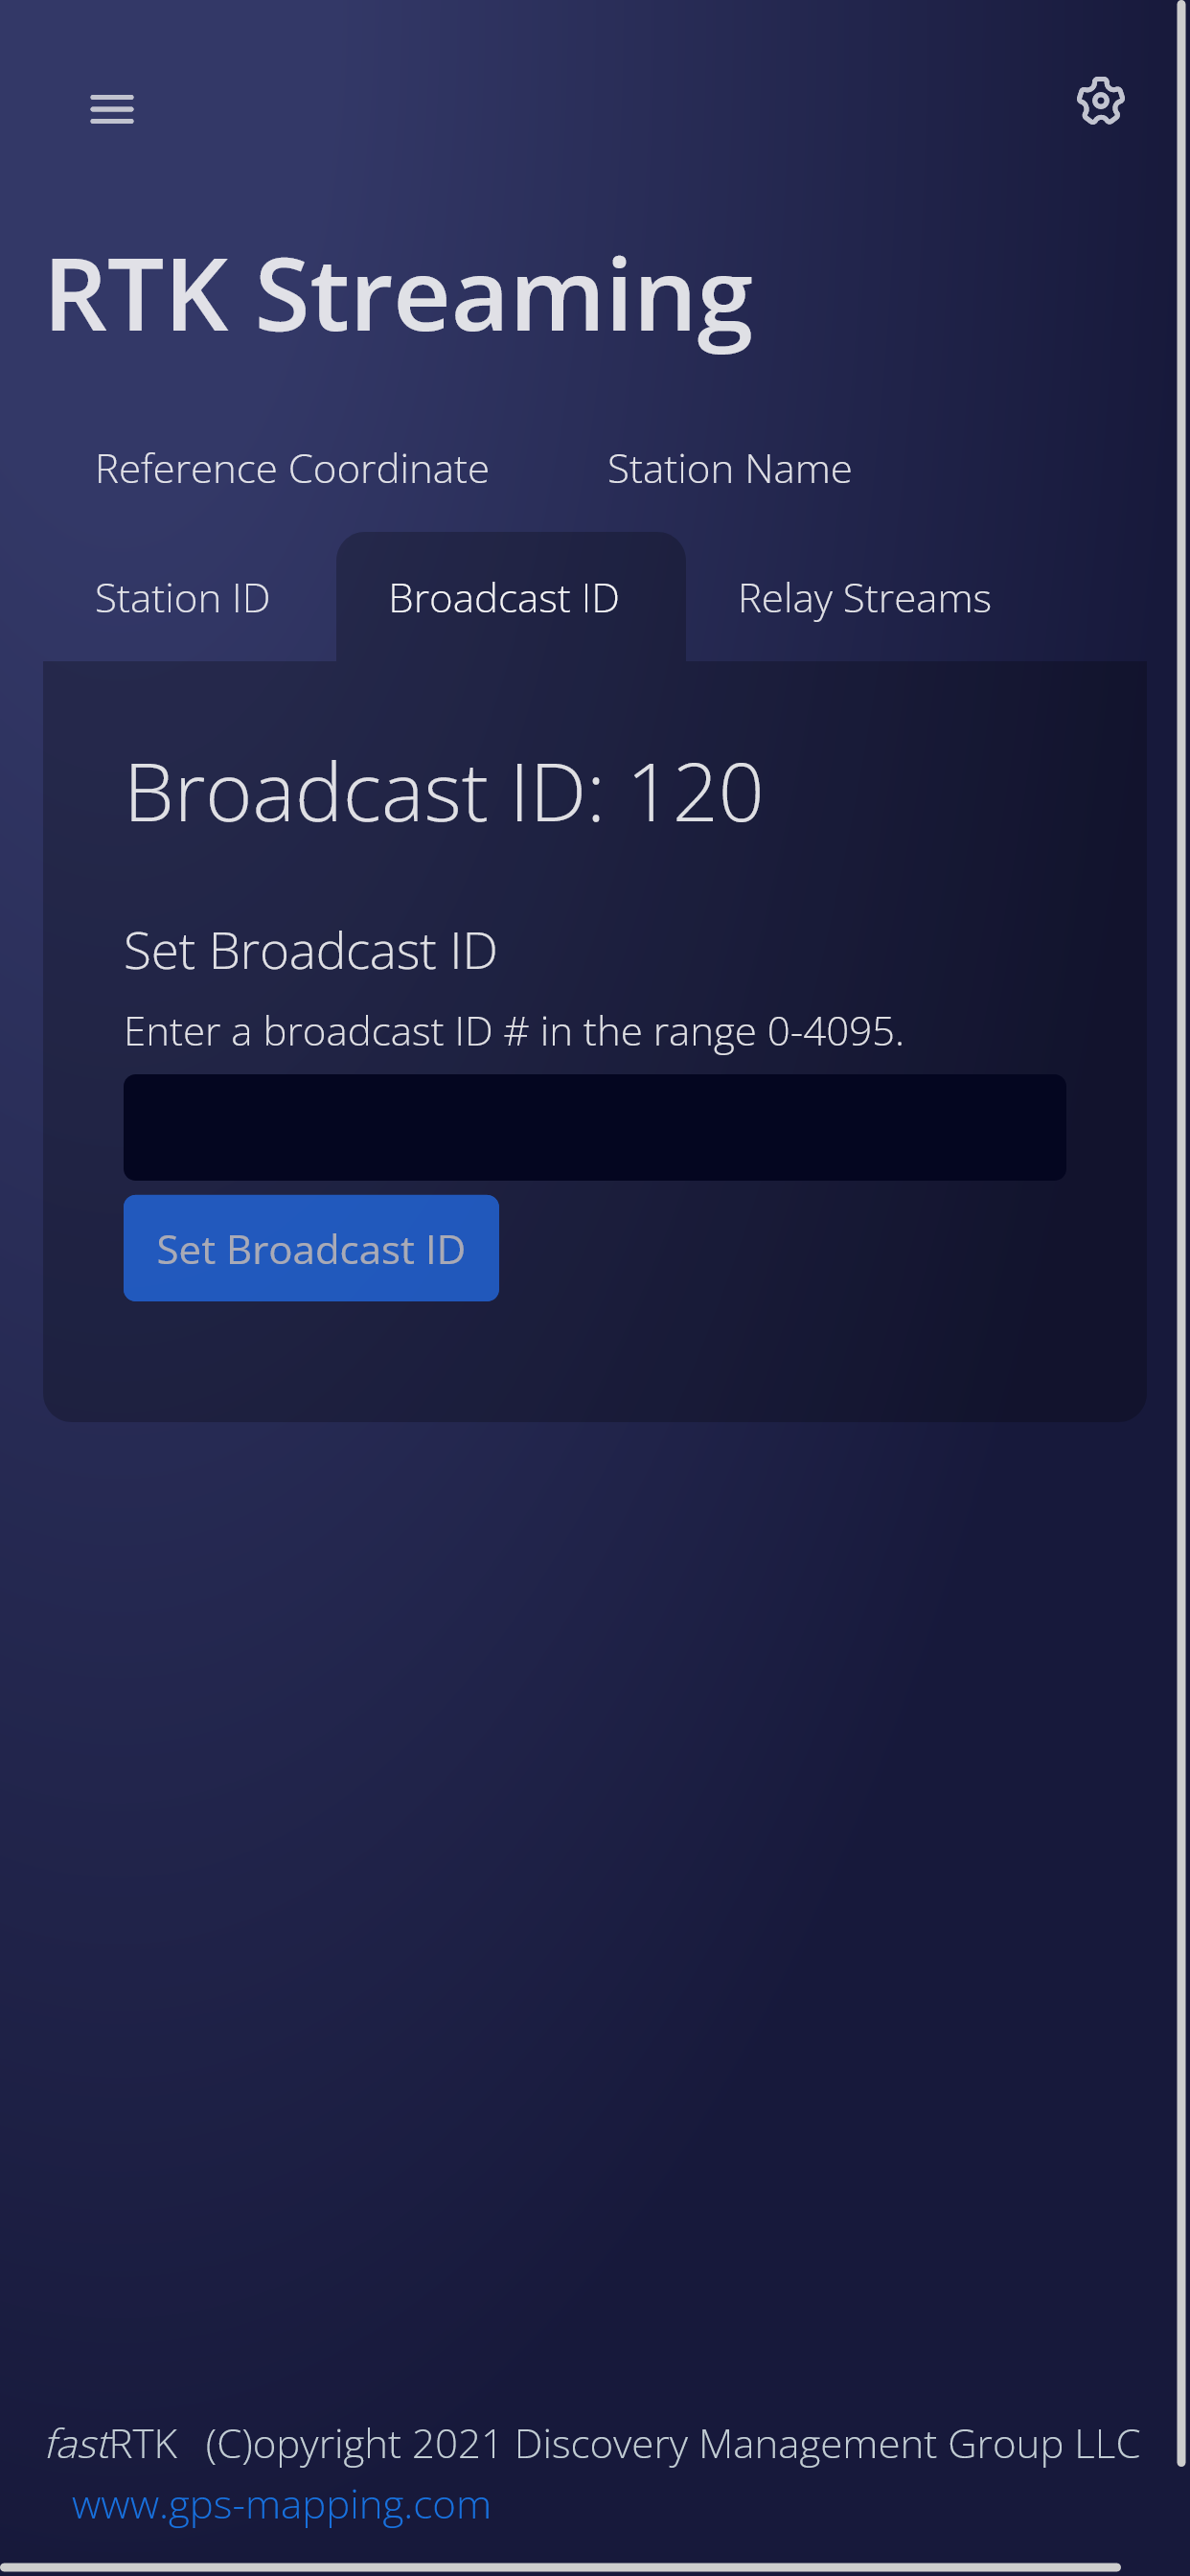
Edit a station's broadcast ID (AKA differential ID or diff ID).
Desktop screenshots FastRTK version 4.1.1 (click to expand)
Mobile device screenshots FastRTK version 4.1.1 (click to expand)
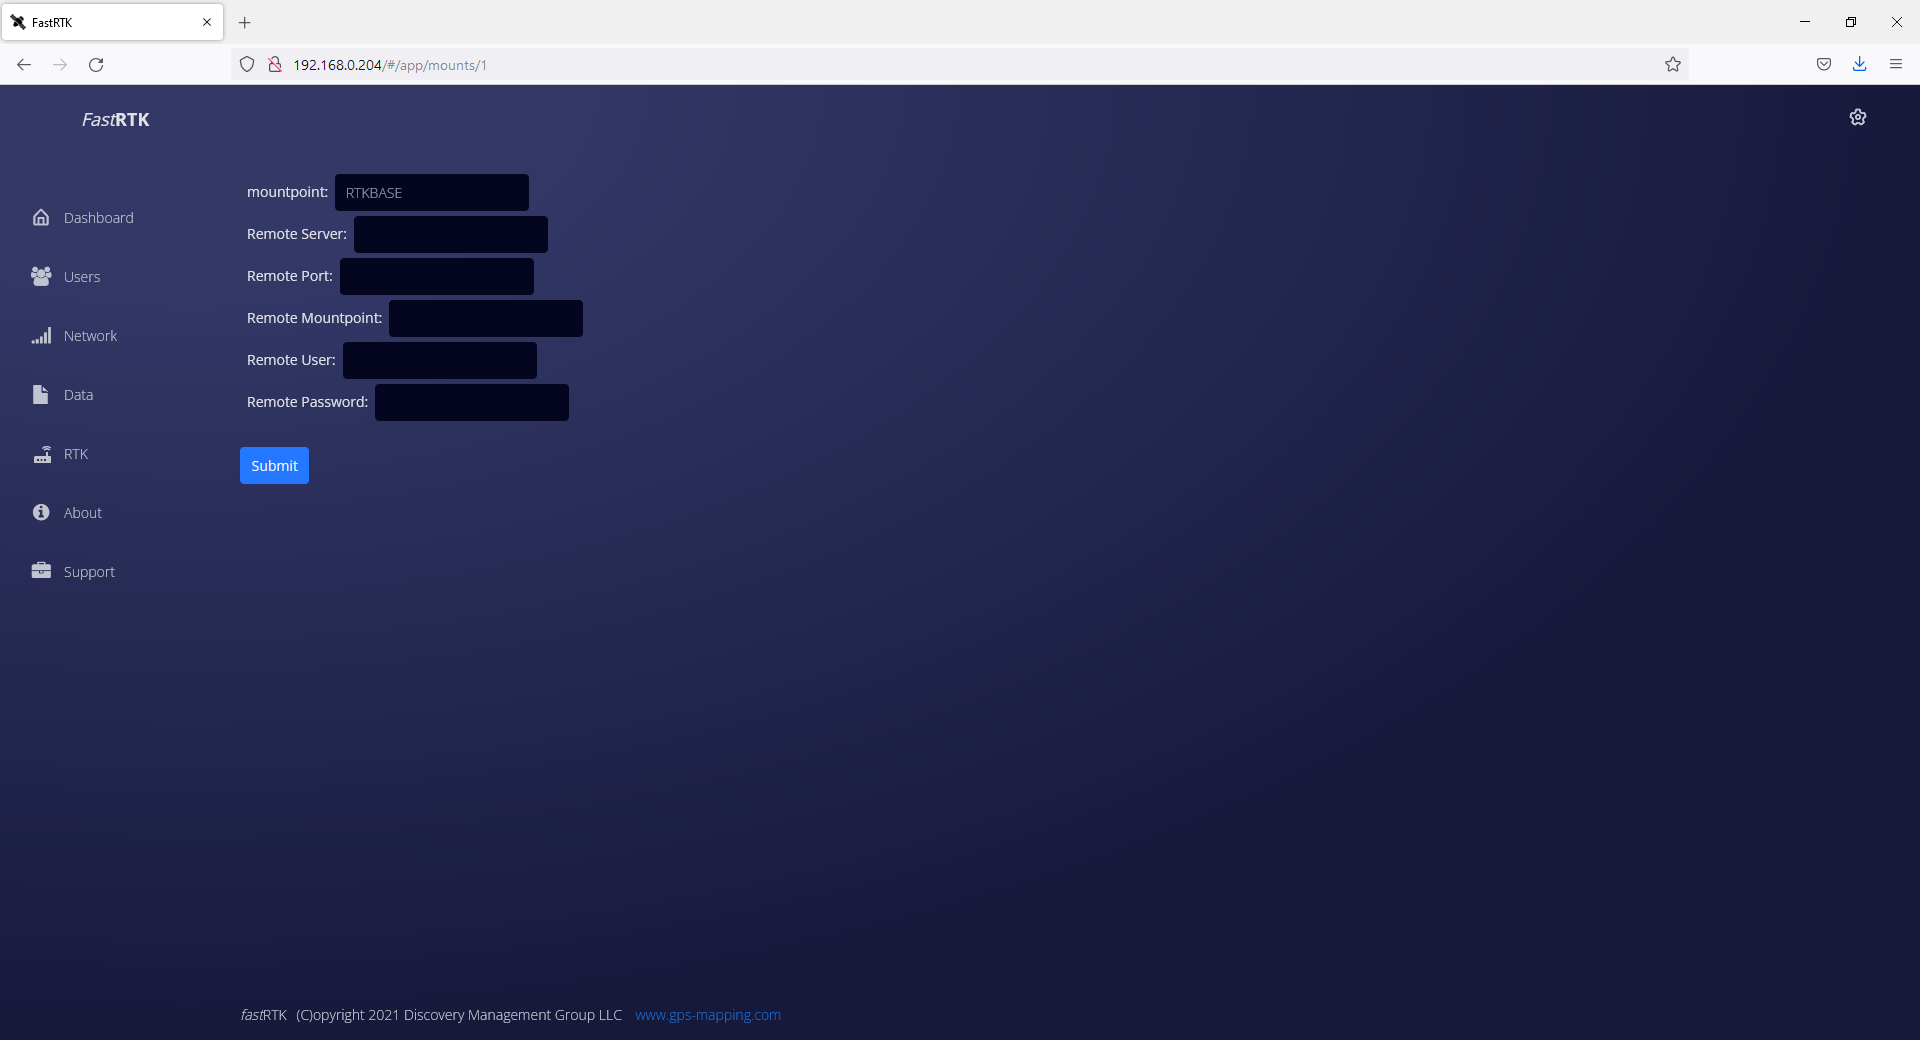
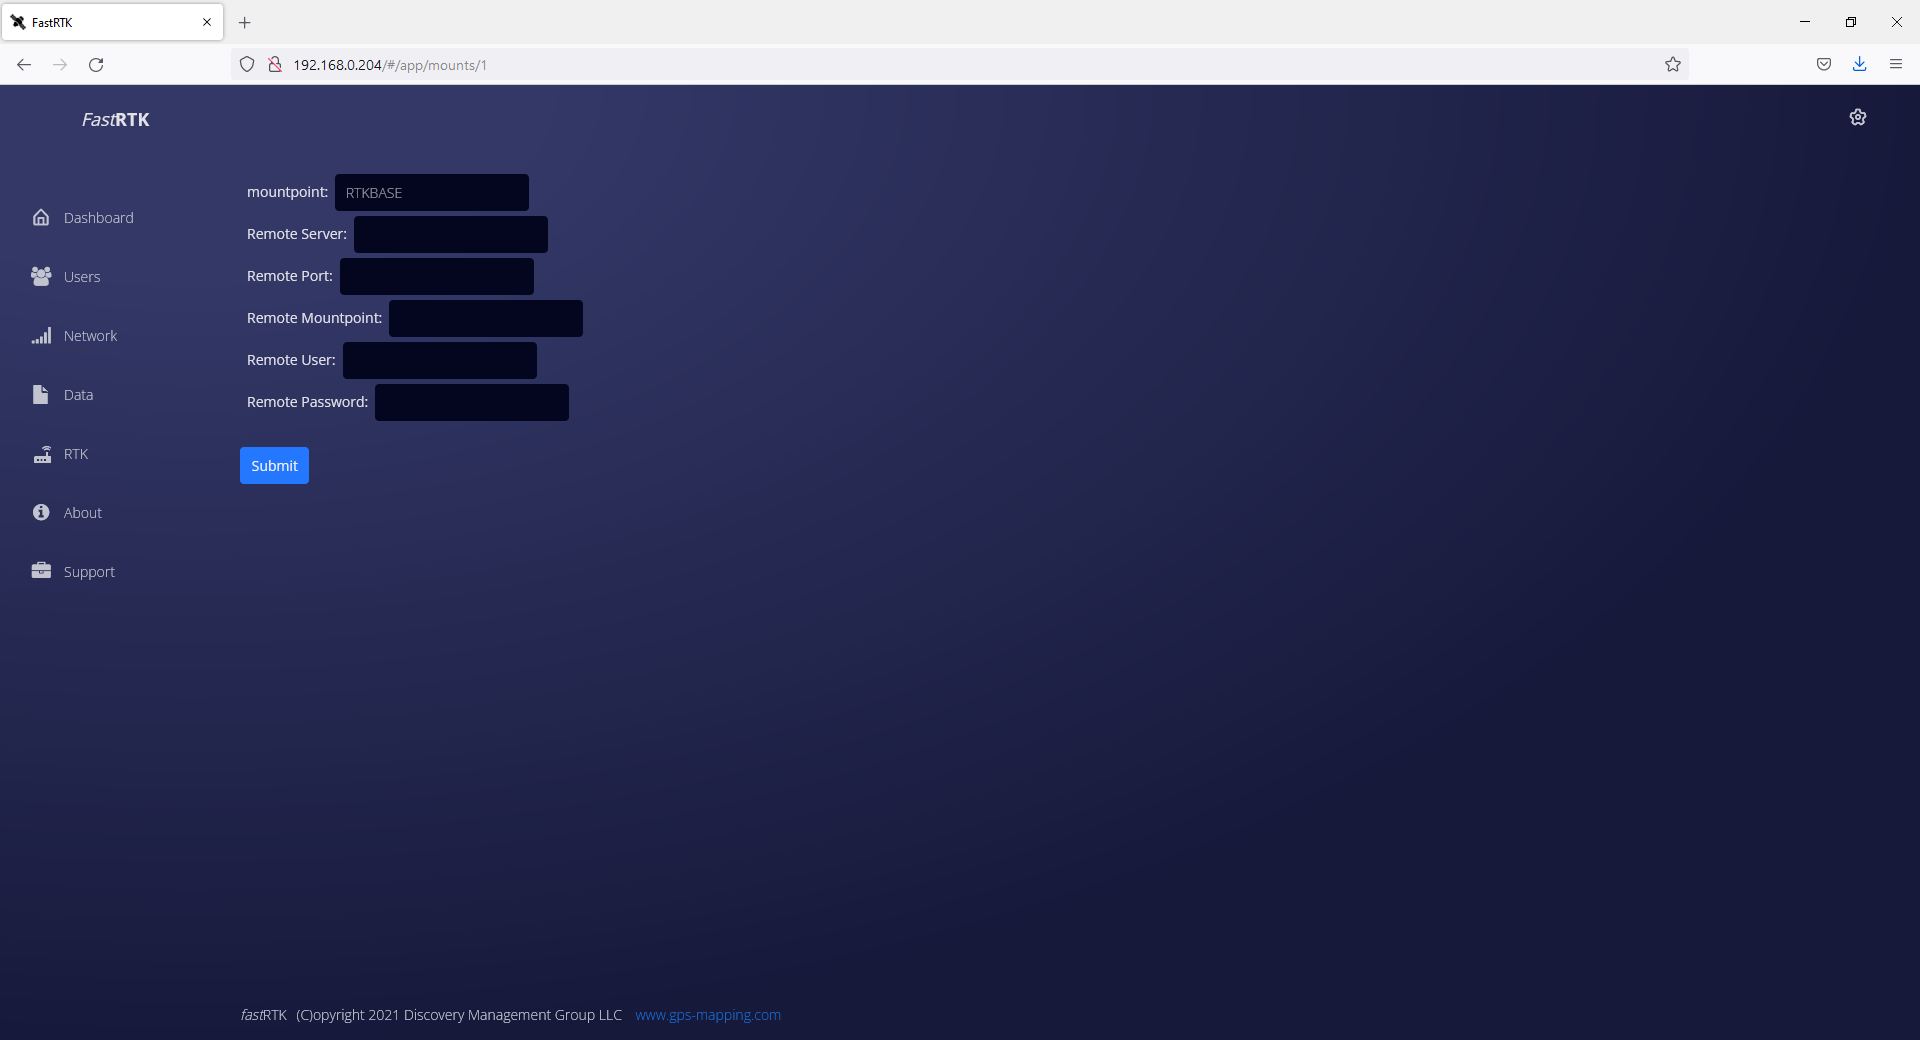
Input an existing base station's NTRIP information to add an additional mountpoint. Said mountpoint will be available when the user connects their rover to the local base.
Desktop screenshots FastRTK version 4.1.1 (click to expand)
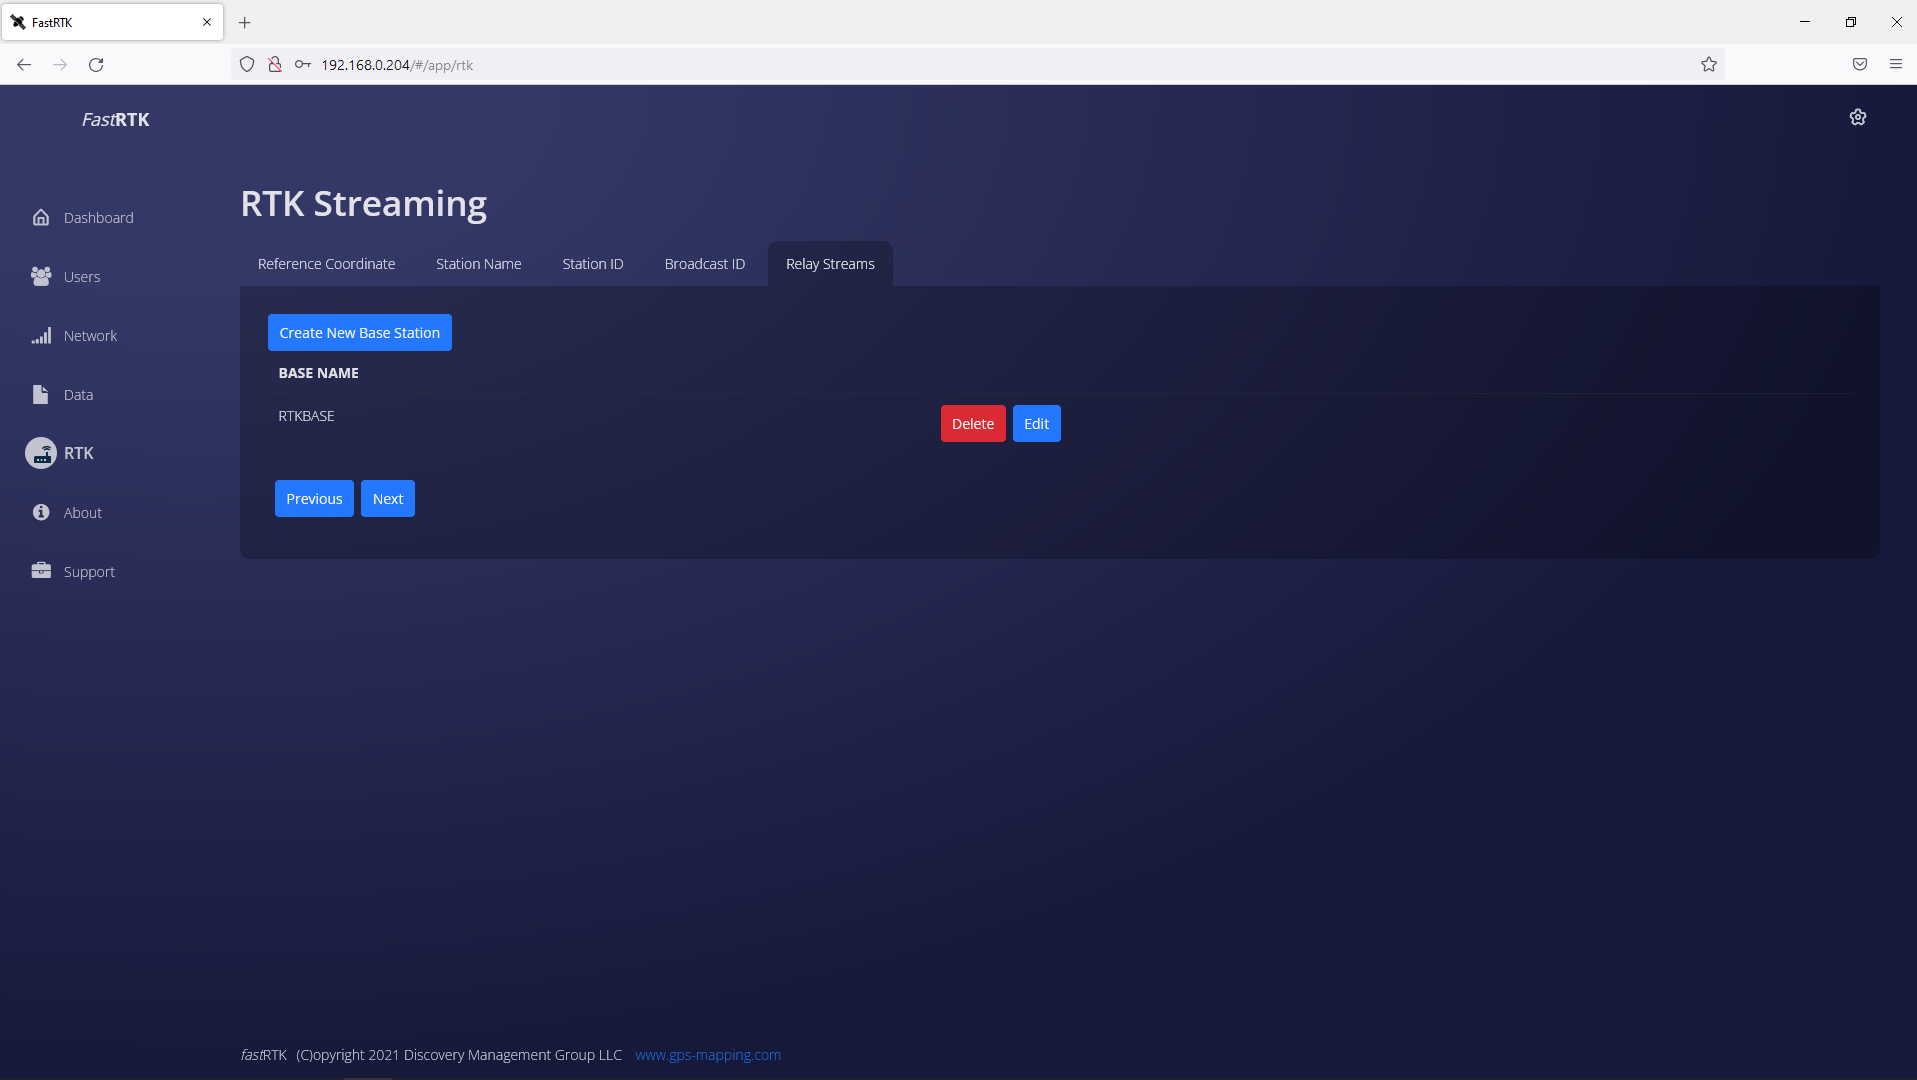
Edit information for a relay stream:
Add a new relay stream:
Mobile device screenshots FastRTK version 4.1.1 (click to expand)
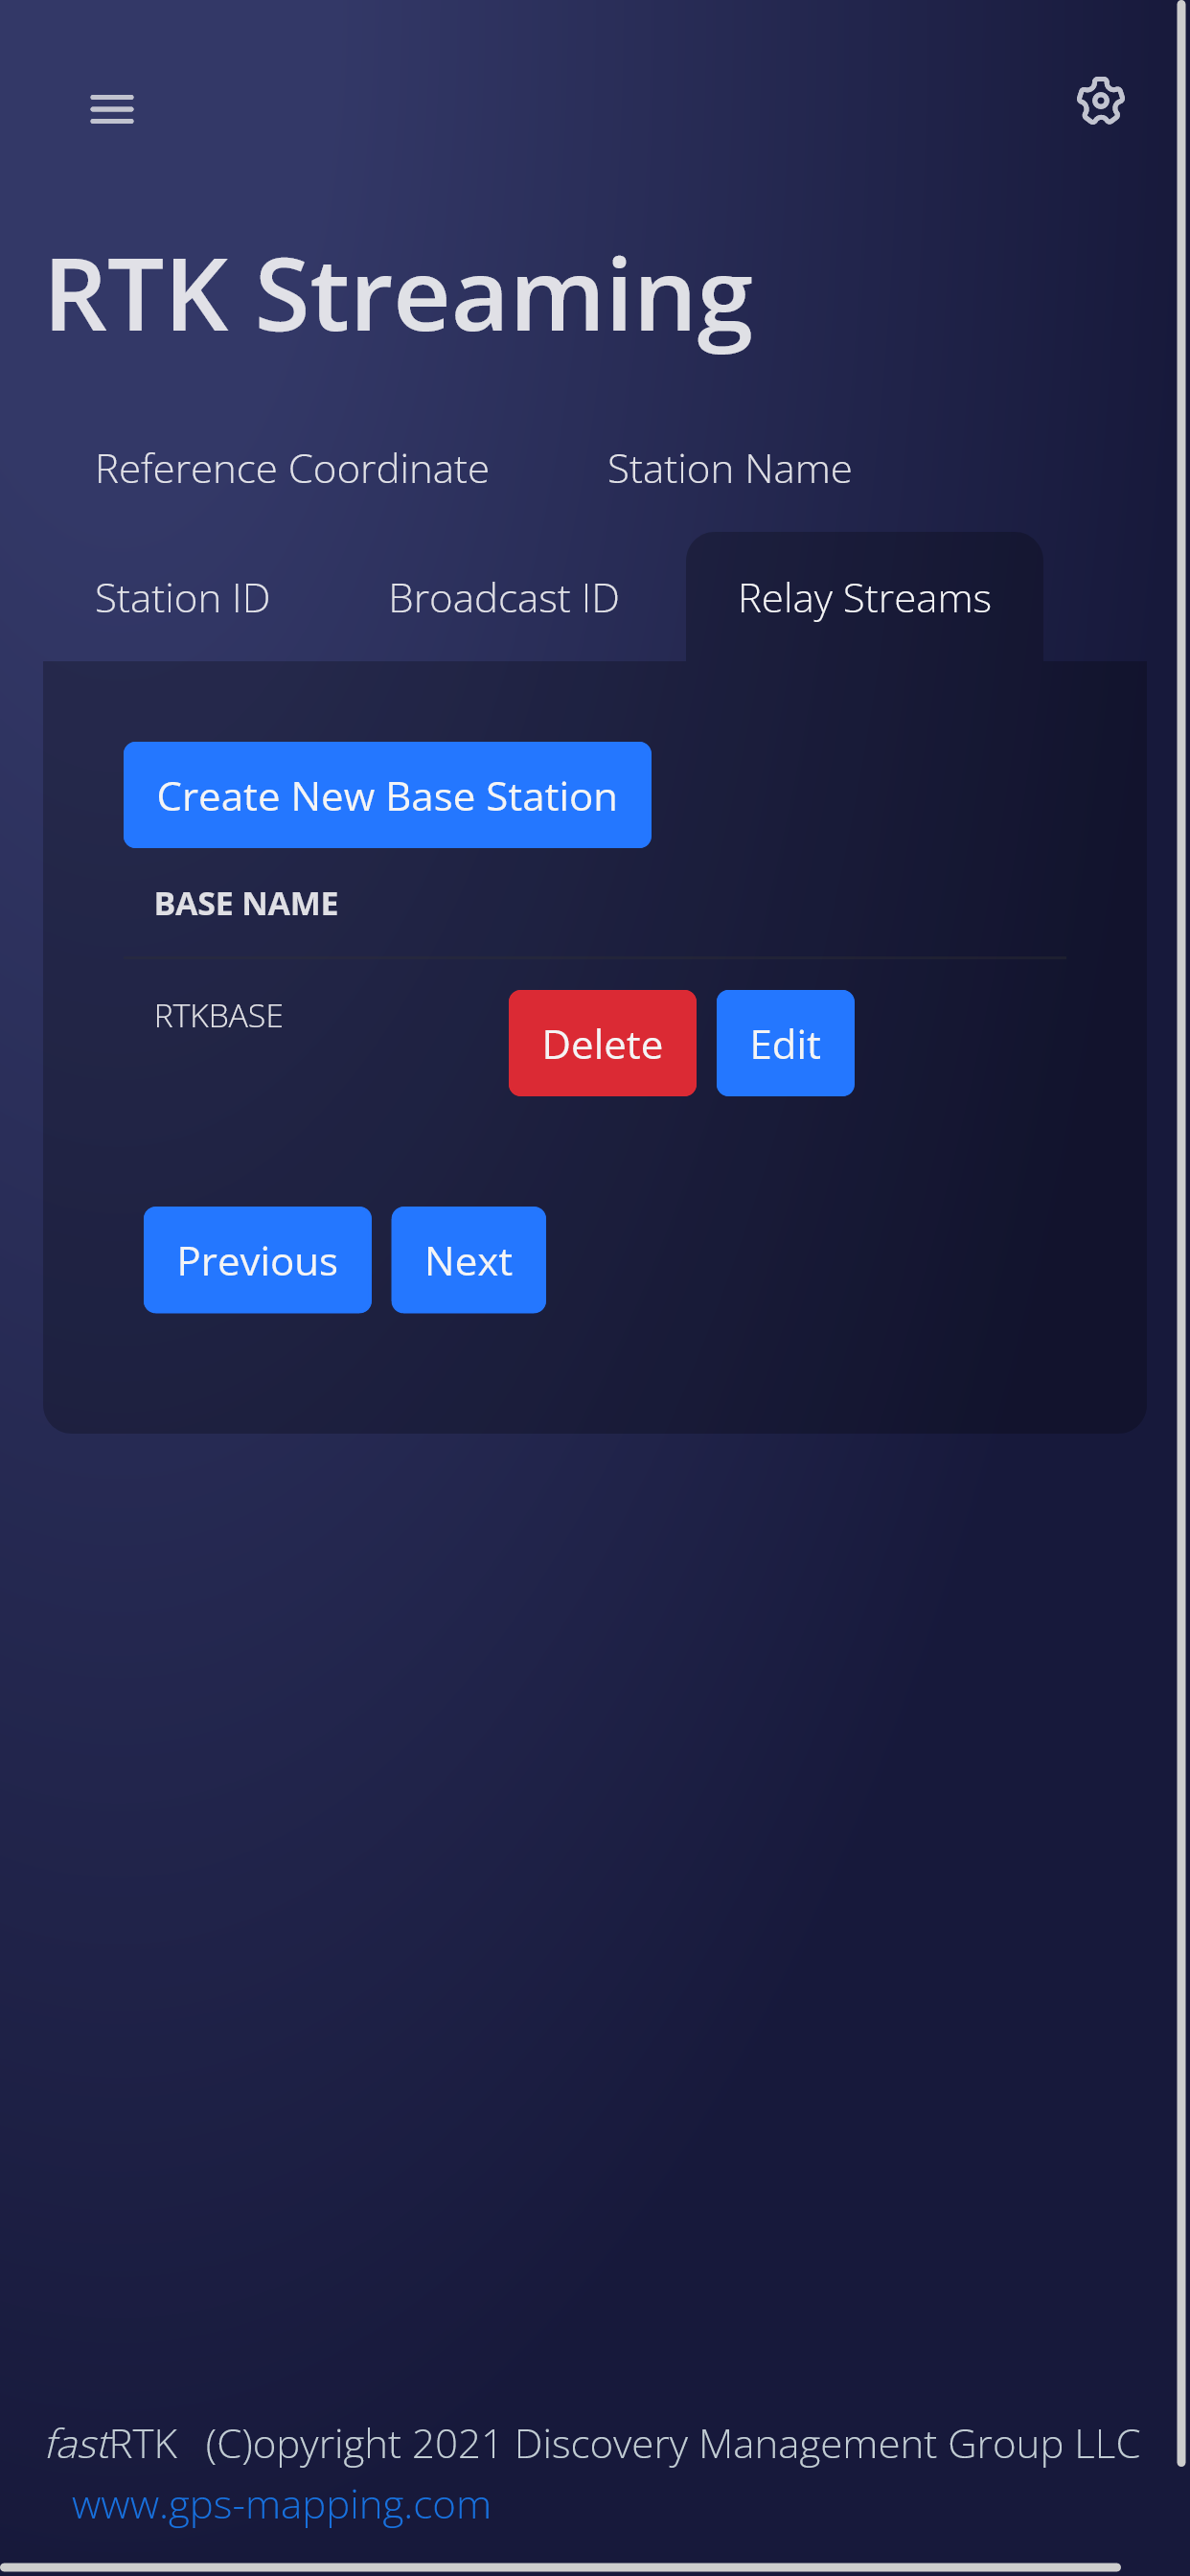
Edit information for a relay stream:
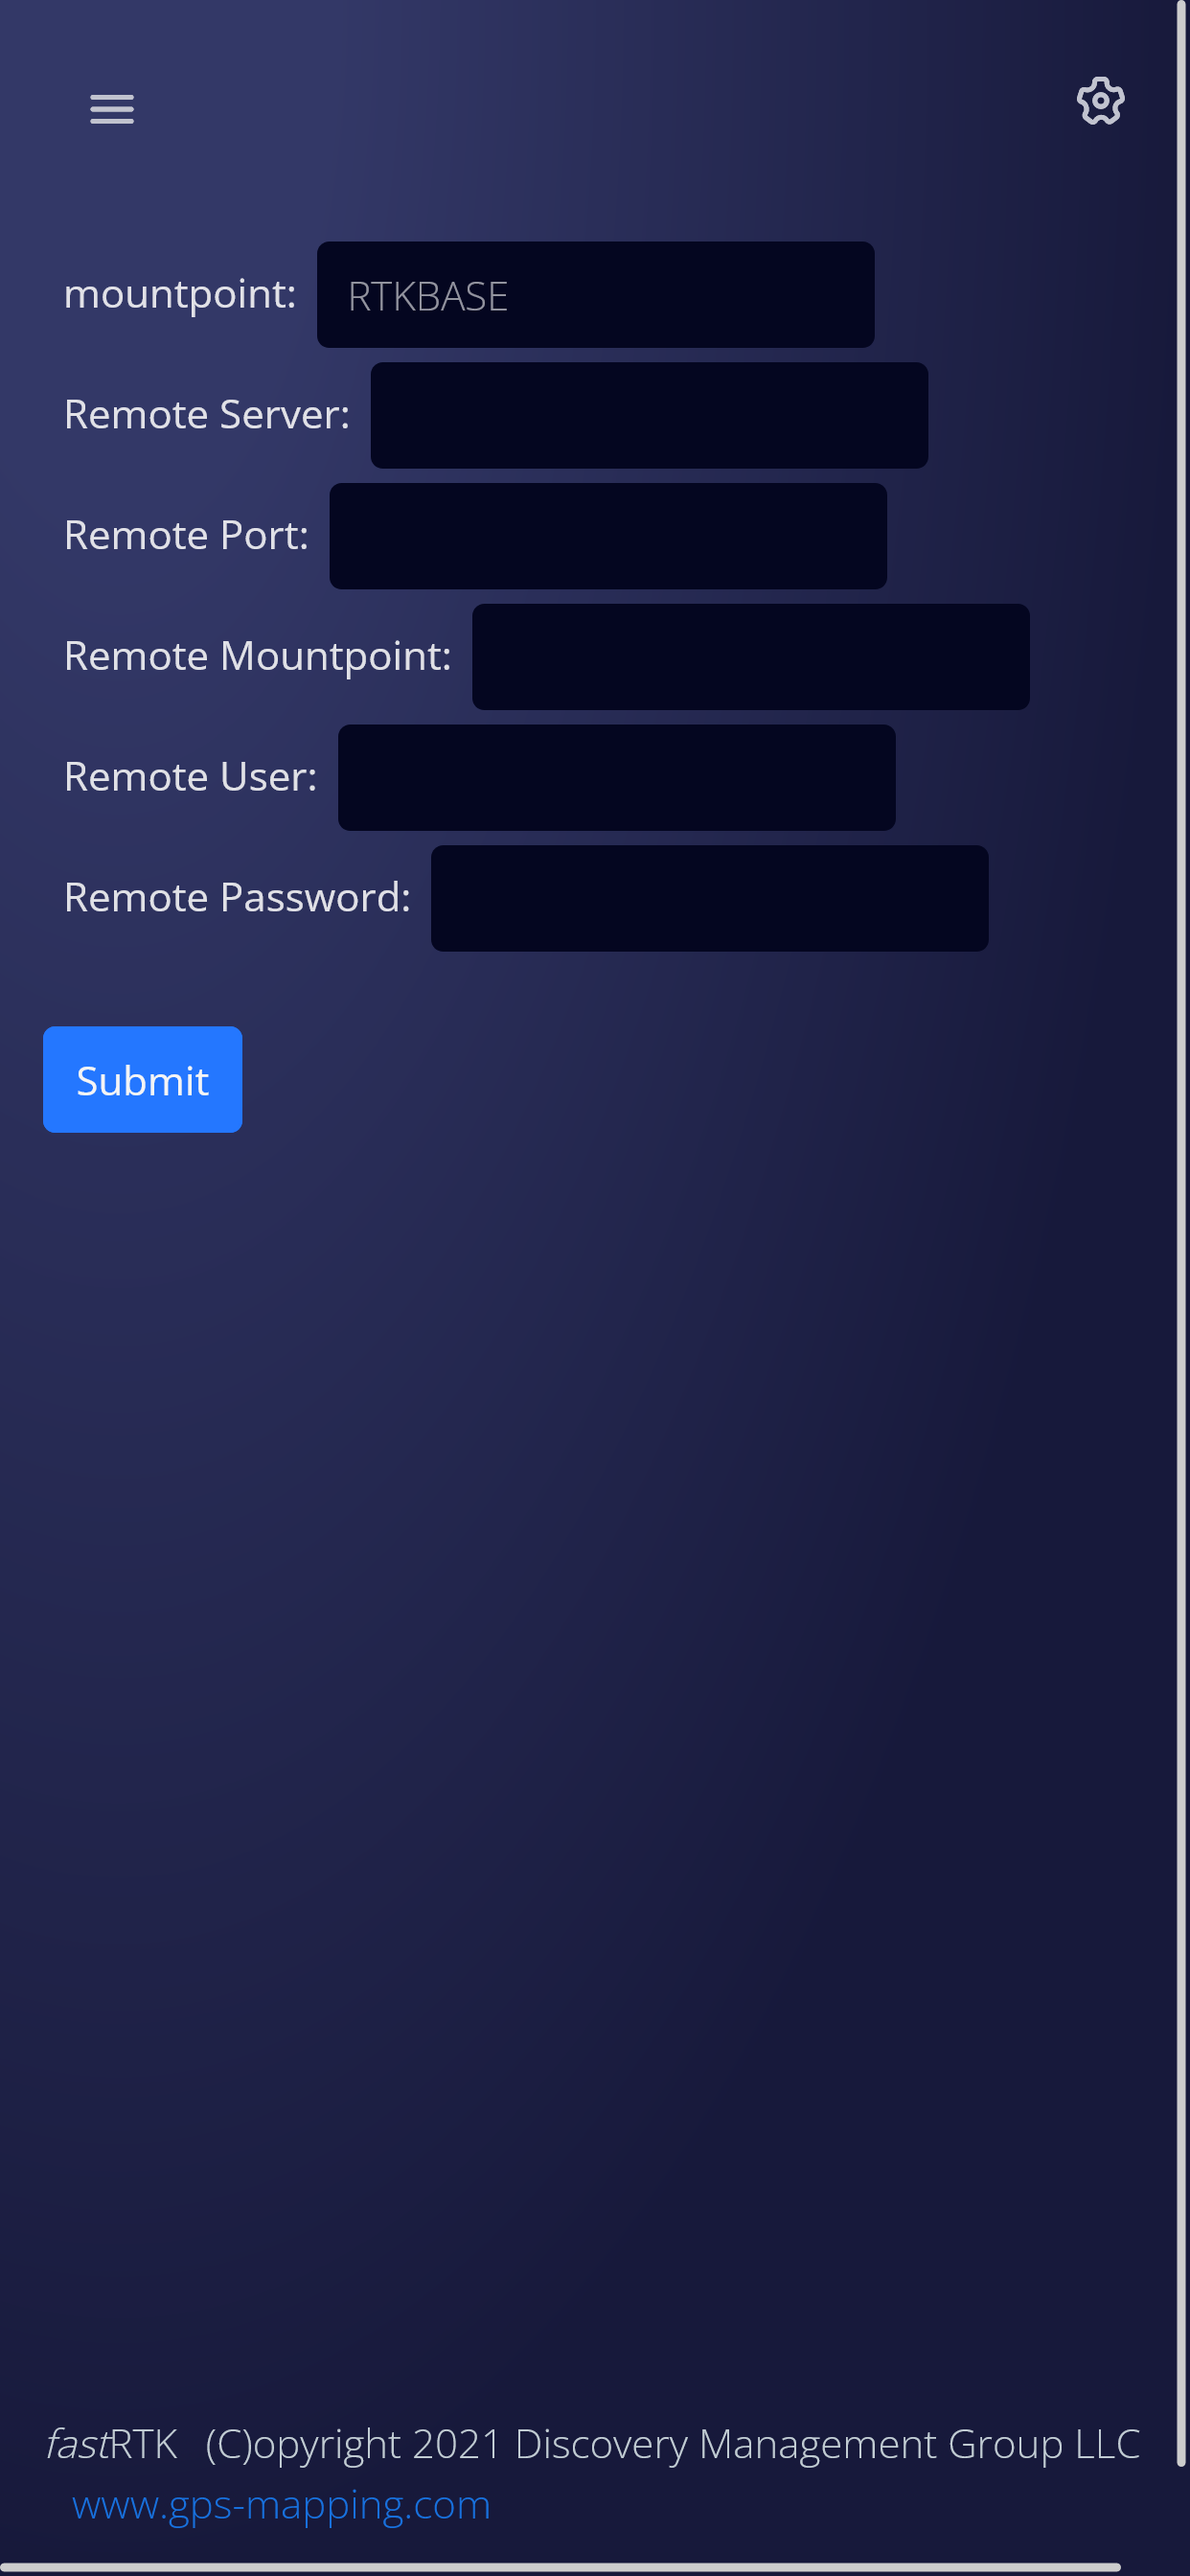
Add a new relay stream:
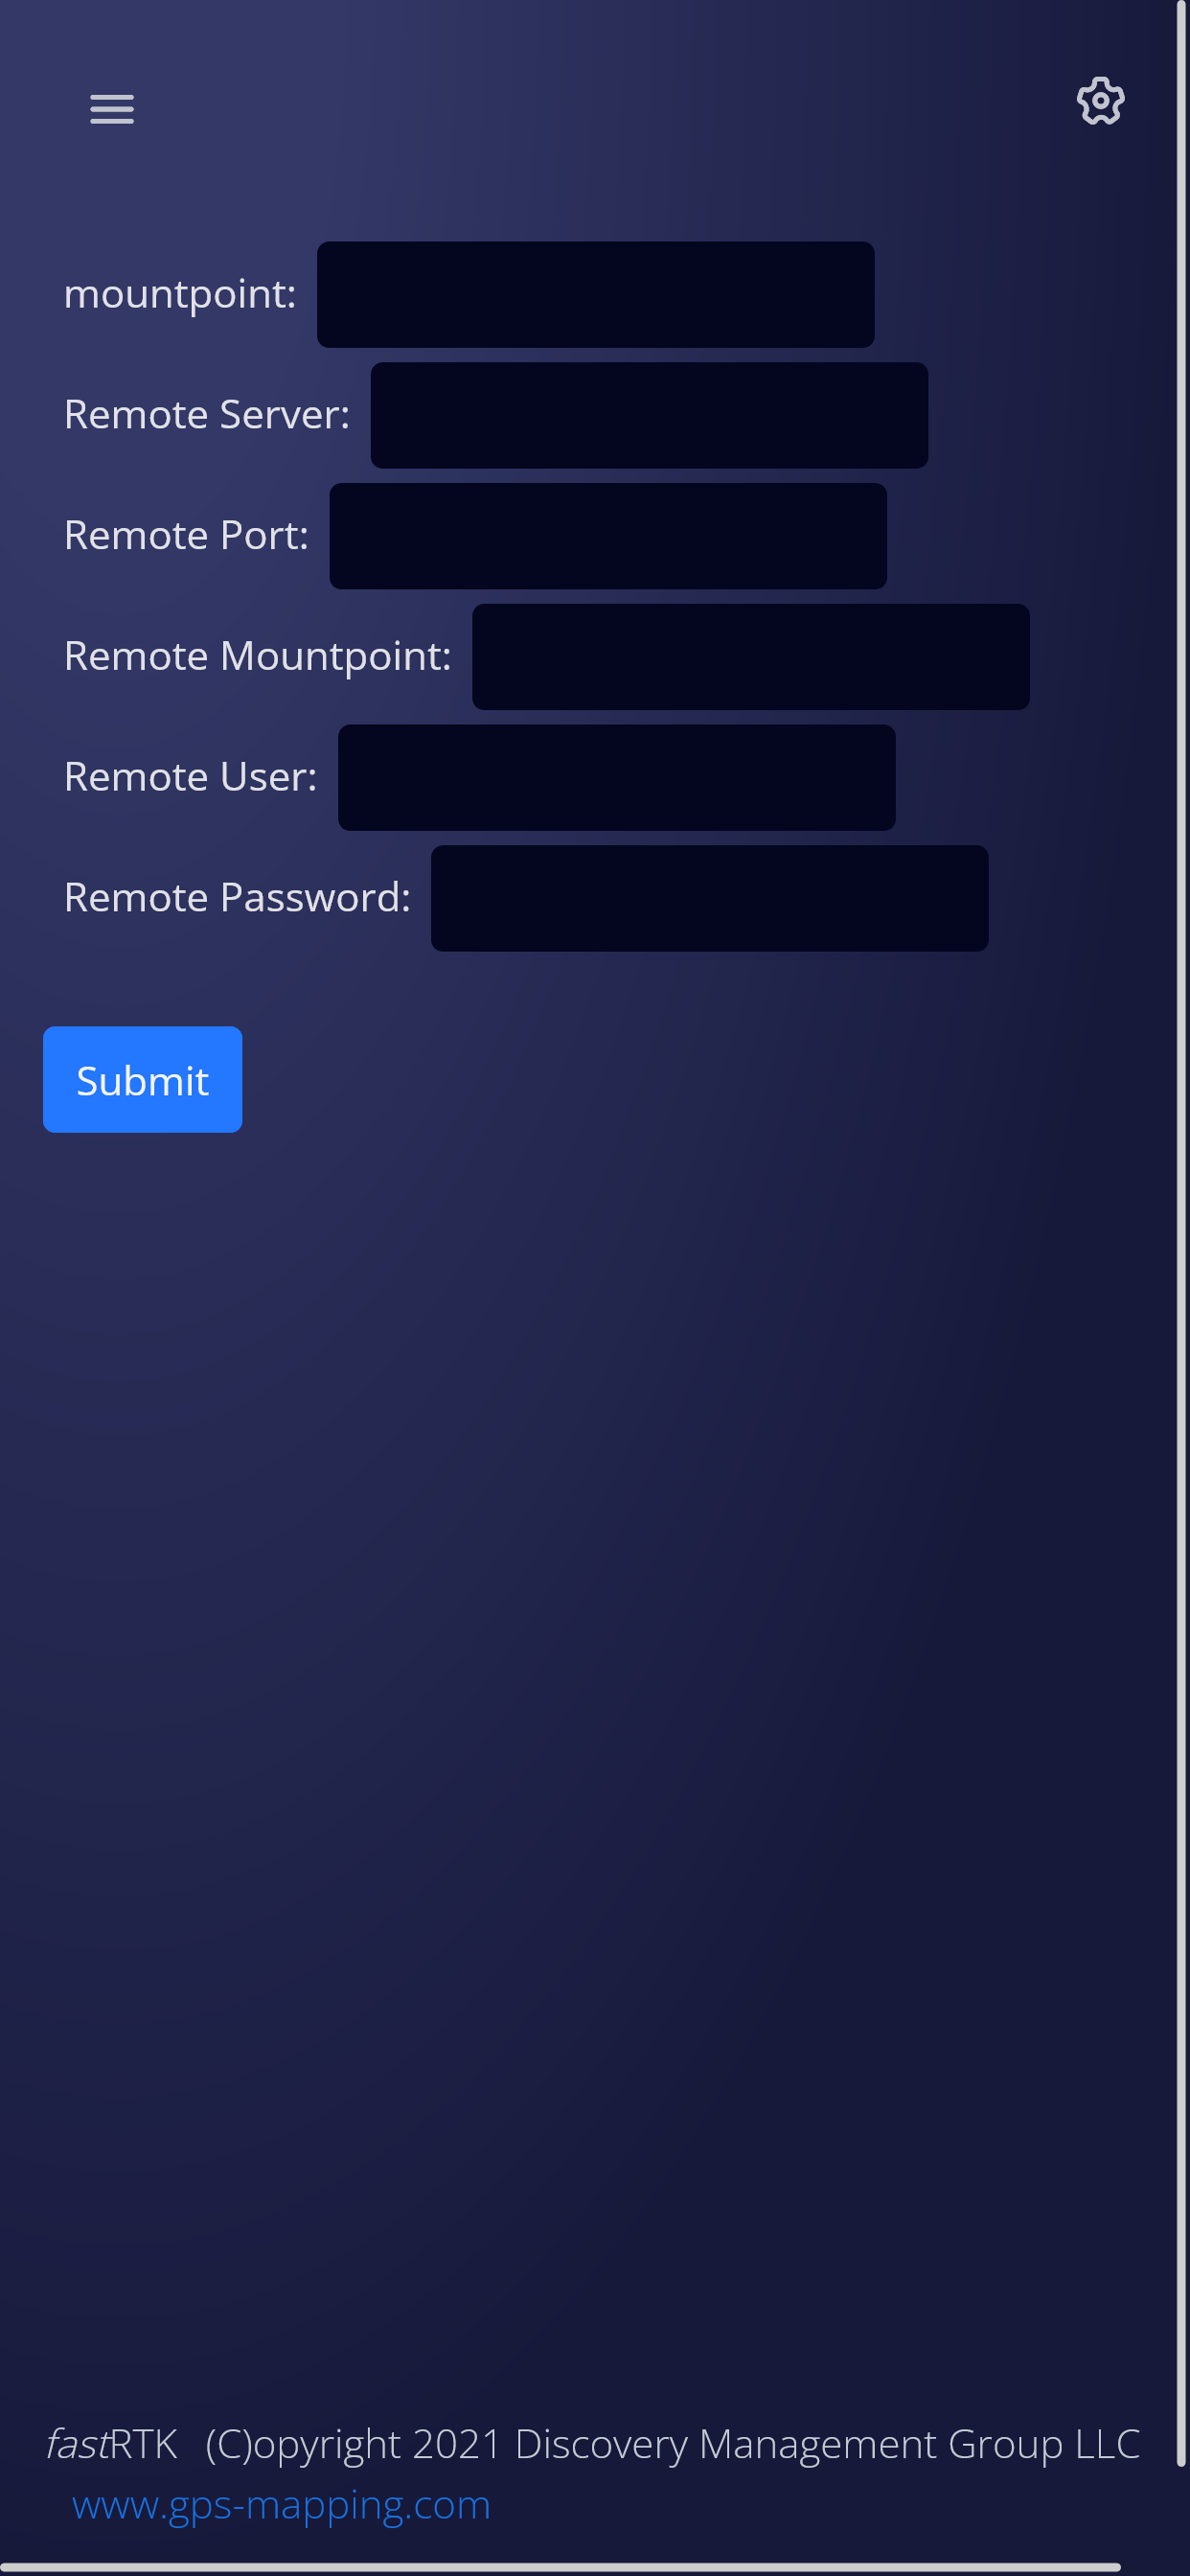
Inputs for adding a relay stream
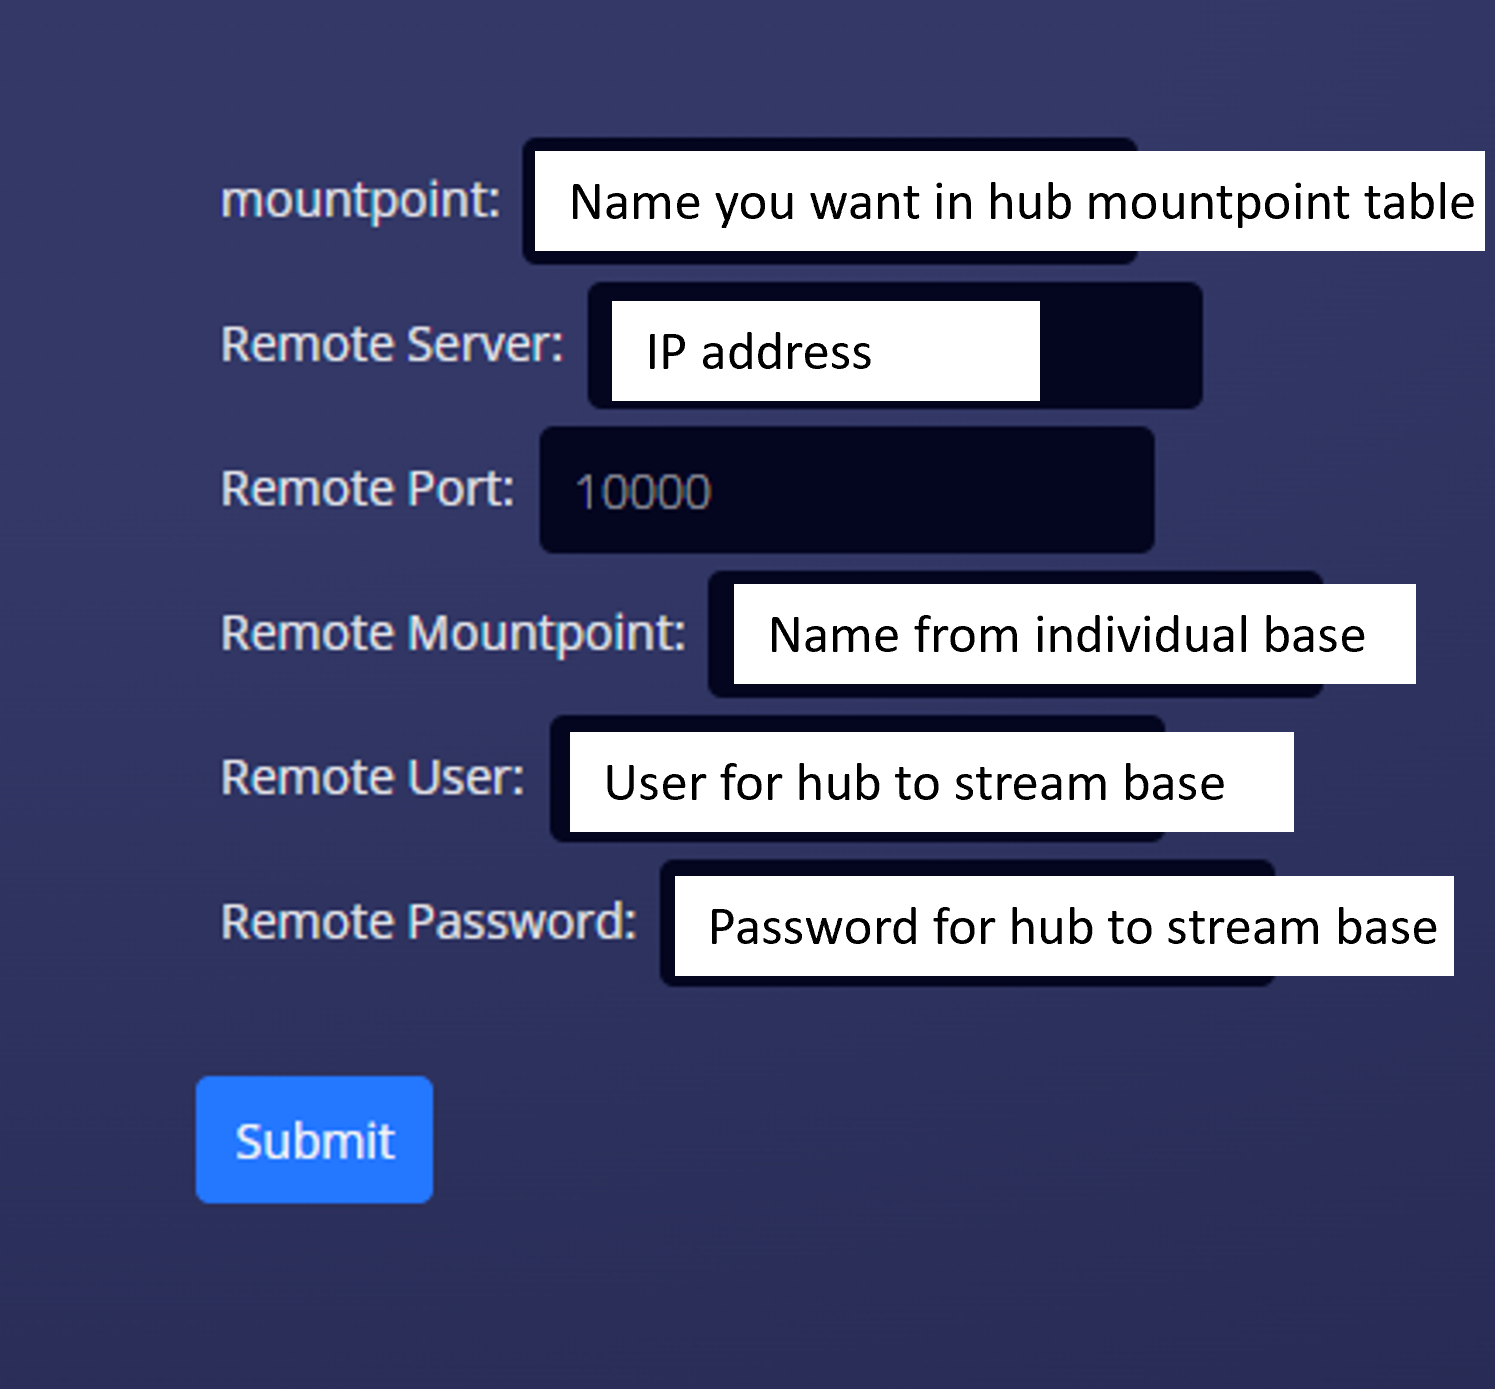
After adding relay streams (mountpoints to the user) to your hub base, make sure to add the mountpoints to the needed user groups. Users only have permission to stream mounts added to thir group.
¶ About
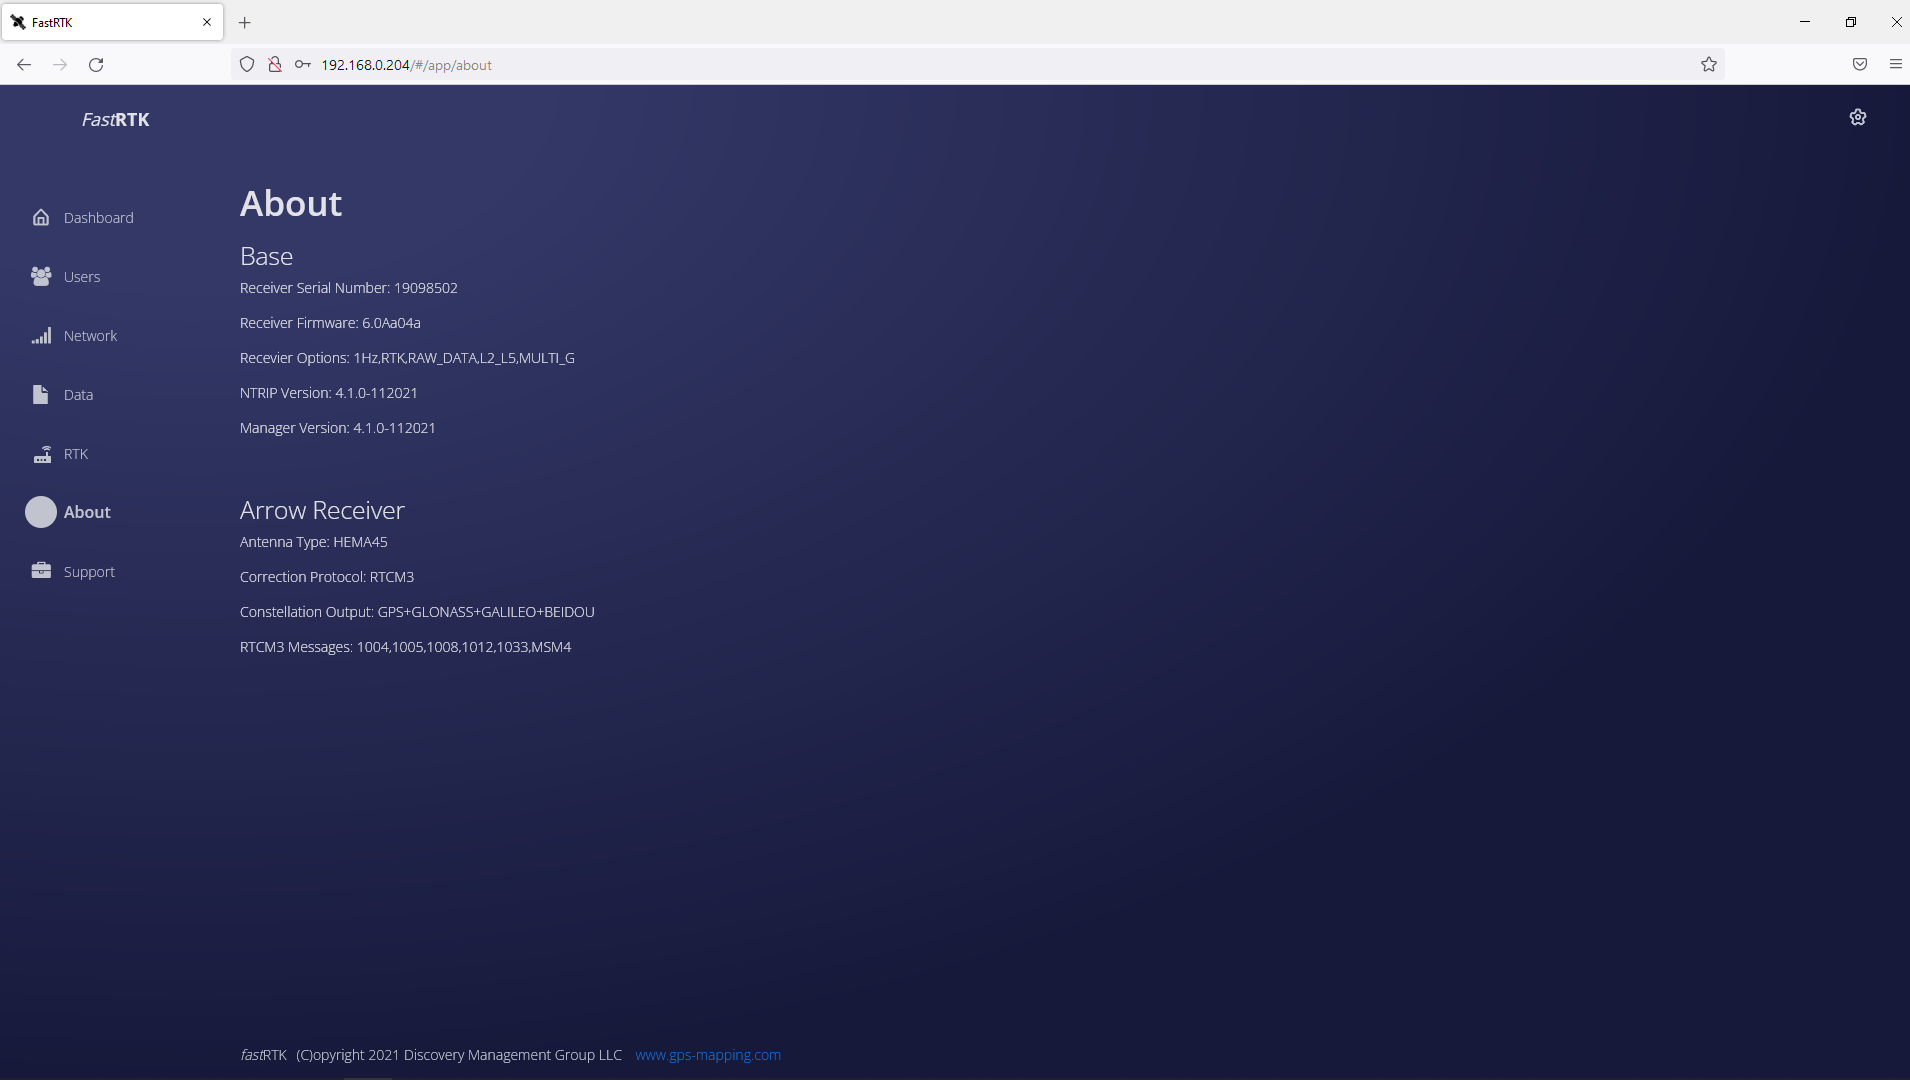
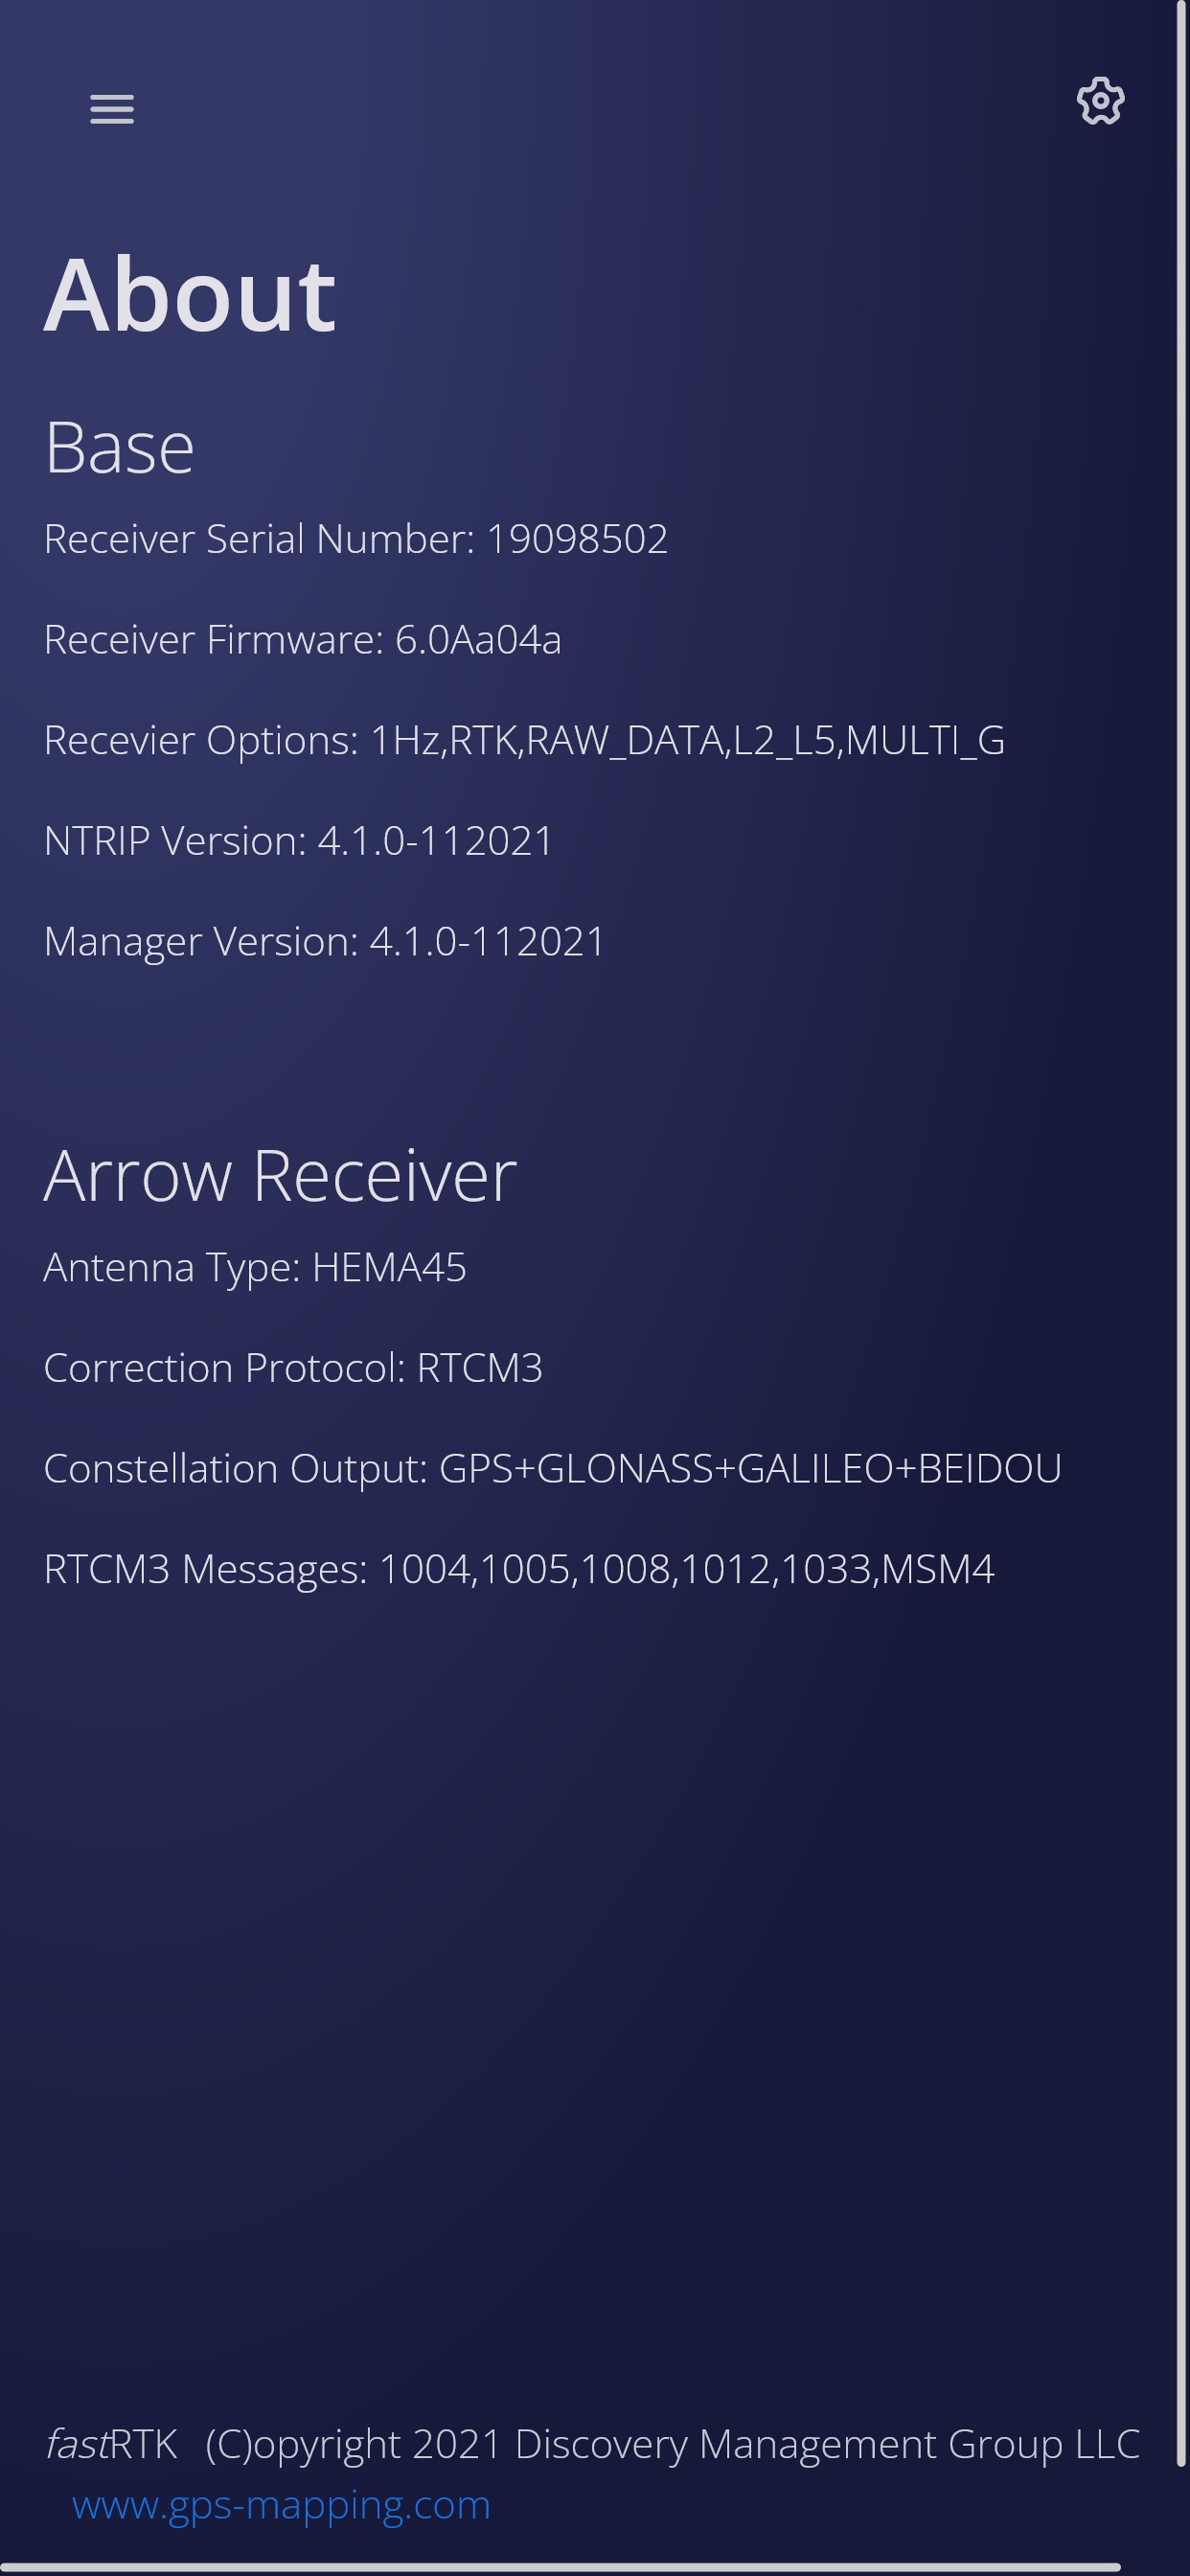
Lists software versions, firmware versions, and other setup information.
Desktop screenshots FastRTK version 4.1.1 (click to expand)
Mobile device screenshots FastRTK version 4.1.1 (click to expand)
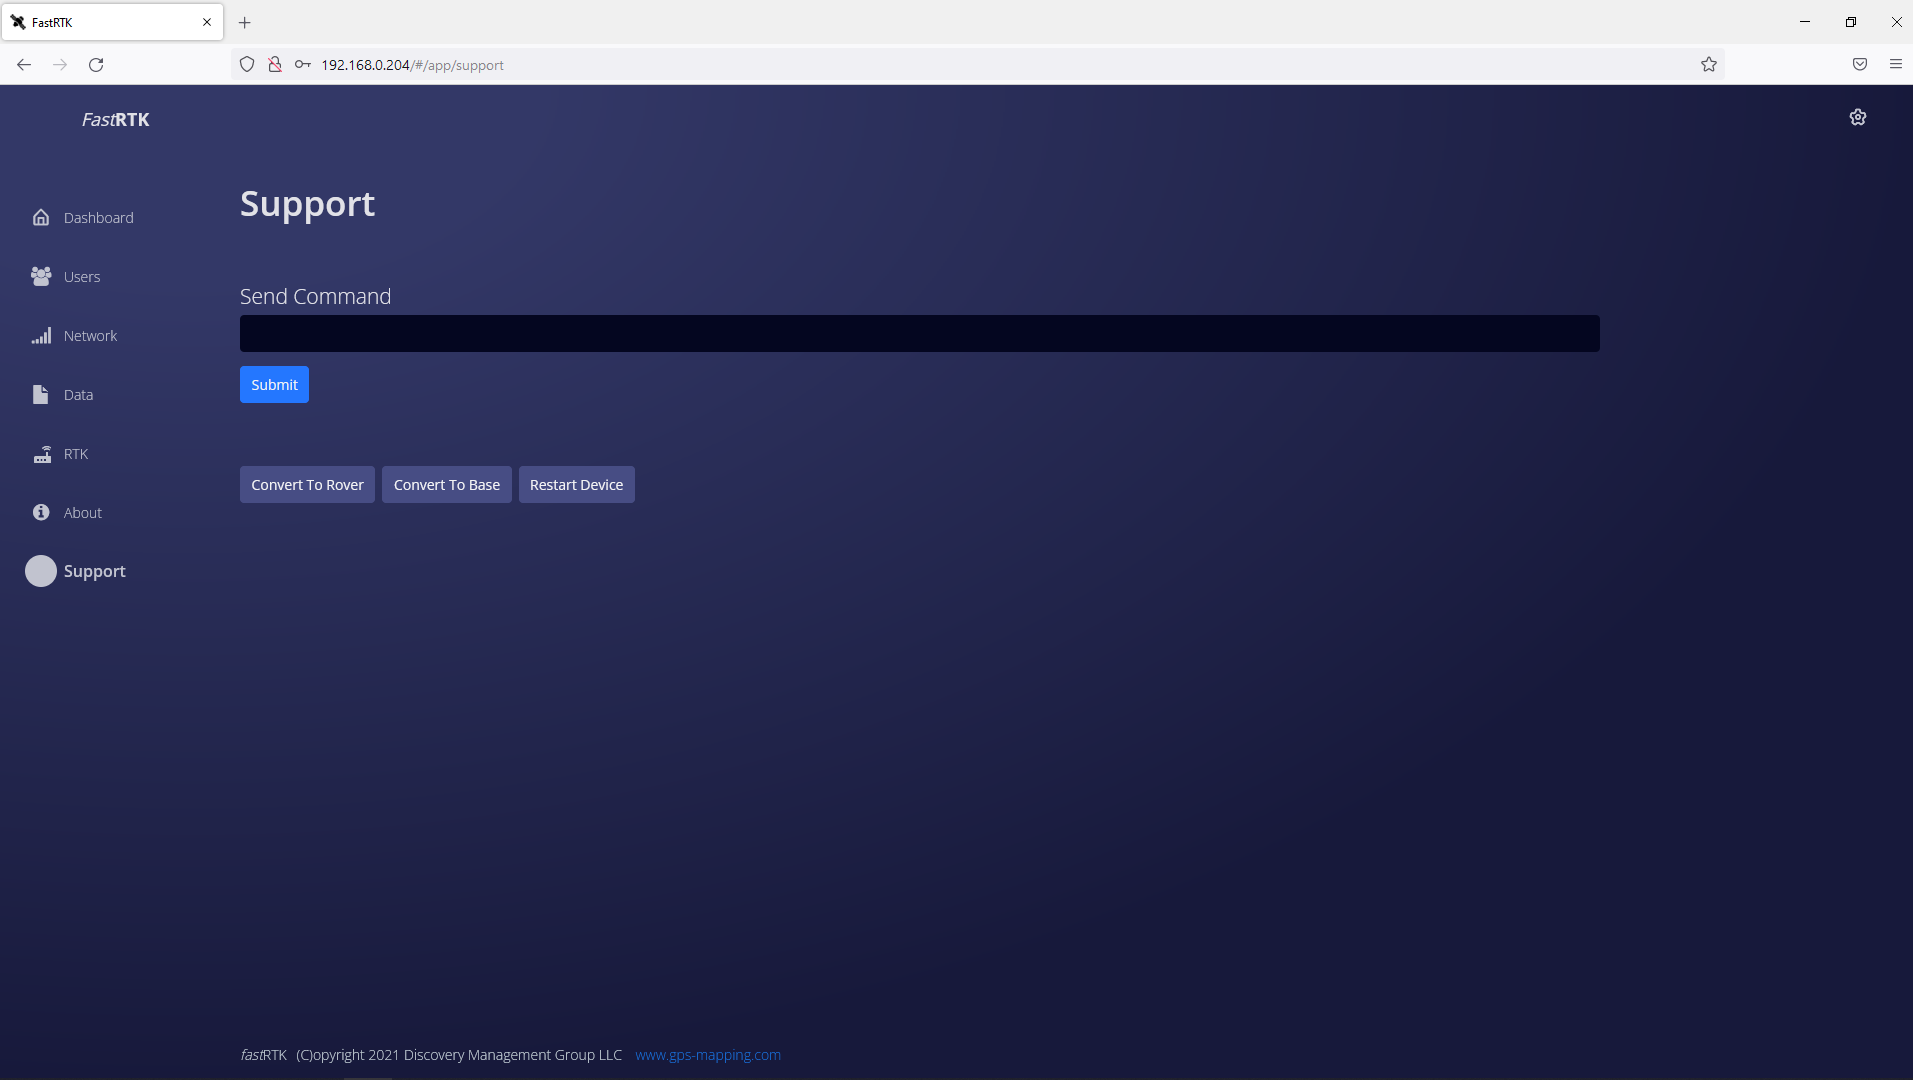
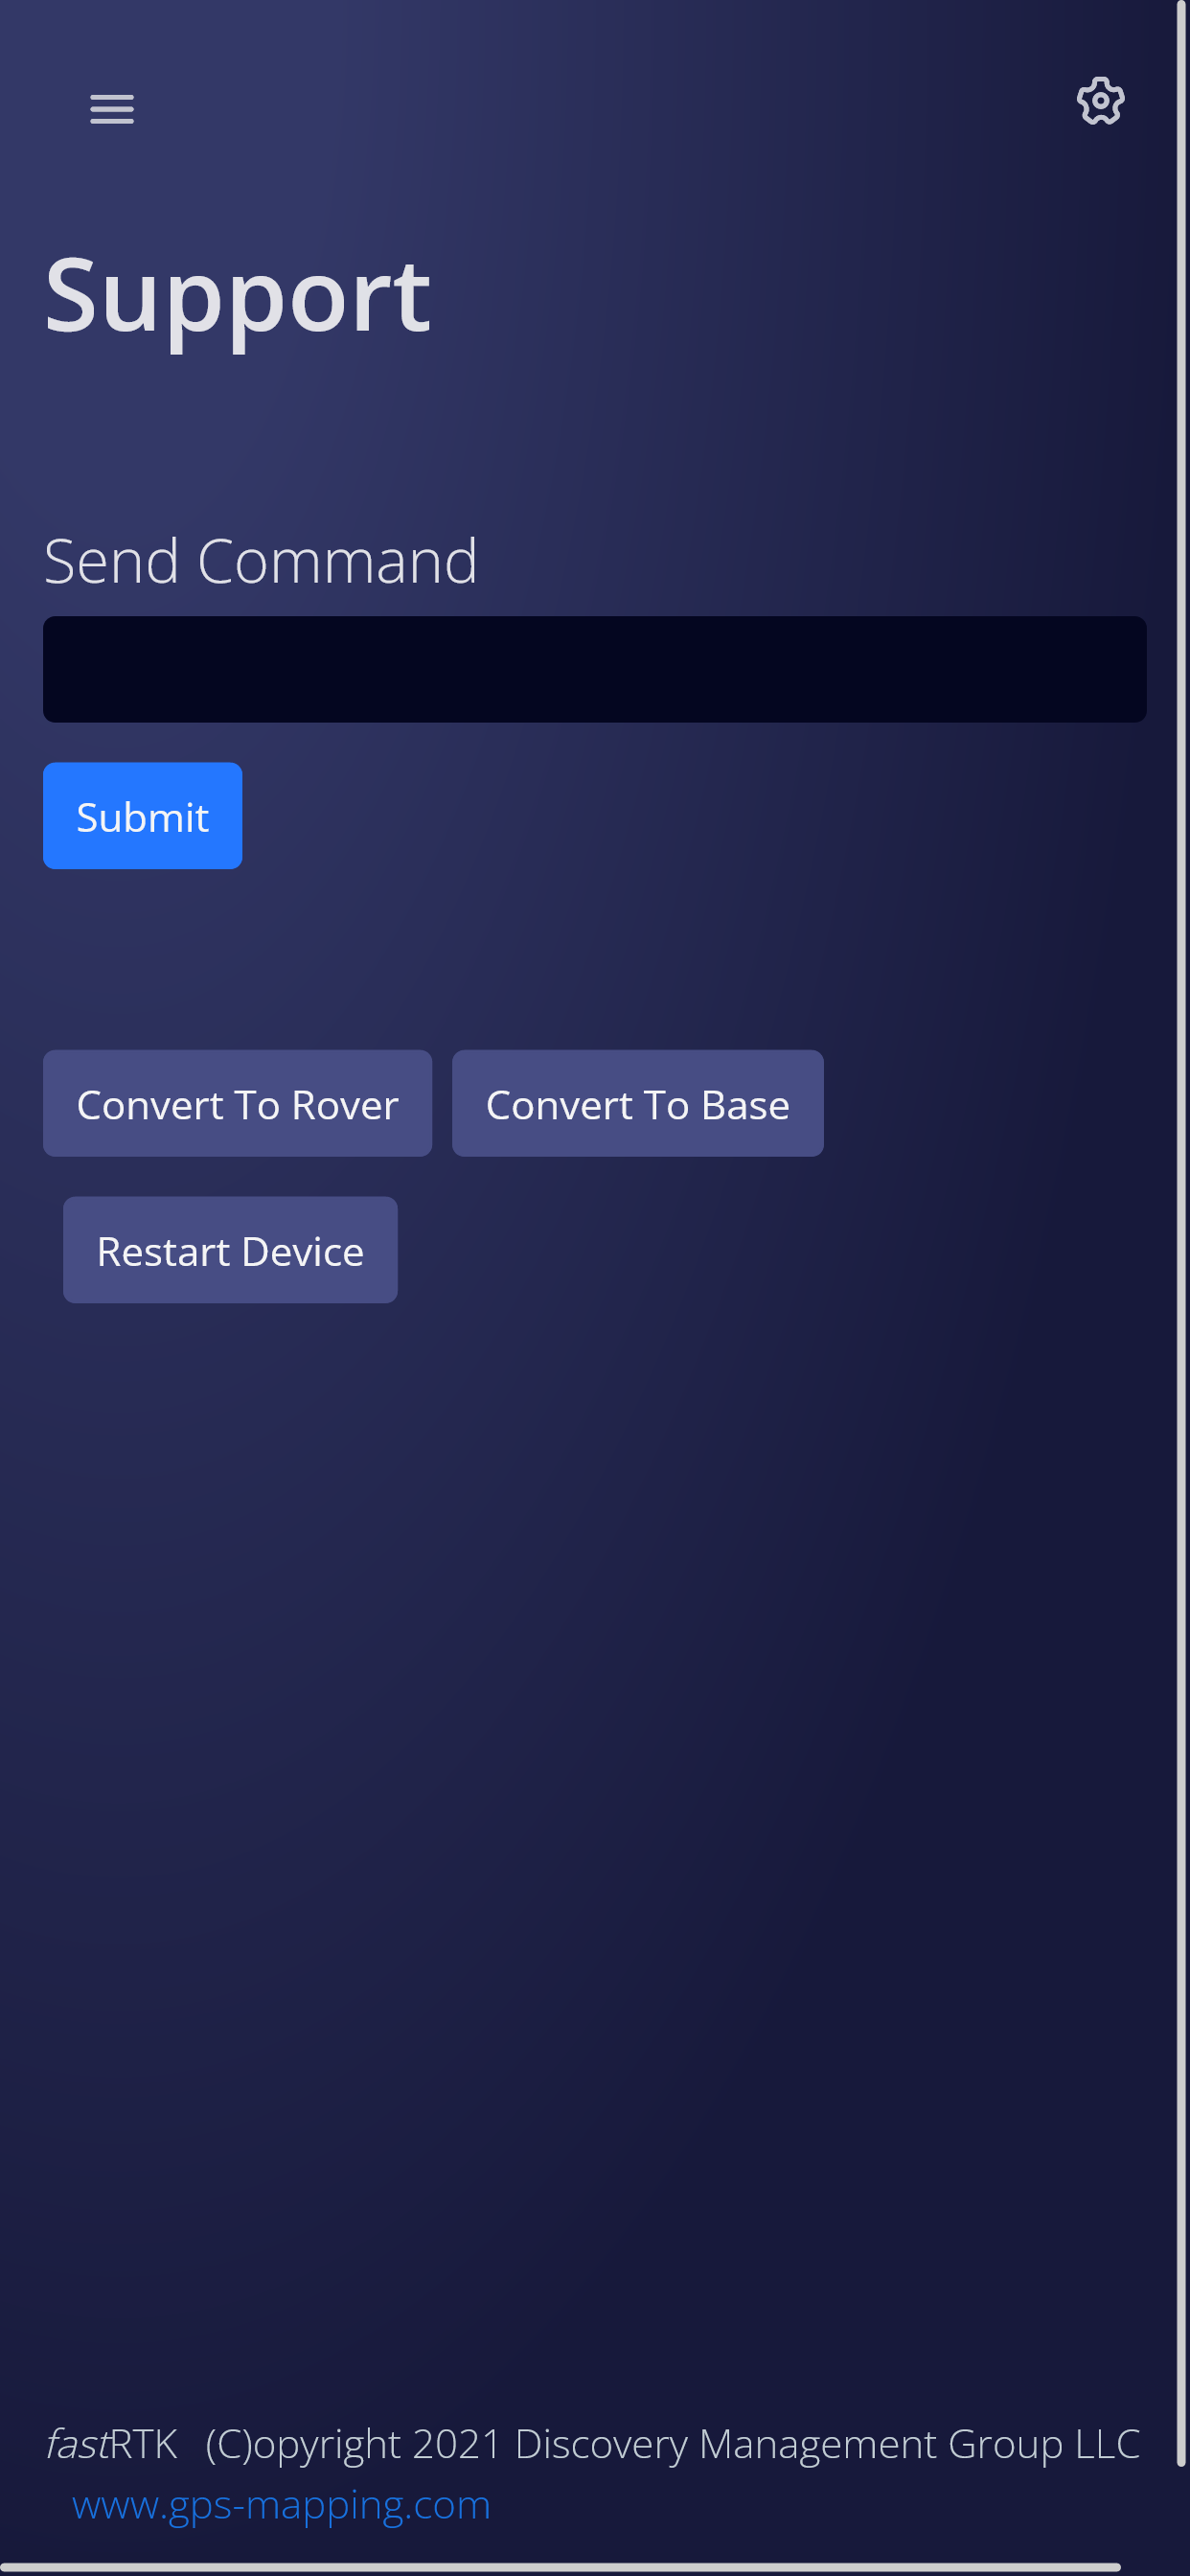
¶ Support
The main functions of this page are to 1) reboot the base remotely 2) convert the base's arrow between base and rover modes and 3) send other commands to the base.
Desktop screenshots FastRTK version 4.1.1 (click to expand)
Mobile device screenshots FastRTK version 4.1.1 (click to expand)
¶ Software Setup
- Prior to setup
- Connect to base via Wi-fi
- Determine base coordinates
- Input coordinates to FastRTK software
- Add user credentials
- Use the base
¶ 0. Prior to setup
Print these instructions if needed
Confirm your base configuration with vendor:
- Wi-fi SSID and password
- IP address to access FastRTK software
- Admin account login information
- Antenna model
¶ 1. Access the setup inferface
¶ Any Configuration - Access via Wi-fi
Establish Wi-fi connection
- Search for nearby Wi-fi networks with your mobile device.
- SSID: FastRTK
- Password: fastrtk!
Your device is now connected to the base and will allow you to access the web interface for setup. It will not connect you to the internet.
If a message pops up saying there is no internet connection on this network, choose to stay connected.
Access the web interface
- Open an internet broswer and navigate to http://192.168.25.1:10000/admin (older versions of FastRTK use http://192.168.50.1:10000/admin)
- This is the default IP address for connection via Wi-fi.
- Log in with an admin account.
¶ SIM card configuration
Access via external (public) IP address
- Obtain public static IP address from the SIM card vendor
- Open an internet broswer and navigate to the IP address of the SIM card.
- Log in with your admin account
¶ LAN configuration
- Connect to the FastRTK base station via Wi-fi using a laptop, tablet, or phone. The FastRTK Wi-fi SSID is "FastRTK".
- Open a web browser and go to http://192.168.25.1 (older versions of FastRTK may use http://192.168.25.1:10000/admin or http://192.168.50.1:10000/admin)
- Login with default credentials (provided by your vendor).
- Go to the network tab.
- Fill in the the static IP info provided by the network administrator. All fields are required.
- Click submit. The device will automatically power cycle and come back online with the new static IP settings.
¶ 2. Determining the FastRTK base coordinates
If Discovery Management Group is managing your bases, we will compute the base coordinates and complete software setup.
Option 1: Unknown position (click to expand)
¶ Option 1: Unknown position
¶ Collect raw data (RINEX)
Under the Data page, record raw observation data.
Input desired record time, we suggest 24 hours
Click on Start Recording button. While recording, button will change to Stop Recording
When recording is complete, RINEX file will appear under files.
If you intend to set up at this exact position again in the future:
- Set a monument you can return to (PK nail, stake + tack, etc)
- Set up antenna directly above the monument
- Measure antenna height for your records
- Input the antenna elevation to the FastRTK software, but record the monument elevation for future use. So the next time it is set up over that monument, use the monument elevation + that day's antenna height.
¶ Submit to processing software (e.g. OPUS)
- Download raw data file.
Raw data file naming convention
Raw data file name defaults to "BASEdddf", where:
- "ddd" = day of the year (based on GPS time) file began recording, and
- "f" = unique indentifier for multiple files beginning on the same day.
For example:
- First file recorded on January 1, 2021 = BASE001a.21o
- Second file recorded on December 31, 2021 = BASE365b.21o
For reference, a day of the year calendar can be found here
-
Upload to post processing software such as NGS OPUS.
-
Wait for email that contains coordinate solution. (Typically a few minutes, but can take up to one day)
OPUS instructions
https://www.ngs.noaa.gov/OPUS/
- Choose file from your device
- Default antenna model (check with vendor): HEMA45 NONE
- Antenna height: Typically leave as 0.000 (you want the position of the antenna)If you want to record a monument position for future use... (click to expand)
Measure to the antenna reference point, located at the bottom of antenna, where it screws on to the mounting point, per the image below. Measure antenna height as vertically as possible (not slope distance).
OPUS automatically accounts for the phase center value (the antenna measures to a position inside the antenna called the phase center). When you choose HEMA45 in the antenna model list on OPUS, OPUS automatically corrects for the difference between the phase center and the point you measure to on the antenna.
From OPUS solution
- Use the standard OPUS processing options
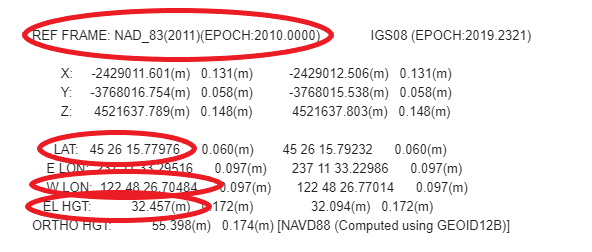
- Advanced users can assess CORS and manually select the CORS used in processingChoose coordinates in "REF FRAME: NAD_83(2011)(EPOCH:2010.0000)"
Option 2: Known position (click to expand)
¶ Option 2: Known position
- Setup over known point
- Add antenna height to the known point's elevation (to get antenna position)
Option 3: Using approximate base position (click to expand)
¶ Option 3: Using approximate base position and correcting RTK points after data collection
If your project does not allow time for submitting data to OPUS prior to RTK data collection, you can input an approximate base position to the FastRTK software, collect your points, and correct those points later through post processing.
Be careful measuring antenna heights. Always note the antenna height of your base and your rover, and where that antenna height was measured to.
Measuring antenna height (click to expand)
Programs like OPUS require measuring to the Antenna Reference Point (ARP, typically the lowest location on the antenna) because the user specifies the antenna used and the program accounts for the phase offset (the offset to the internal location in the antenna where the GNSS signals are actually measured).Antennas often include a diagram showing phase center offsets on the underside of the antenna. This is the phase center diagram for a Hemisphere A45 antenna:
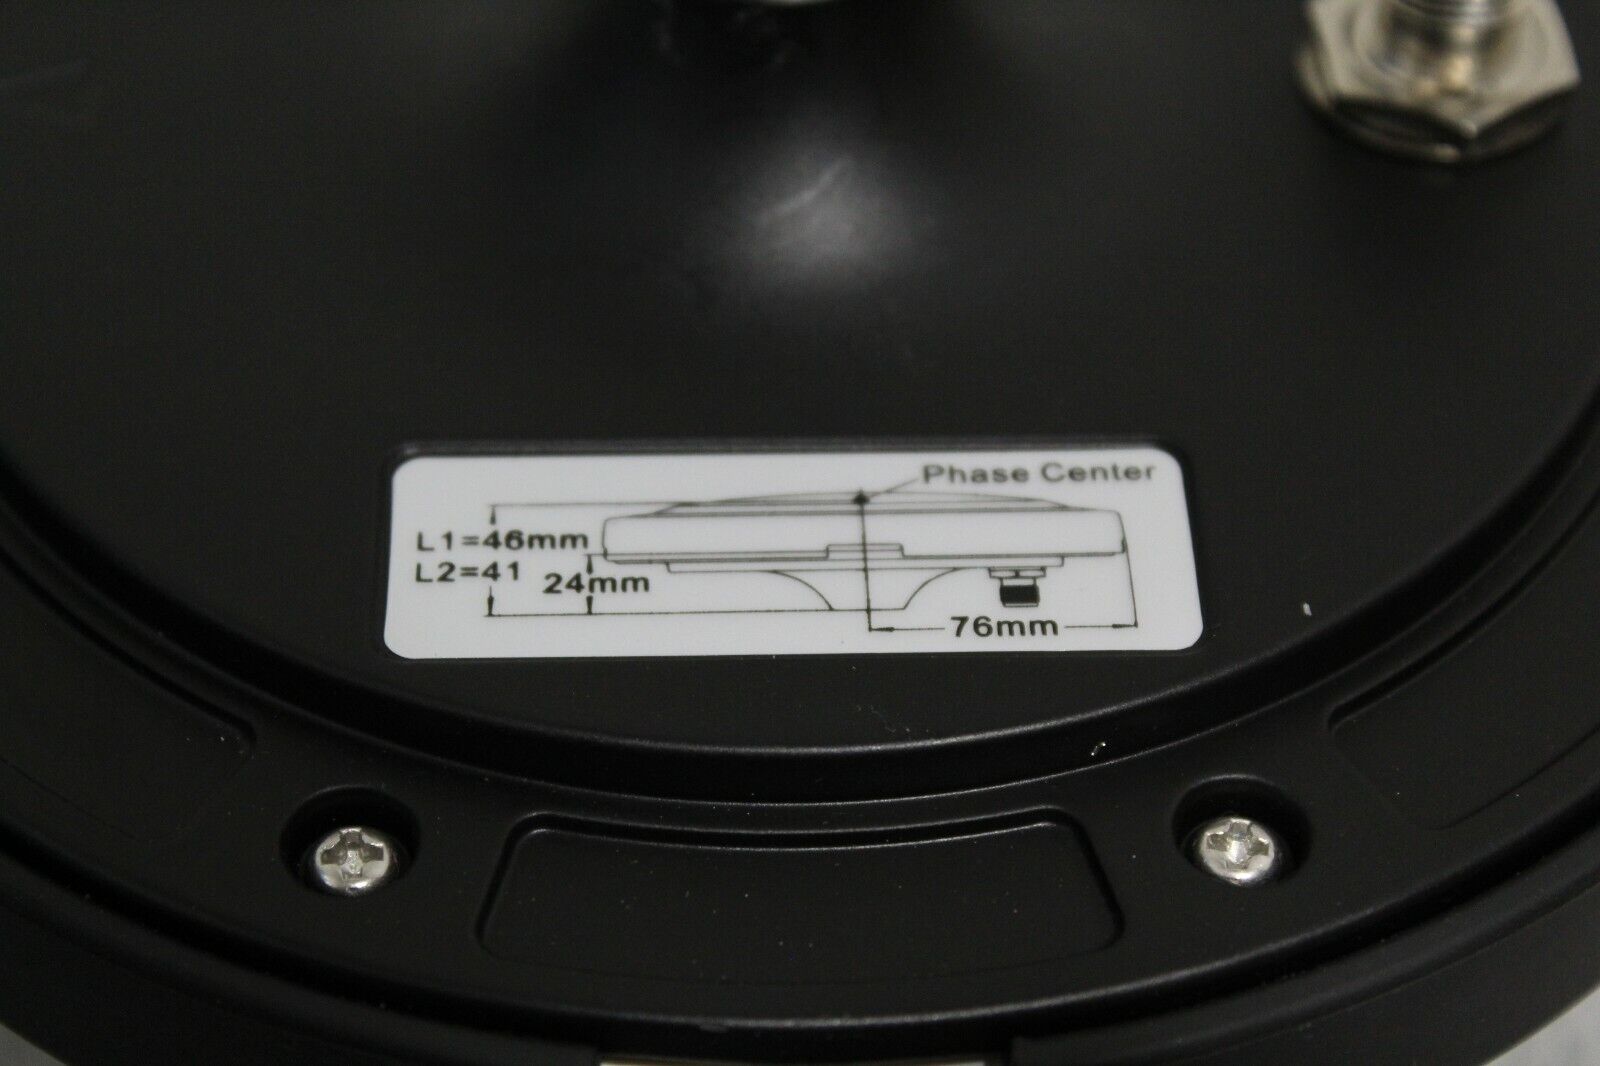
As shown, the L1 phase center is 0.046m from the bottom of the Hemisphere A45 antenna.
¶ 3. Input coordinates to FastRTK software
In FastRTK software, navigate to Base page, Local tab.
Input the latitude, longitude, and ellipsoid height (m) from the OPUS solution (or other processing software).
Click the button to Submit Coordinates. Restart the base from the Support page to apply your coordinates.
You can check the base source table by navigating to IP address:10000 to confirm your coordinates have been applied.
OPUS solution coordinates are in degree-minute-seconds (DMS) format.
Be sure to properly input coordinates in decimal degrees if using dd.ddd coordinate mode in FastRTK with at least 8 decimal places.
Conversion tools are available online or conversion can be done by hand:
where decimal degrees dd is equal to: dd = d + m/60 + s/3600
From OPUS solution:
Choose coordinates in "REF FRAME: NAD_83(2011)(EPOCH:2010.0000)"
¶ 4. Add user credentials
Add user credentials from the Users page. Click Create new User, input a Username, Password, and start/expiration dates for the credentials. Once you click submit, the credentials are immediately active for use. (No reboot necessary.)
FastRTK is structured so you have multiple options for how to manage user credentials. The most typical setup is to have multiple field users on one set of user credentials. This helps streamline training and user management. The number of concurrent logins allowed per set of credentials is defined at the group level.
By default, when you create a new user, they are added to the RTKUSERS group and there can be 50 concurrent logins to that group. The number of concurrent users can be changed under the Groups tab on the Users page.
¶ 5. The FastRTK base is ready to use!
You can now disconnect your device from the FastRTK web interface and receive corrections on your rover GNSS.


